Mastering the Art of Whipping Egg Yolks
Welcome to the wonderful world of cooking and baking! If you’re looking to take your culinary skills to the next level, mastering the art of whipping egg yolks is a crucial skill to have in your repertoire. Whether you’re making a luscious custard, a decadent mousse, or a fluffy omelette, knowing how to whip egg yolks properly can make all the difference in the final result. In this guide, we’ll walk you through the steps to achieve perfectly whipped egg yolks every time.
Why Whip Egg Yolks?
Before we dive into the process, let’s understand why whipping egg yolks is important in cooking and baking. Whipping egg yolks incorporates air into the mixture, resulting in a lighter texture and a more uniform consistency. This airy quality is essential for creating delicate desserts and fluffy baked goods. Additionally, whipped egg yolks contribute to the structure and stability of many recipes, making them an indispensable ingredient in the culinary world.
Tools and Ingredients
Before you begin, gather the following tools and ingredients:
- Medium-sized bowl
- Whisk or electric mixer
- Fresh eggs
Step-by-Step Instructions
Now, let’s walk through the step-by-step process of whipping egg yolks:
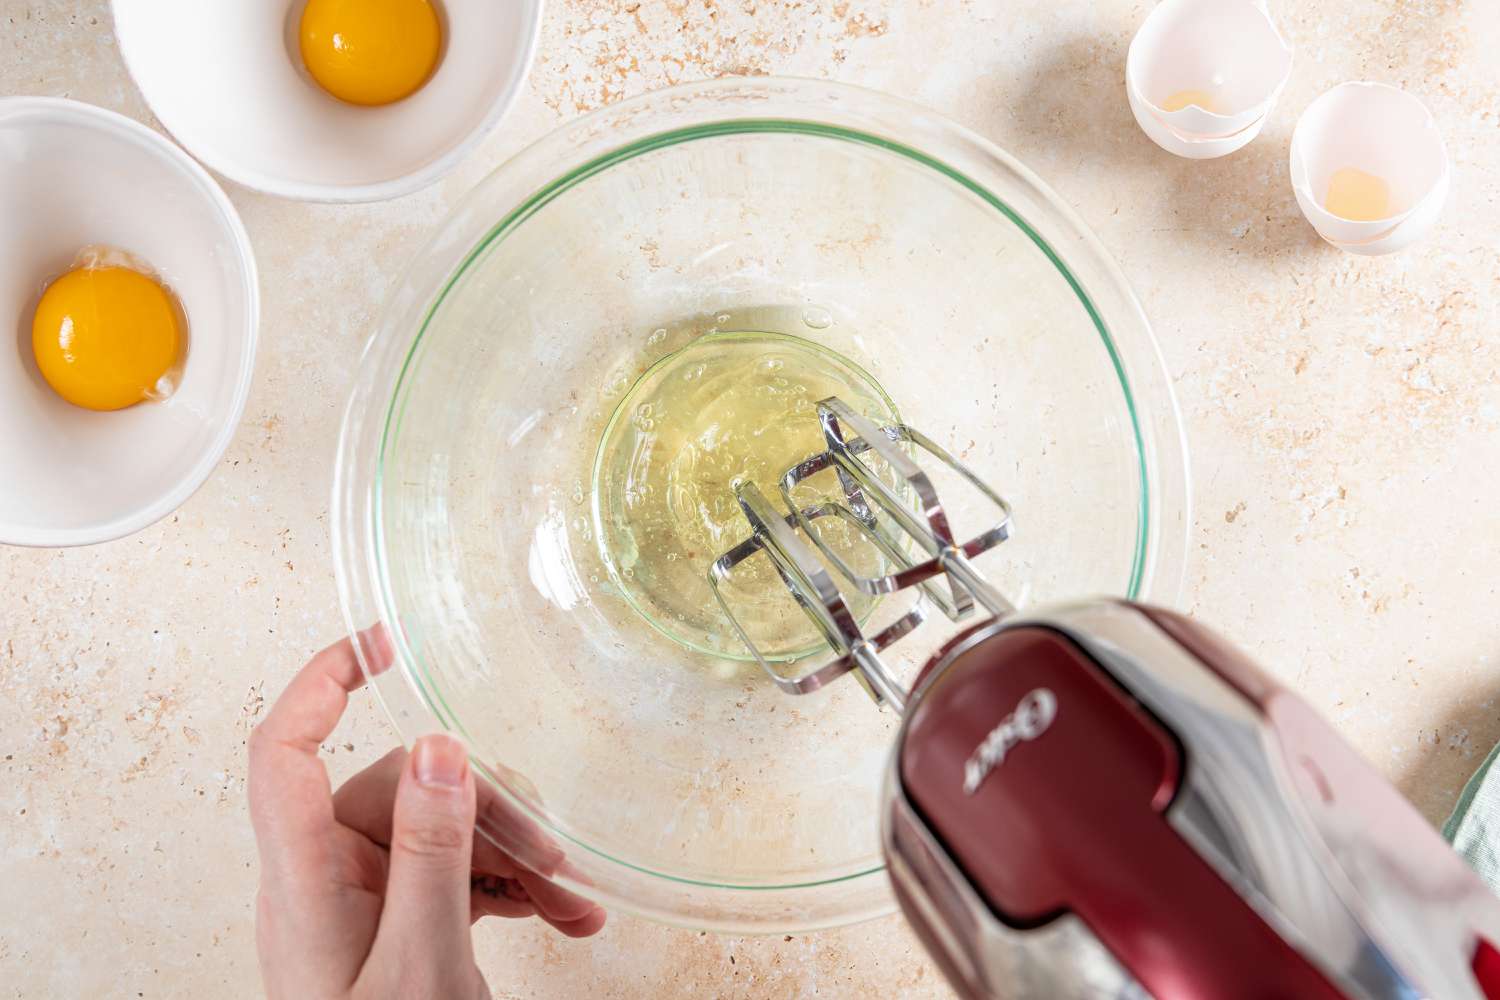
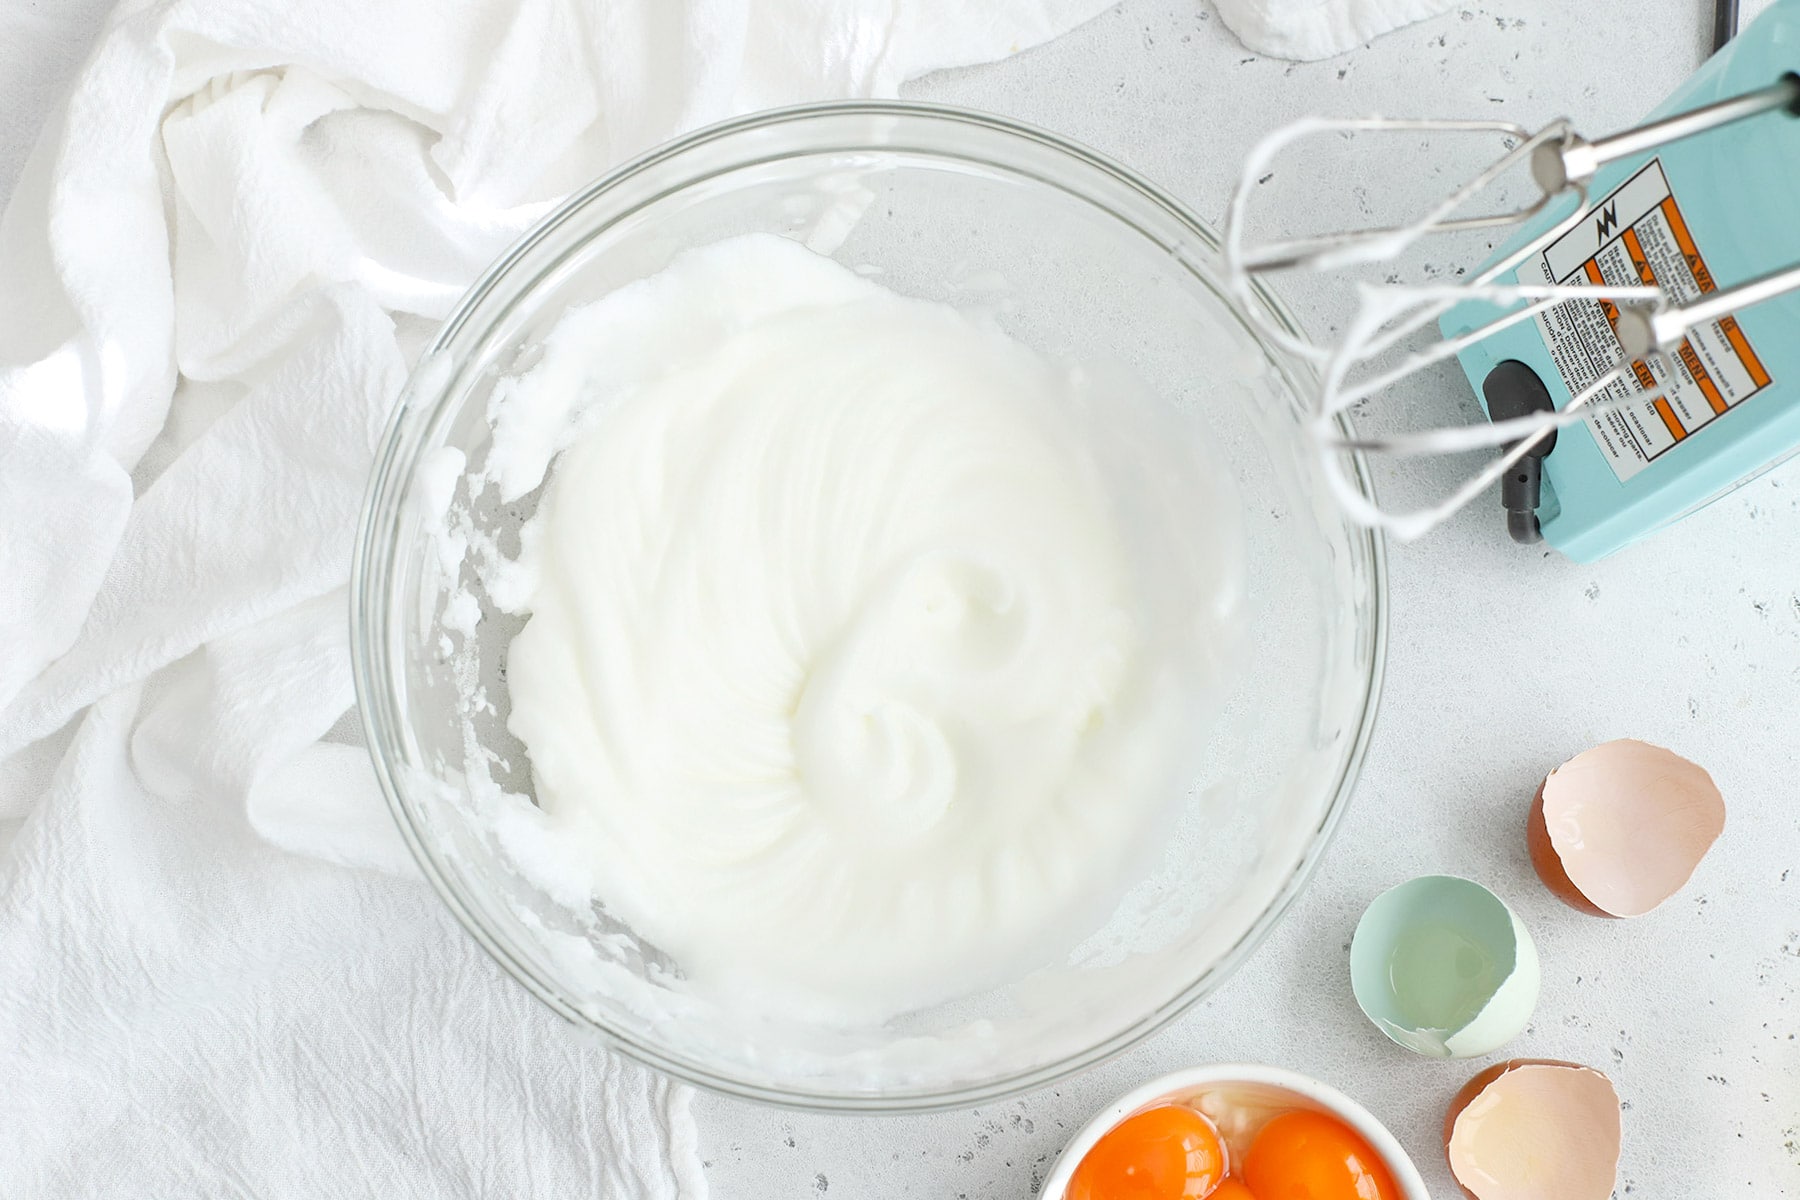
- Start with fresh eggs at room temperature. Using a sharp knife, carefully crack the eggs and separate the yolks from the whites, ensuring that no specks of eggshell are present in the yolks.
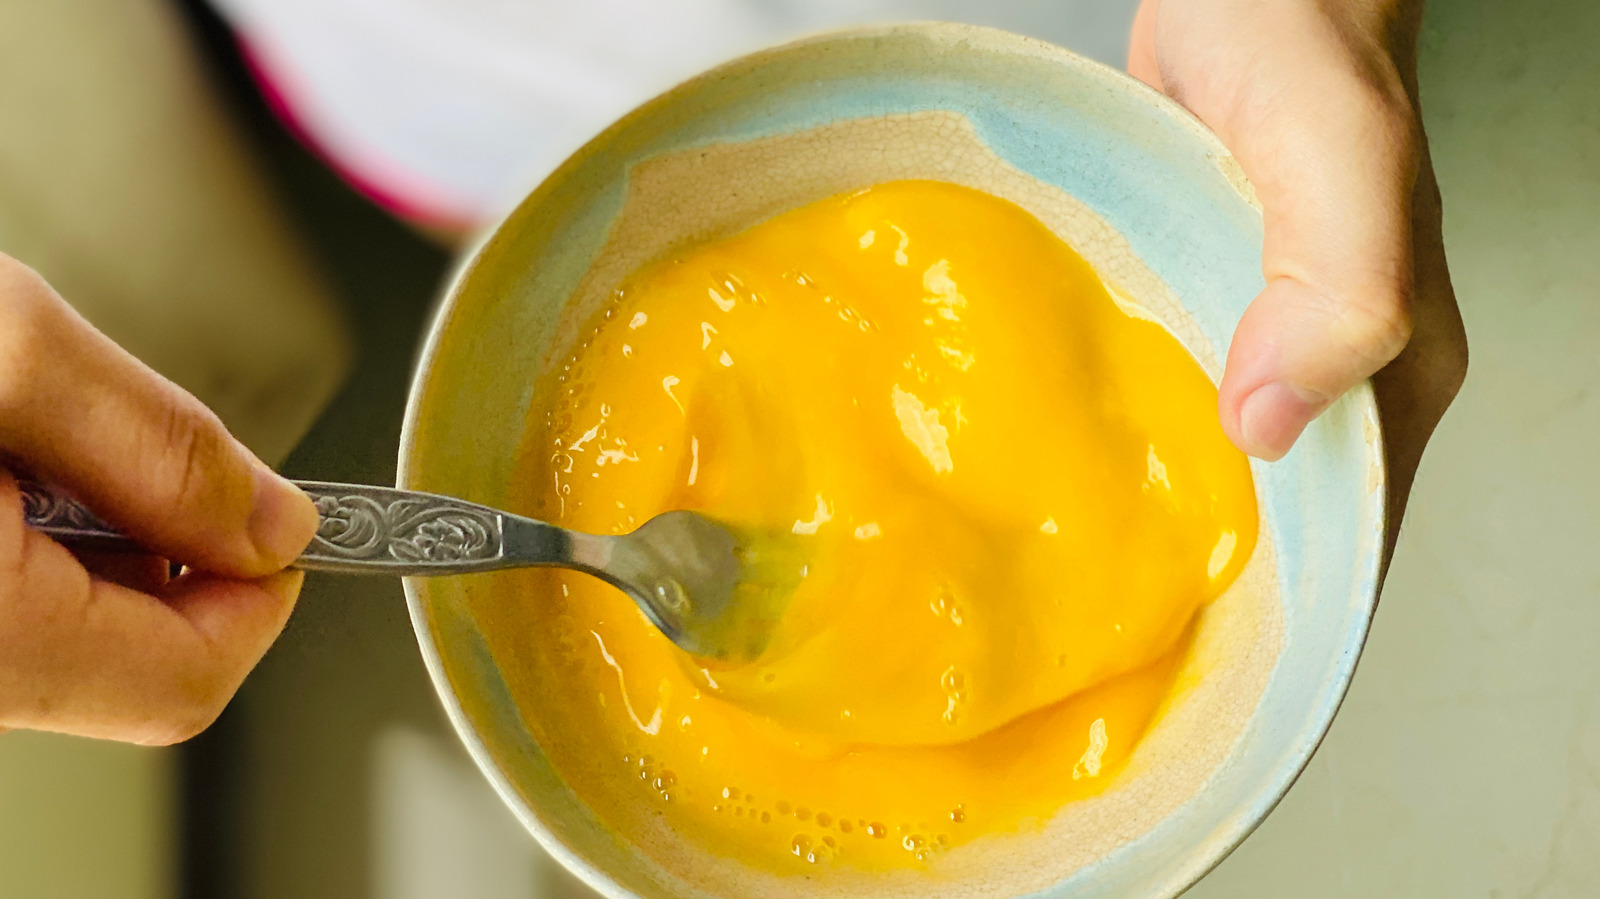
- Place the egg yolks in a medium-sized bowl. This will give you enough space to whisk and incorporate air into the yolks.
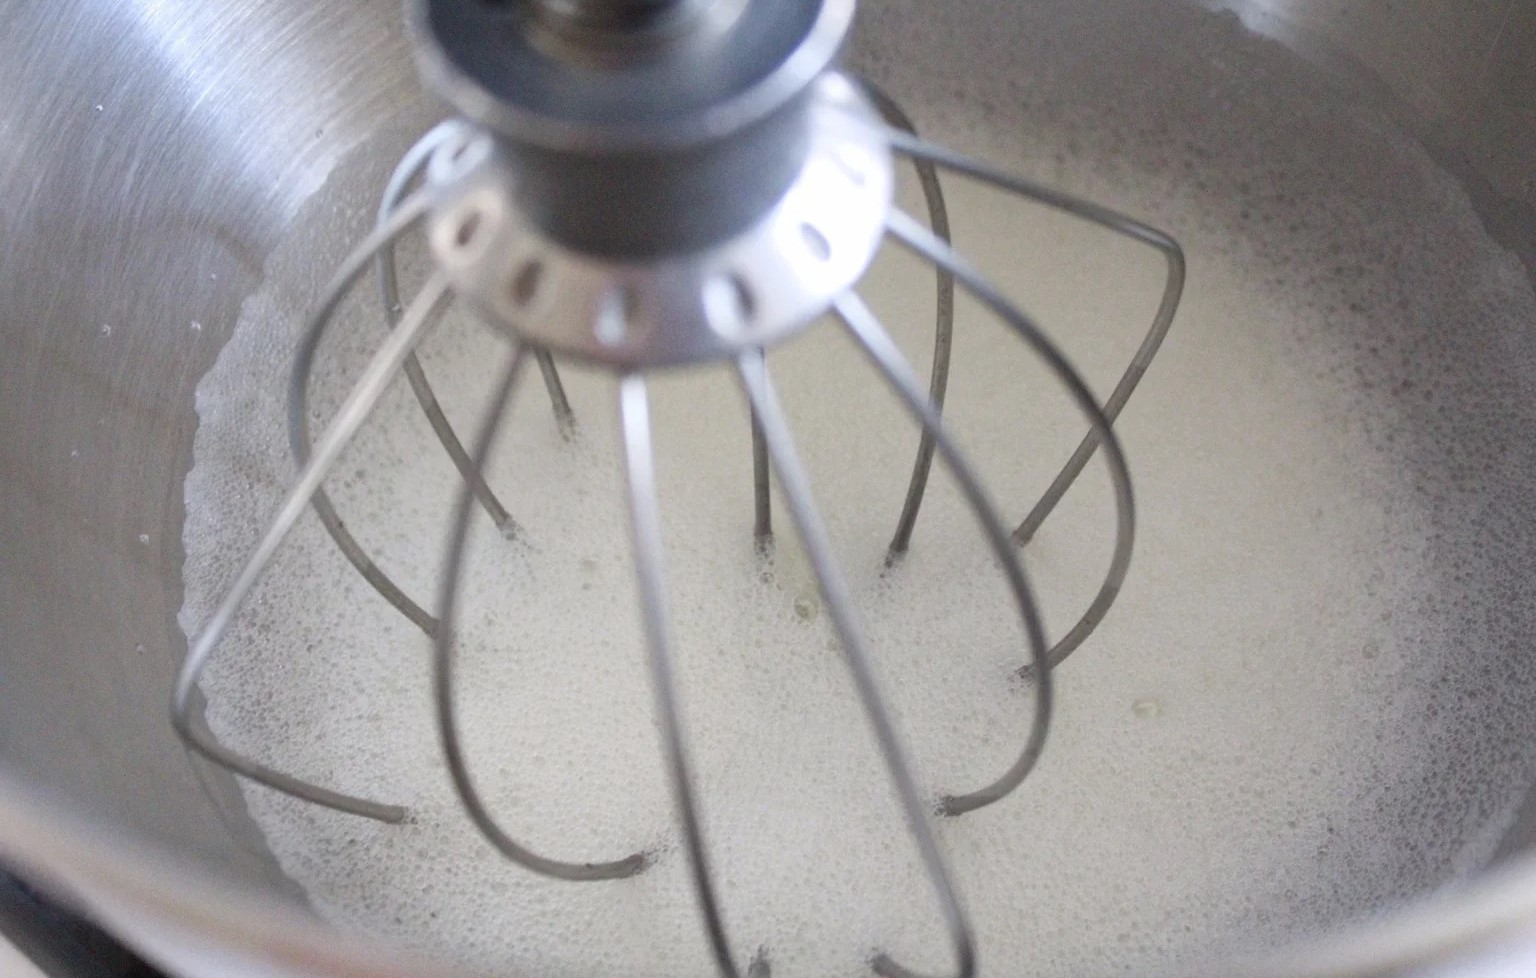
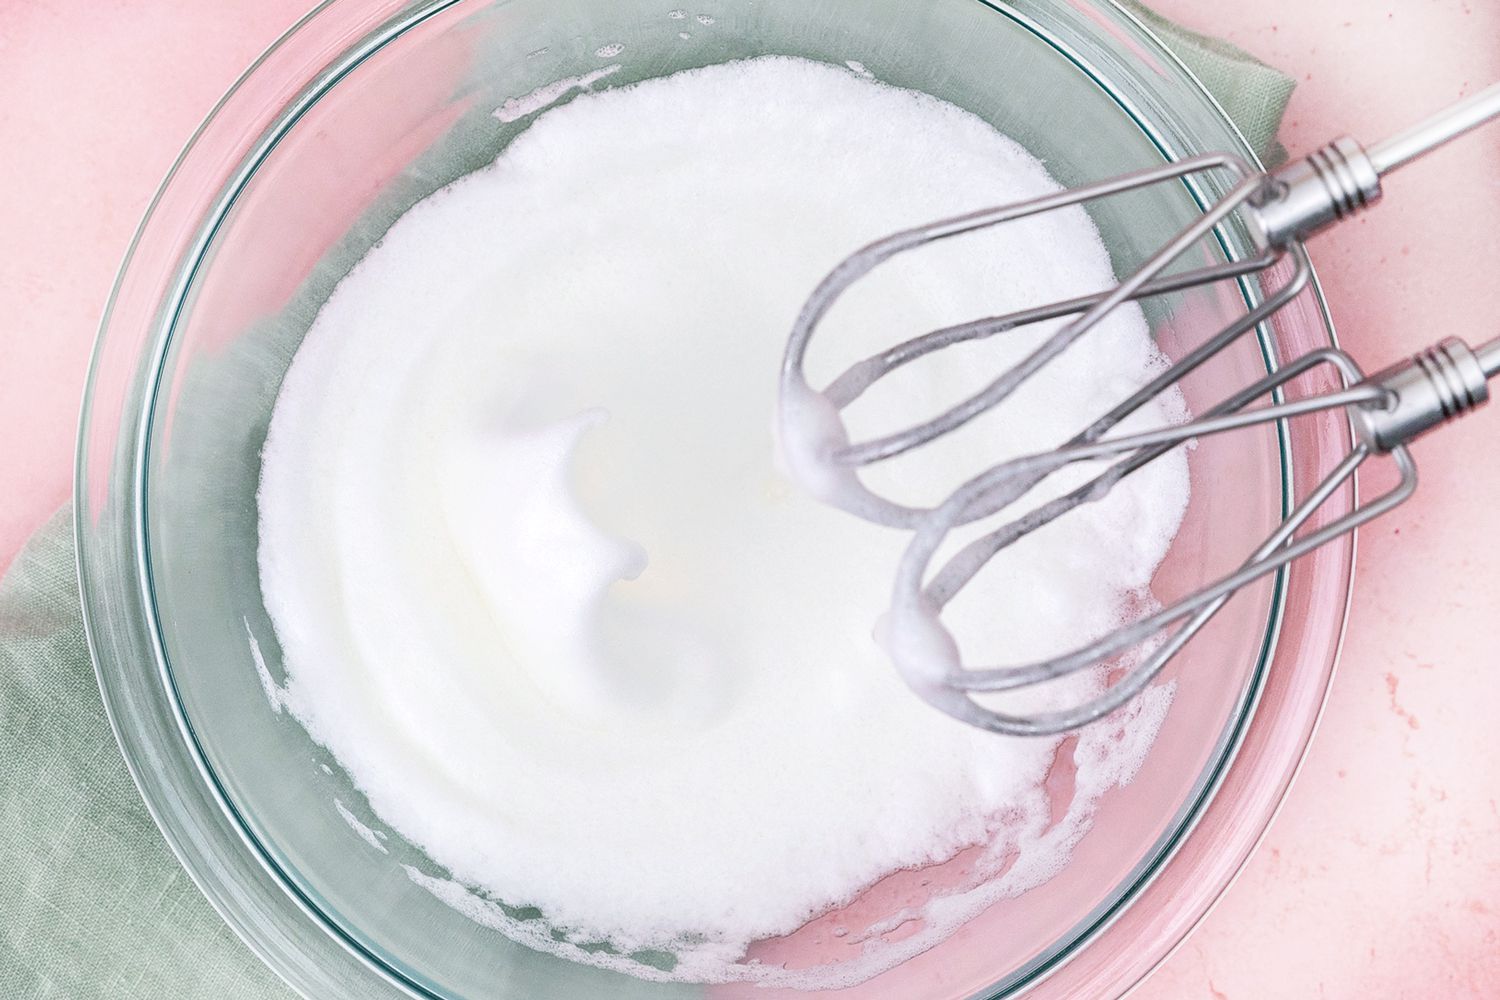
- Using a whisk or an electric mixer, begin beating the egg yolks at a moderate speed. You’ll notice the yolks gradually become paler in color and increase in volume as air is incorporated.
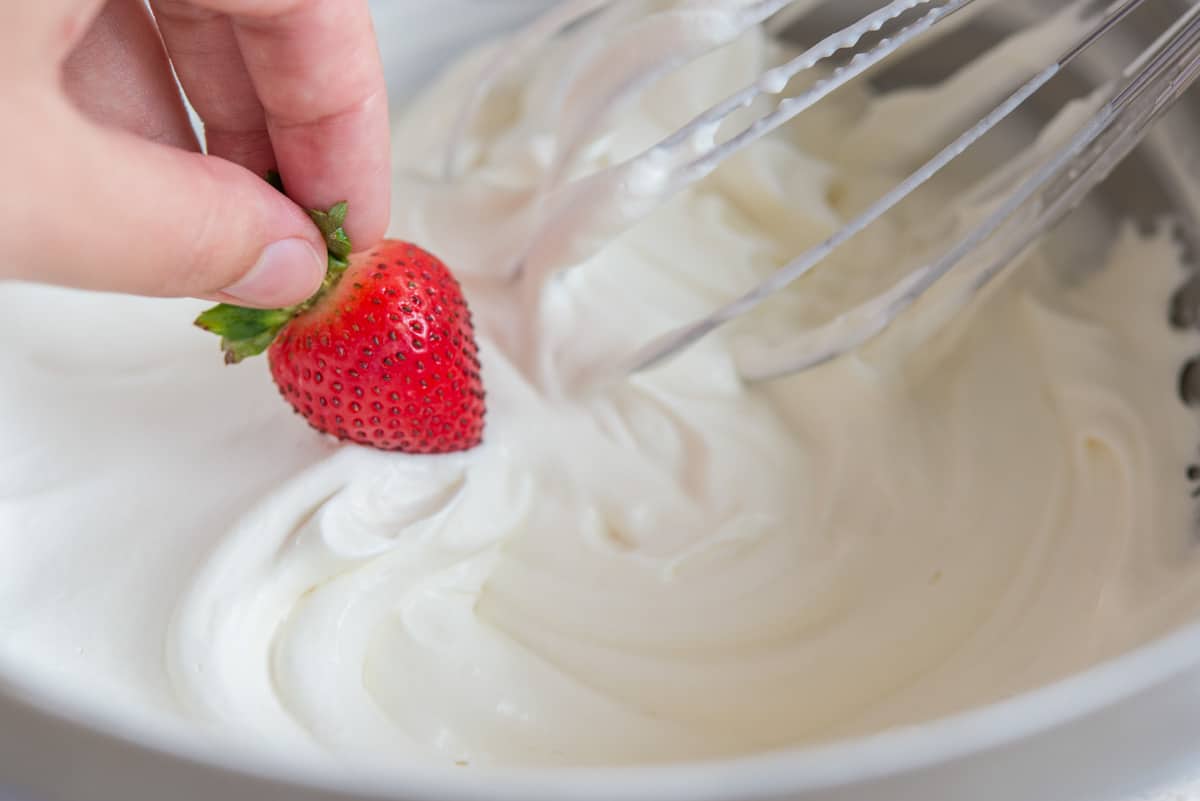
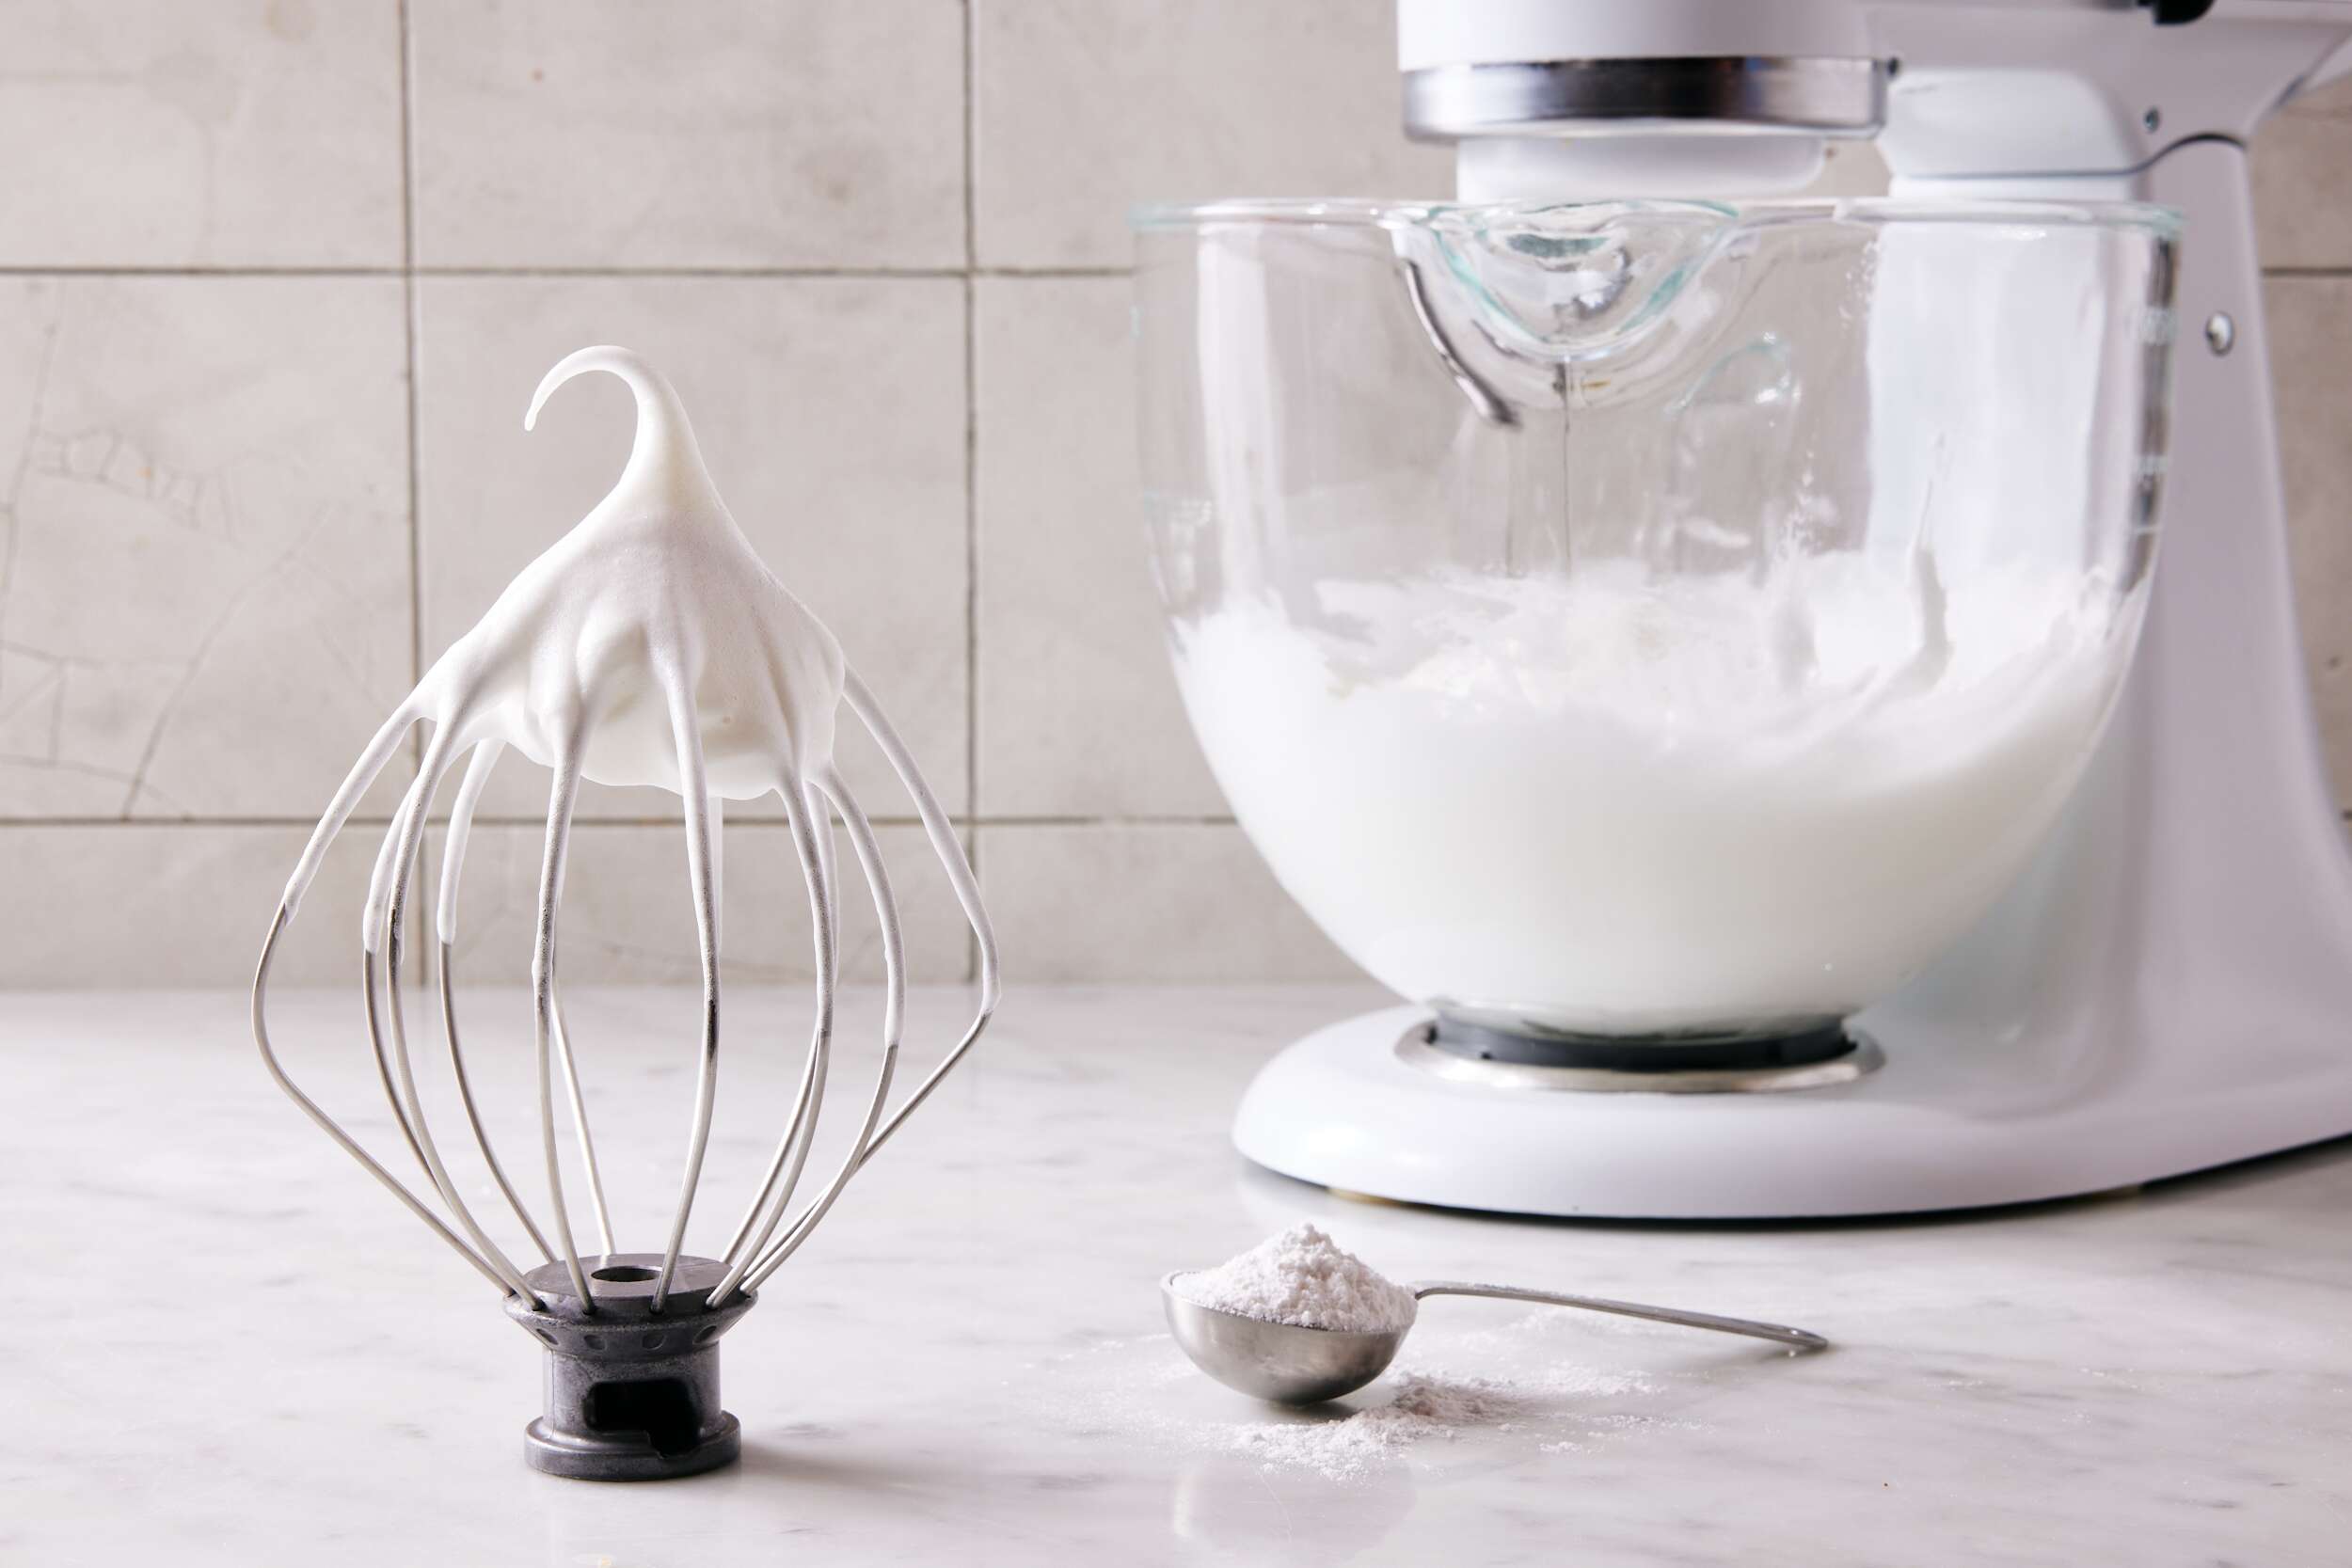
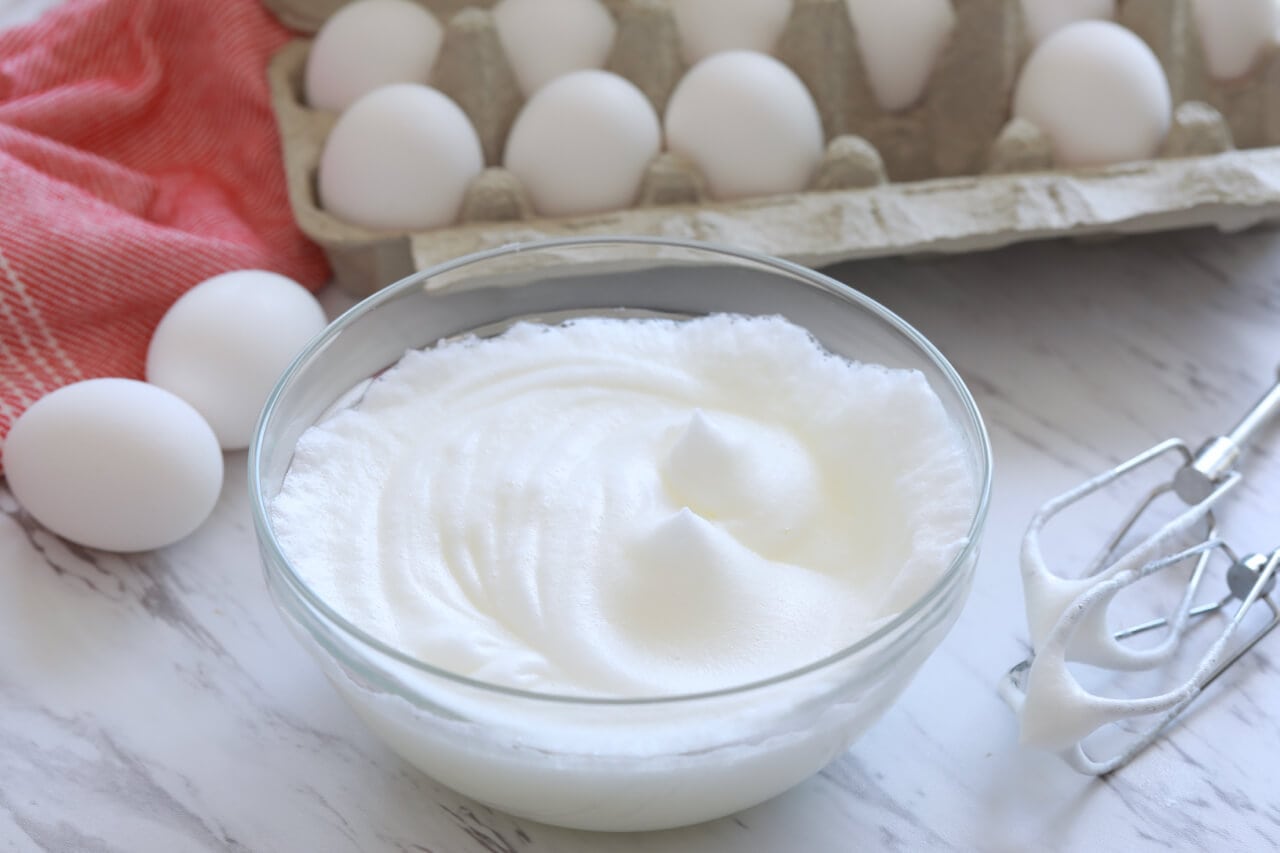
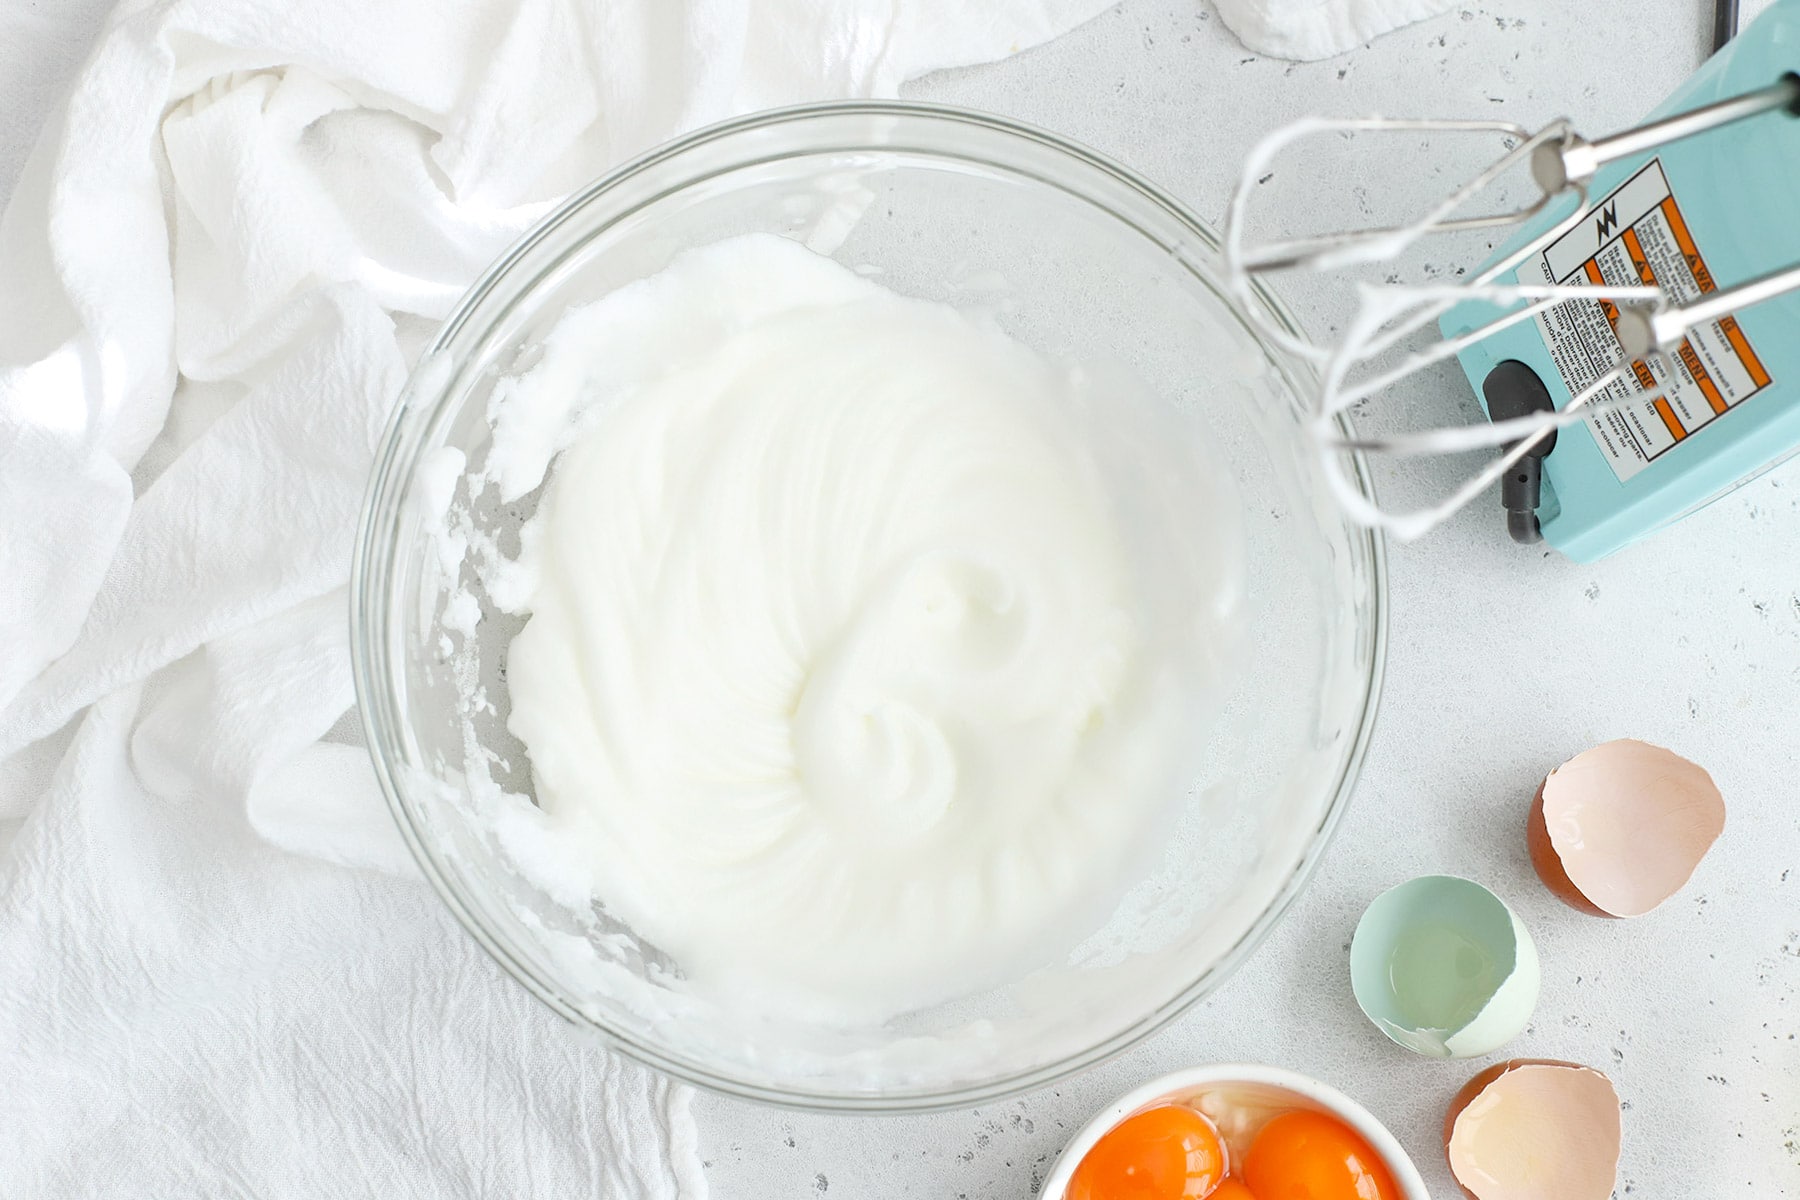
- Continue whisking until the egg yolks form soft peaks when the whisk is lifted. Soft peaks are achieved when the yolks hold their shape for a moment before gently collapsing back into the mixture.
- Once the egg yolks have reached the desired consistency, they are ready to be incorporated into your recipe.
Tips for Success
Here are some additional tips to ensure success when whipping egg yolks:
- Use a clean, dry bowl to prevent any grease or residue from inhibiting the yolks from reaching their full volume.
- Be patient and consistent with your whisking or mixing. It may take a few minutes to achieve the desired texture, but the results are well worth the effort.
- For added flavor, consider incorporating sugar or other flavorings into the egg yolks as you whip them.
Putting Your Whipped Egg Yolks to Use
Now that you’ve mastered the art of whipping egg yolks, it’s time to put your newfound skill to use in a variety of recipes. Whether you’re creating a velvety hollandaise sauce, a rich tiramisu, or a light and airy sponge cake, whipped egg yolks will elevate your culinary creations to new heights. Experiment with different flavor combinations and techniques to unlock the full potential of whipped egg yolks in your cooking and baking endeavors.
With these tips and techniques in mind, you’re well on your way to becoming a master of whipping egg yolks. Embrace the process, get creative in the kitchen, and enjoy the delicious results that come from incorporating perfectly whipped egg yolks into your favorite recipes.
For those looking to master the art of whipping egg yolks, there are several recipes worth trying. Classic Tiramisu showcases the delicate balance of whipped yolks and mascarpone, creating a creamy and delightful dessert. Homemade Mayonnaise is another great recipe, demonstrating how whipped yolks can transform into a rich and velvety condiment. French Vanilla Custard offers a silky, smooth texture that hinges on perfectly whipped yolks. For a touch of elegance, Hollandaise Sauce highlights the yolks' ability to emulsify into a luxurious sauce, perfect for eggs benedict. Lastly, Crème Brûlée provides a creamy custard base with a caramelized sugar crust, showcasing the versatility of whipped yolks in creating a refined dessert experience.
Was this page helpful?
Read Next: How To Whip Egg Whites With Bamix
