Trussing Beef Tenderloin: A Step-by-Step Guide
Trussing a beef tenderloin is an essential skill for any home cook or aspiring chef. Not only does trussing help the tenderloin maintain its shape during cooking, but it also ensures even cooking and a beautiful presentation. If you’ve never trussed a beef tenderloin before, fear not! With a few simple steps, you can master this technique and elevate your culinary prowess.
What You’ll Need
Before you begin, gather the following items:
- Beef tenderloin
- Butcher’s twine
- Sharp kitchen scissors
- Knife
- Seasonings of your choice
Step 1: Prepare the Tenderloin
Start by ensuring that the beef tenderloin is trimmed and ready for trussing. Remove any excess fat or silver skin, and season the tenderloin with your preferred blend of spices and herbs. This step is crucial for infusing the meat with flavor.
Step 2: Cut the Twine
Measure and cut a piece of butcher’s twine that is long enough to wrap around the tenderloin several times with extra length for tying. It’s better to have more twine than you think you’ll need, so don’t be afraid to cut a generous length.
Step 3: Position the Tenderloin
Lay the prepared beef tenderloin on a clean, flat surface. Position it so that it is parallel to the length of the twine, making it easier to wrap the twine around the meat.
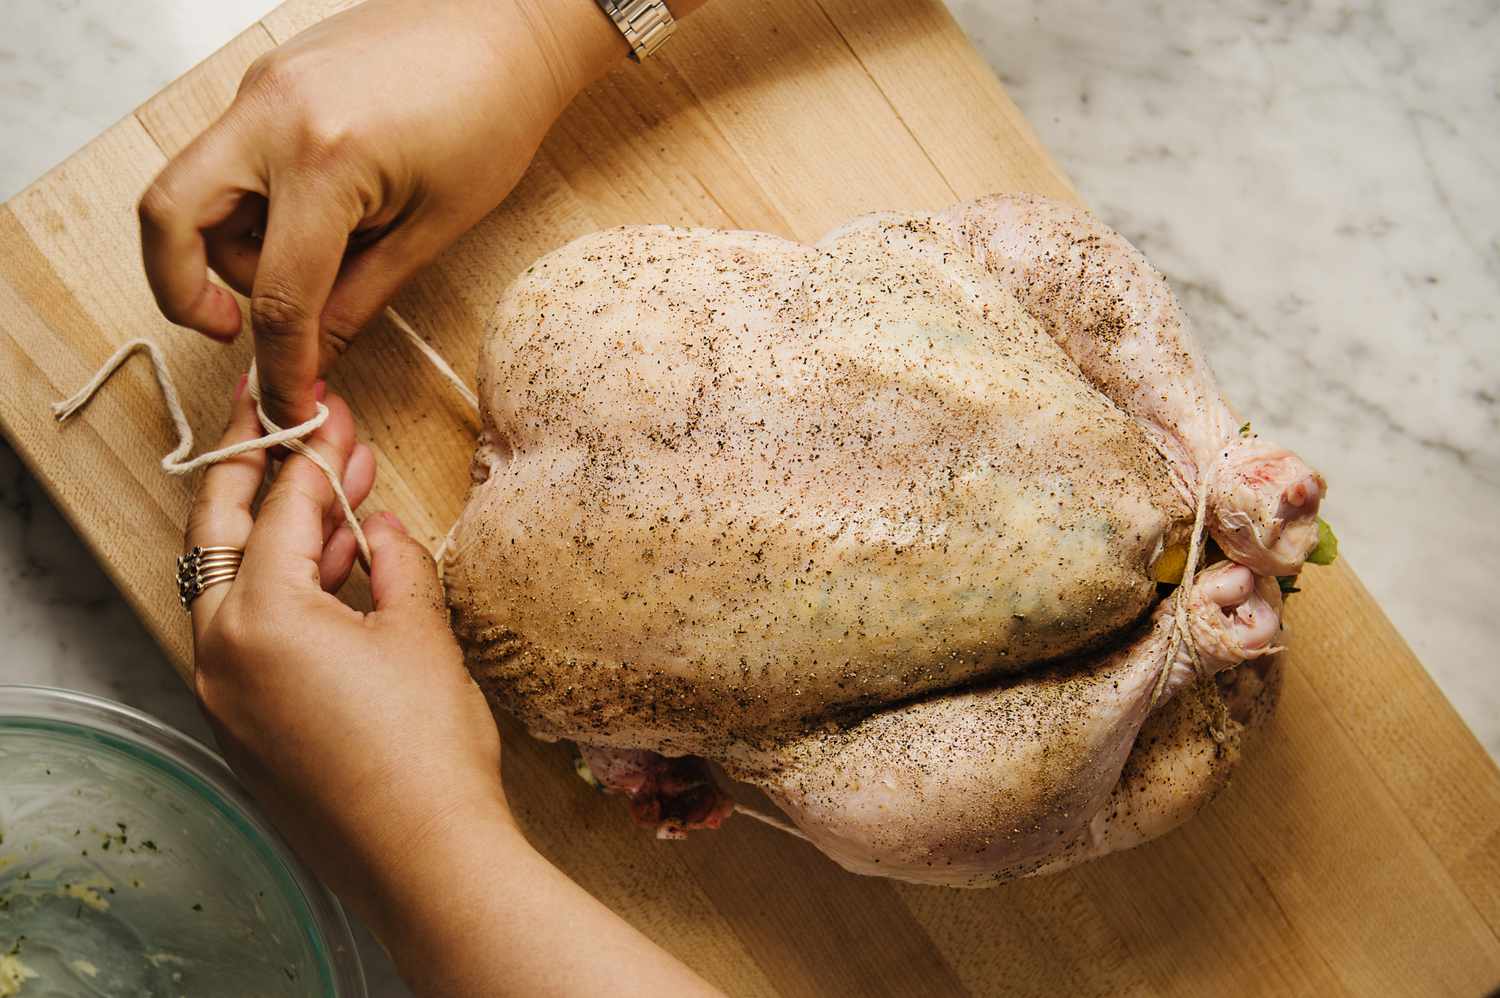
Step 4: Start Trussing
Begin trussing by securing one end of the twine under the narrow end of the tenderloin. Tie a tight knot to hold the twine in place.
Step 5: Create Even Spacing
Working your way along the length of the tenderloin, wrap the twine around the meat at even intervals. This will help the tenderloin maintain its shape and cook evenly.
Step 6: Tie the Final Knot
Once you have wrapped the twine around the entire tenderloin, secure the loose end by tying a tight knot. Ensure that the twine is snug but not too tight, as you want to maintain the shape of the tenderloin without squeezing it too much.
Step 7: Trim Excess Twine
Using kitchen scissors, carefully trim any excess twine, leaving enough length to easily remove the twine after the tenderloin is cooked.
Step 8: Cook as Desired
With the beef tenderloin trussed and ready to go, you can now cook it according to your preferred method. Whether you’re roasting, grilling, or pan-searing, trussing will help the tenderloin cook evenly and maintain its shape for a stunning presentation.
Trussing a beef tenderloin may seem daunting at first, but with practice, it will become second nature. The next time you prepare a beef tenderloin, impress your guests and yourself by employing this classic culinary technique.
Happy cooking!
Was this page helpful?
Read Next: How To Truss A Bone In Prime Rib Roast


