Trussing a chicken for rotisserie is a crucial step in preparing a delicious and evenly cooked meal. Whether you're a seasoned chef or a beginner in the kitchen, mastering the art of trussing will elevate your culinary skills and impress your guests. In this guide, we'll walk you through the step-by-step process of trussing a chicken for rotisserie, so you can achieve that perfect, succulent roast every time.
Why Trussing is Important
Trussing a chicken serves several important purposes when it comes to rotisserie cooking:
-
Even Cooking: Trussing helps the chicken cook evenly by compacting the bird into a uniform shape, allowing for consistent heat distribution.
-
Moisture Retention: By securing the wings and legs close to the body, trussing helps retain moisture, resulting in a juicier and more flavorful chicken.
-
Aesthetic Appeal: A well-trussed chicken not only cooks better but also looks more visually appealing when presented at the table.
Now, let's dive into the trussing process.
Step-by-Step Guide to Trussing a Chicken for Rotisserie
Follow these simple steps to truss a chicken for rotisserie:
-
Prepare Your Chicken: Start by ensuring that your chicken is clean and dry. Remove any giblets from the cavity and pat the chicken dry with paper towels.
-
Position the Chicken: Place the chicken on a clean, flat surface, breast-side up, with the legs facing towards you.
-
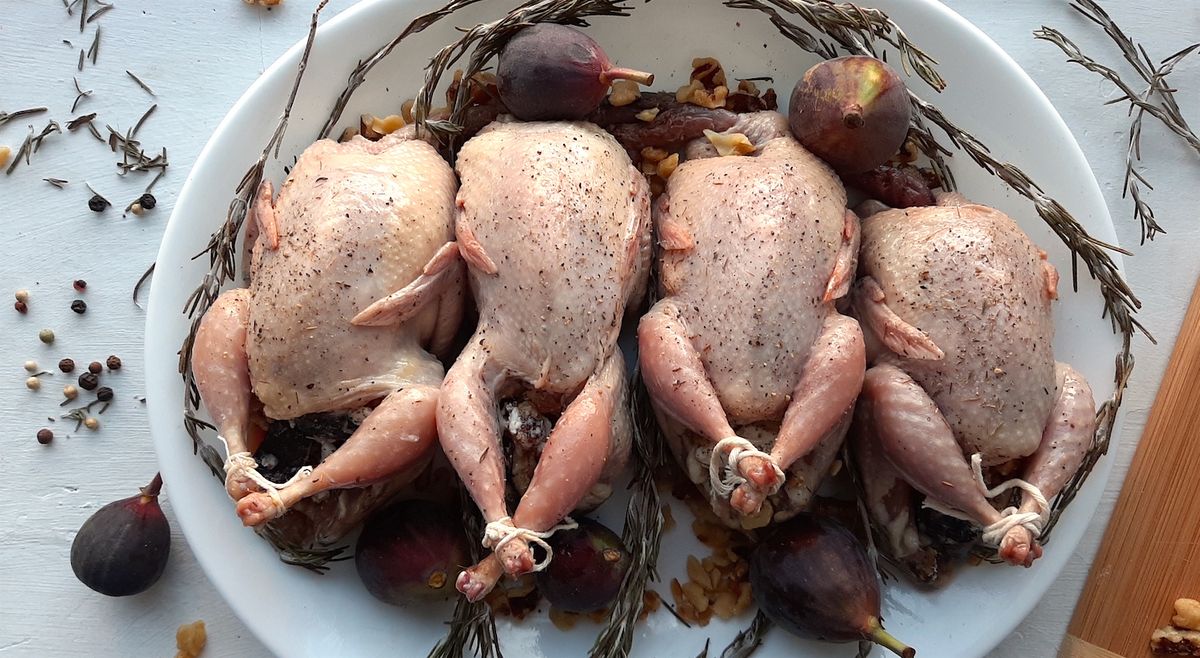
Tie the Legs: Take a piece of kitchen twine and loop it around one leg, pulling the leg in towards the body. Cross the twine over the leg and pull it tight to secure the leg against the body. Repeat with the other leg, so both are securely tied close to the body.
-
Secure the Wings: Tuck the wings behind the chicken's back, and then cross the twine over the wings and pull it tight to secure them in places.
-
Trim Excess Twine: Once the chicken is trussed, trim any excess twine with kitchen scissors to ensure it doesn't come into contact with the rotisserie.
Tips for Trussing Success
To ensure your trussing efforts are successful, keep the following tips in mind:
- Use kitchen twine or butcher's string for trussing, as it's heat-resistant and won't snap during cooking.
- Don't tie the twine too tightly, as this can constrict the bird and affect the cooking process.
- Practice makes perfect! Trussing may take a few tries to master, so don't be discouraged if it's not perfect the first time.
Final Thoughts
Trussing a chicken for rotisserie is a fundamental skill that every home cook should have in their repertoire. Not only does it contribute to a beautifully cooked bird, but it also enhances the overall dining experience. With this step-by-step guide, you can confidently truss a chicken for rotisserie and take your culinary creations to the next level. So, roll up your sleeves, grab your twine, and get ready to impress with a perfectly trussed rotisserie chicken!
Was this page helpful?
Read Next: How To Truss Beef Tenderloin


