Smoking Ribs Like a Pro in the Masterbuilt Pro Smoker
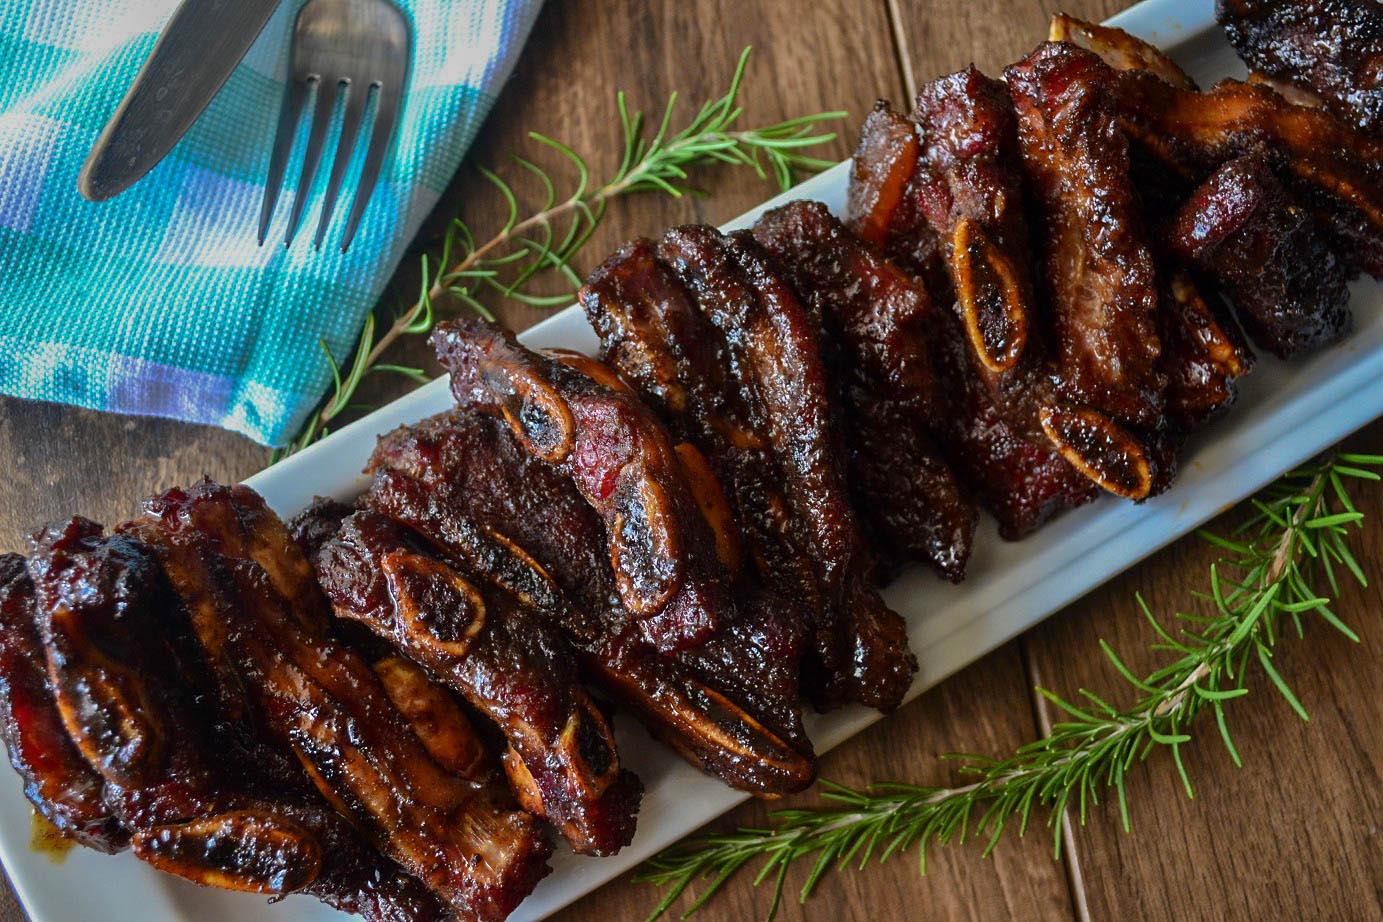
Smoking ribs is a delicious and time-honored tradition that can be enjoyed by anyone with a love for barbecue. With the right tools and techniques, you can achieve mouthwatering, fall-off-the-bone ribs that will impress your friends and family. In this guide, we’ll walk you through the process of smoking ribs in the Masterbuilt Pro smoker, so you can become a pro at creating tender and flavorful ribs.
Preparing Your Ribs
Before you start smoking your ribs, it’s important to properly prepare them to ensure the best results. Here’s how to do it:
- Start by removing the membrane from the back of the ribs. This will help the smoke and flavors penetrate the meat more effectively.
- Next, season your ribs generously with your favorite dry rub. Make sure to coat both sides of the ribs evenly for maximum flavor.
- Cover the seasoned ribs with plastic wrap and let them sit in the refrigerator for at least an hour to allow the flavors to infuse the meat.
Setting Up Your Masterbuilt Pro Smoker
Now that your ribs are prepped and ready to go, it’s time to fire up your Masterbuilt Pro smoker. Follow these steps to get your smoker ready for the ribs:
- Fill the smoker’s wood chip tray with your choice of wood chips. Hickory and applewood are popular choices for smoking ribs.
- Preheat the smoker to a temperature of 225°F. This low and slow cooking method will help the ribs become tender and flavorful.
- Place a water pan in the smoker to help maintain a moist cooking environment. This will prevent the ribs from drying out during the smoking process.
Smoking Your Ribs
With your smoker prepped and ready, it’s time to start smoking your ribs. Follow these steps to achieve perfect ribs in your Masterbuilt Pro:
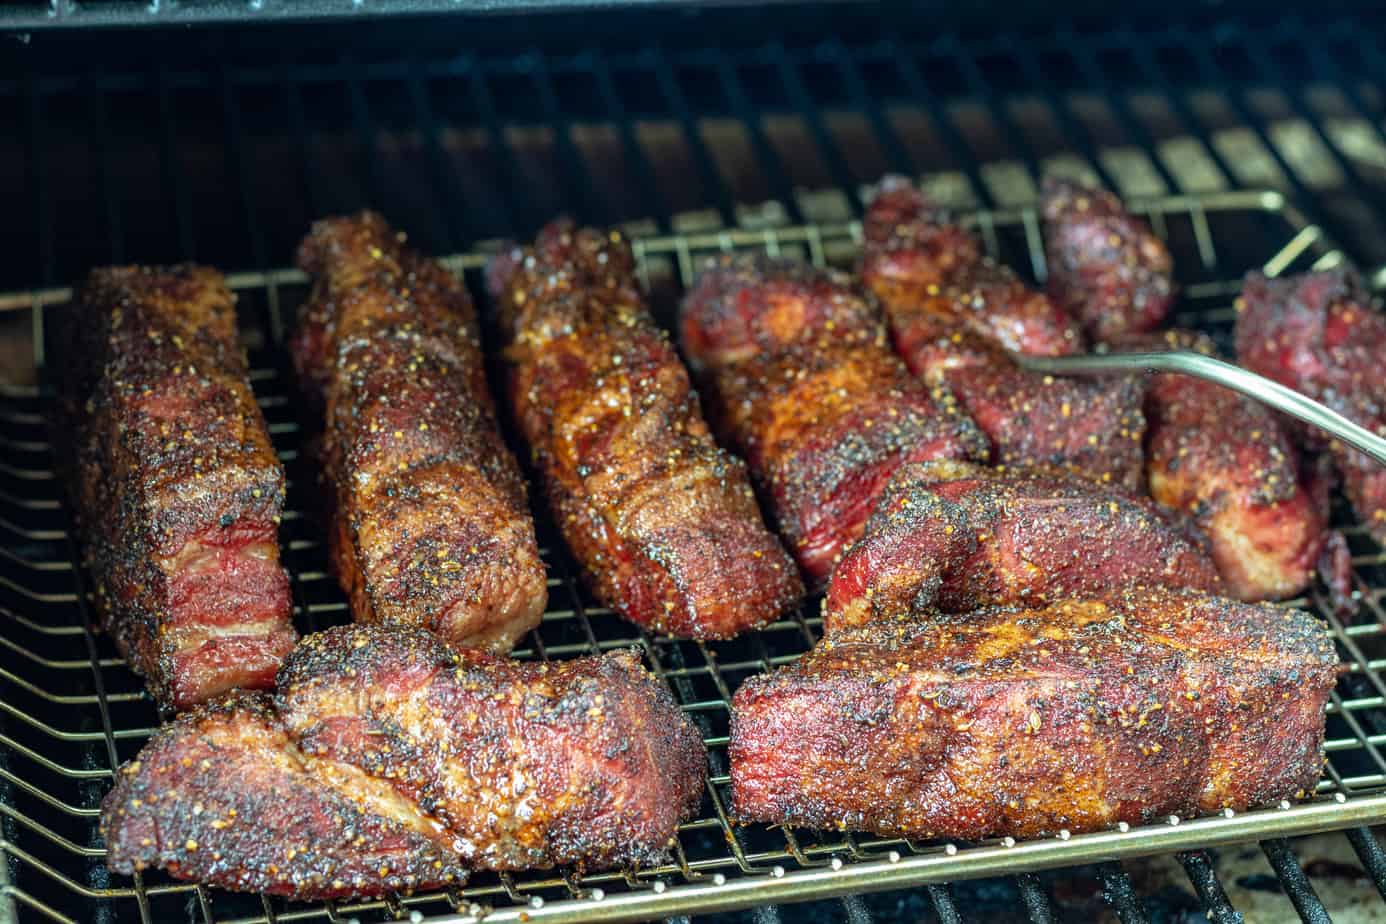
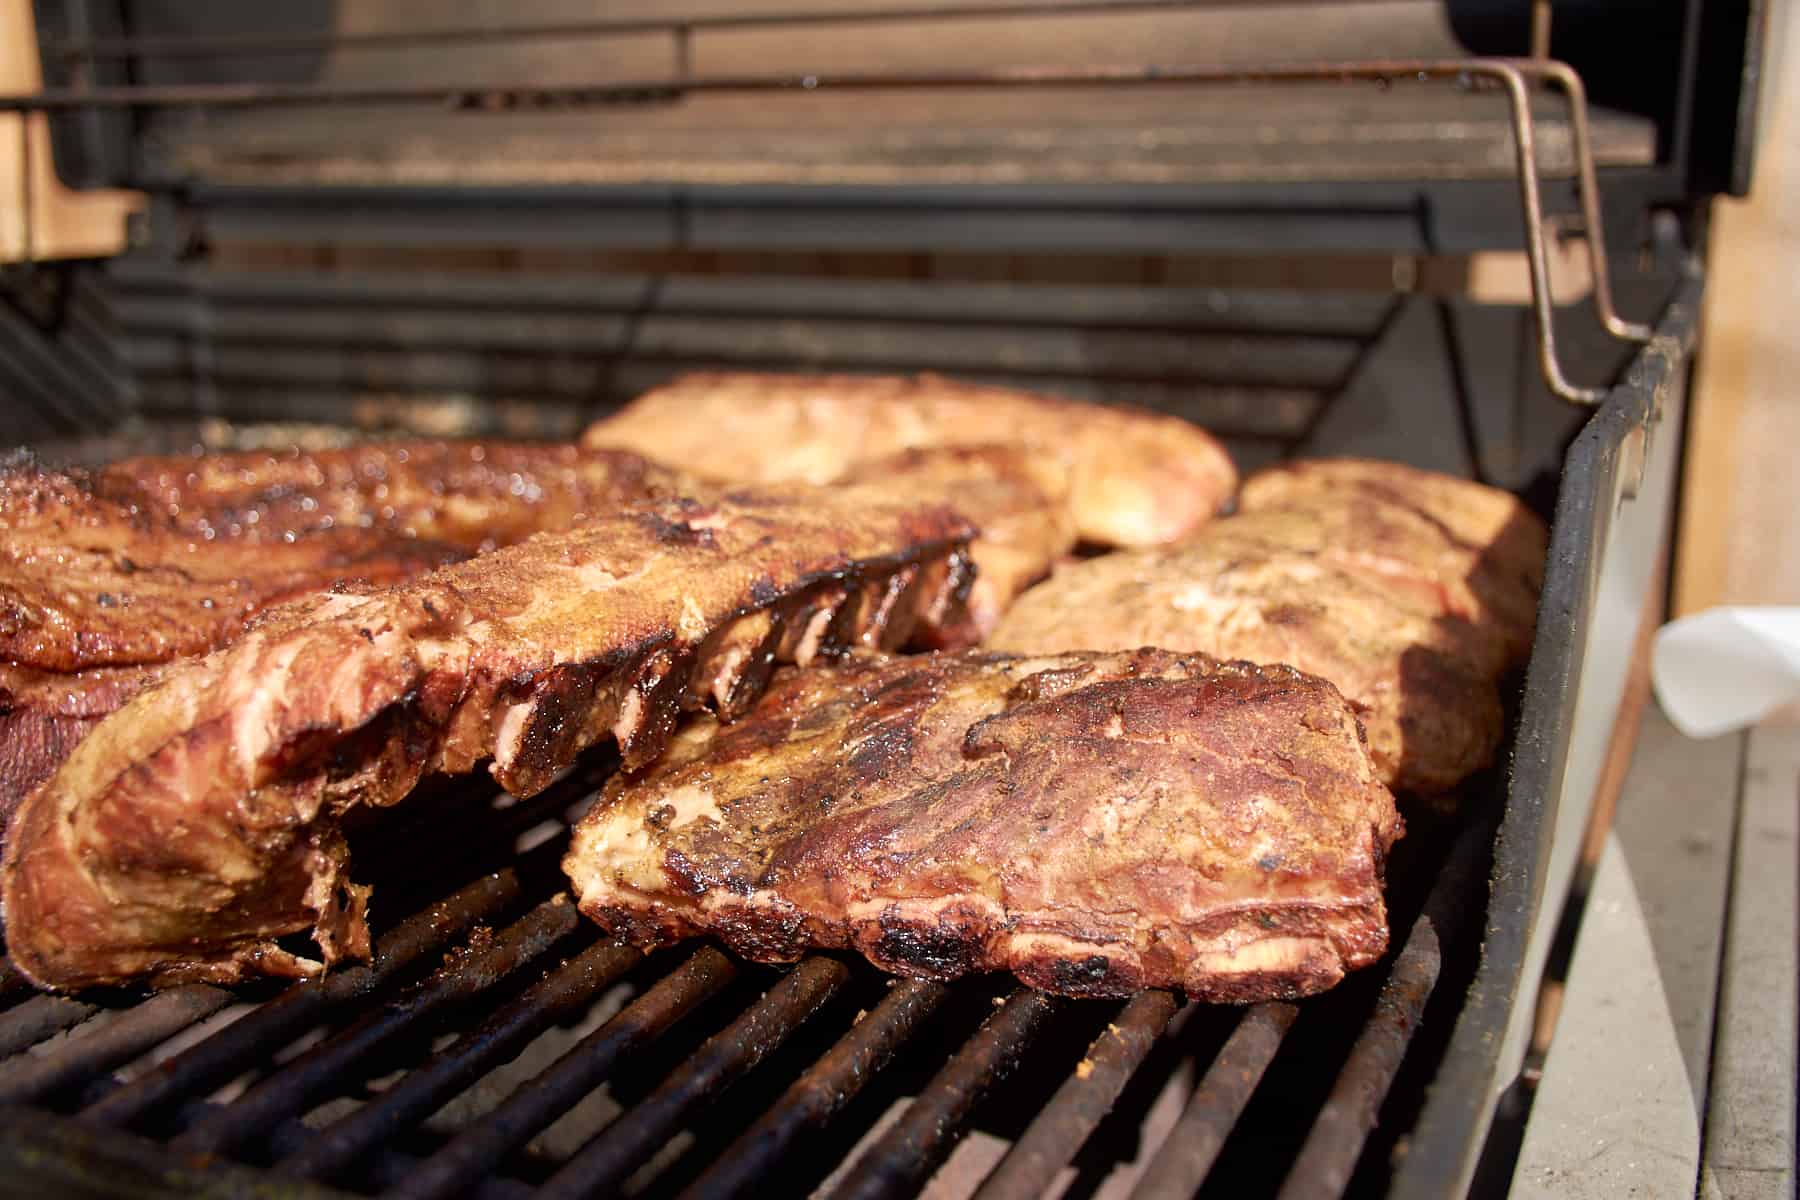
- Place the seasoned ribs on the smoker racks, making sure to leave space between each rack for the smoke to circulate.
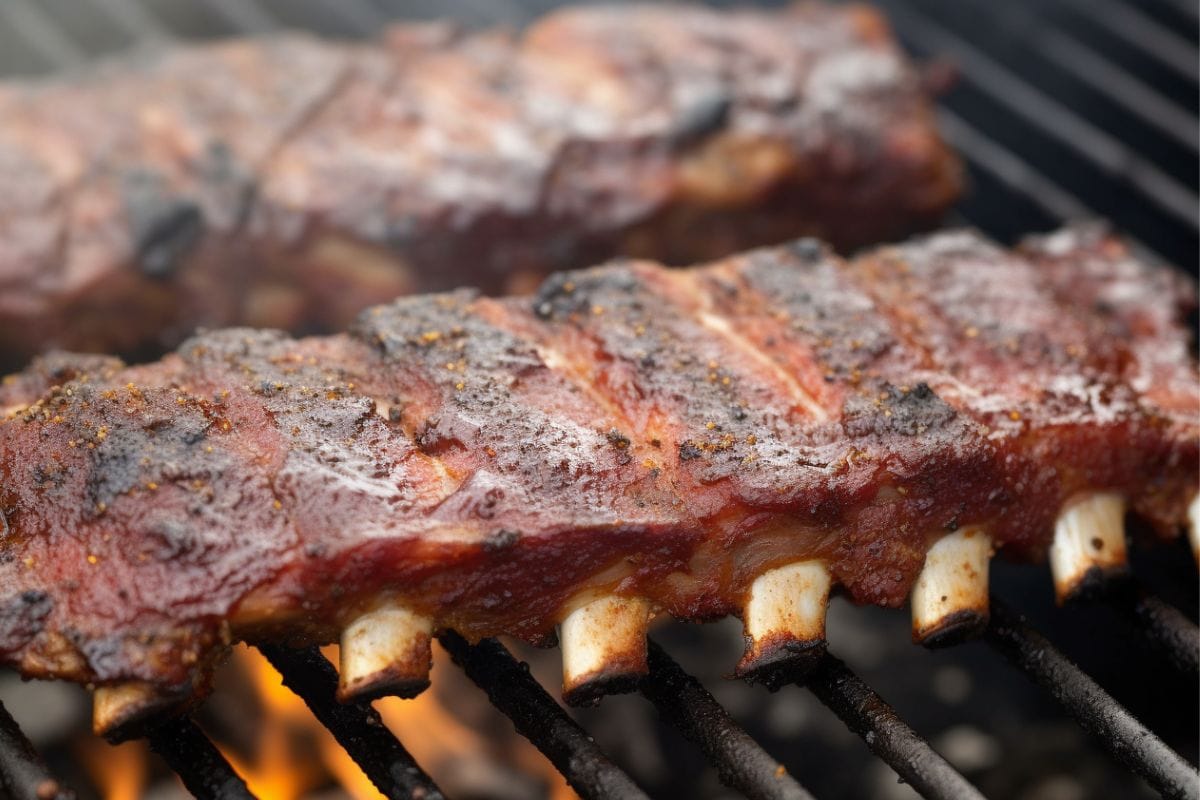
- Close the smoker door and let the ribs smoke for 3-4 hours, or until they reach an internal temperature of 190°F. This slow cooking process will allow the flavors to develop and the meat to become tender.
- During the smoking process, periodically check the wood chip tray and water pan to ensure they have an adequate supply of chips and water.
Finishing and Serving Your Ribs
Once your ribs have reached the desired level of smokiness and tenderness, it’s time to finish them off and get ready to serve. Here’s what to do:
- Remove the ribs from the smoker and let them rest for a few minutes to allow the juices to redistribute throughout the meat.
- Brush the ribs with your favorite barbecue sauce and return them to the smoker for an additional 30 minutes to allow the sauce to caramelize.
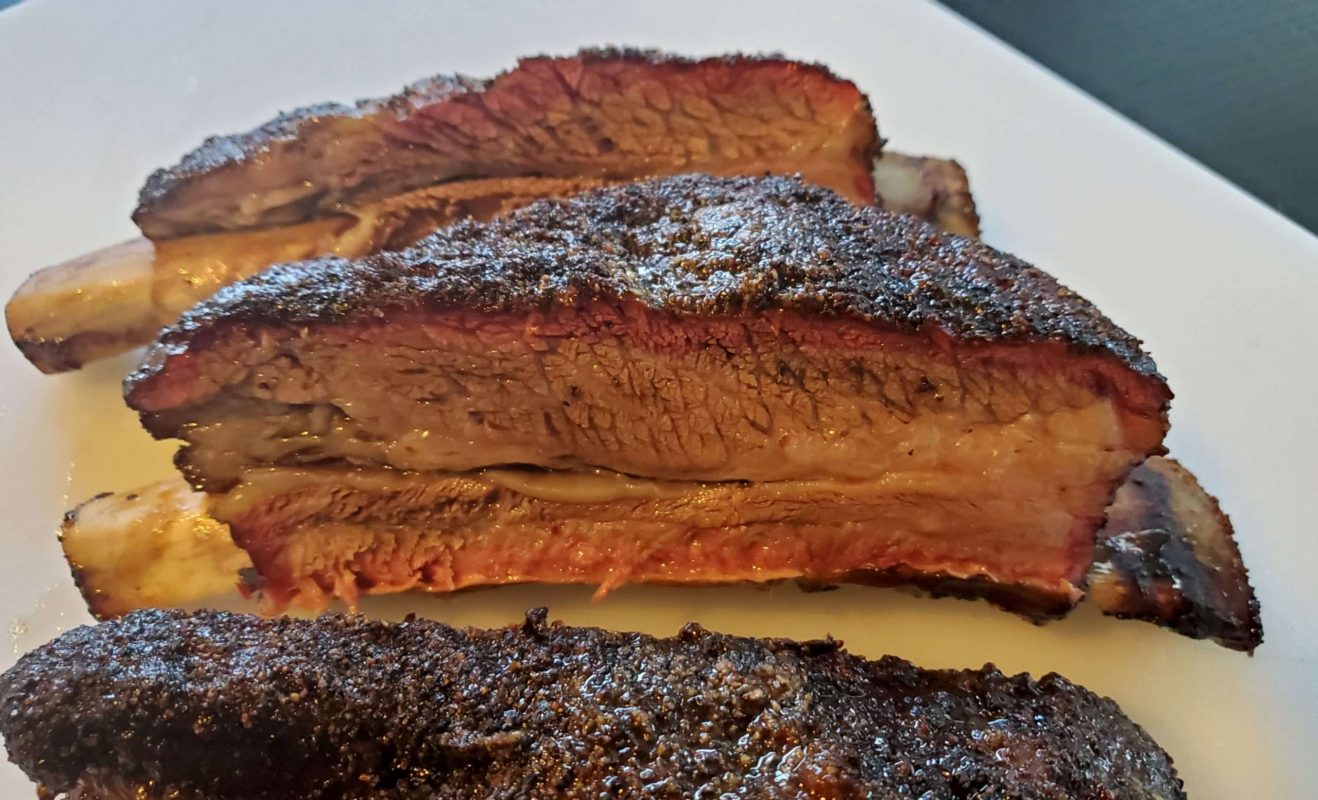
- Once the ribs are done, remove them from the smoker and let them rest for a few more minutes before slicing and serving.
With these simple steps, you can smoke ribs like a pro in your Masterbuilt Pro smoker. Whether you’re a seasoned pitmaster or a beginner, following these guidelines will help you achieve mouthwatering, flavorful ribs that will have everyone coming back for more. So fire up your smoker, grab some ribs, and get ready to impress with your newfound smoking skills!
Was this page helpful?
Read Next: How To Smoke Sockeye
