Smoking Ribs in a Pellet Smoker: A Delicious Guide
Welcome to the wonderful world of smoking ribs in a pellet smoker! If you’re a fan of tender, flavorful ribs, then using a pellet smoker is a fantastic way to achieve that mouthwatering, smoky taste. Whether you’re a seasoned pitmaster or a beginner looking to try your hand at smoking ribs, this guide will walk you through the process step by step, ensuring that you achieve perfectly smoked ribs every time.
Choosing the Right Ribs
Before you start smoking, it’s important to select the right kind of ribs. Baby back ribs are a popular choice for smoking due to their tenderness and quick cooking time. St. Louis-style ribs are another excellent option, known for their rich, meaty flavor. Whichever type you choose, make sure the ribs are fresh and of high quality.
Preparing the Ribs
Once you’ve chosen your ribs, it’s time to prepare them for smoking. Follow these simple steps to get your ribs ready for the smoker:
- Remove the membrane: Use a butter knife to lift and loosen the membrane from the bone side of the ribs. Once you have a good grip on the membrane, pull it off in one smooth motion.
- Trim excess fat: Trim any large pieces of fat from the ribs, leaving a thin layer to add flavor and moisture during the smoking process.
- Apply the rub: Generously coat the ribs with your favorite dry rub, ensuring that the entire surface is covered. This will add delicious flavor to the meat as it smokes.
Setting Up the Pellet Smoker
Now that your ribs are prepped and ready to go, it’s time to set up your pellet smoker. Follow these steps to ensure that your smoker is ready to produce mouthwatering ribs:
- Fill the hopper with pellets: Choose high-quality hardwood pellets in a flavor that complements the ribs, such as hickory, apple, or cherry.
- Preheat the smoker: Set the temperature to around 225°F and allow the smoker to preheat for about 15-20 minutes. This will ensure a consistent cooking temperature throughout the smoking process.
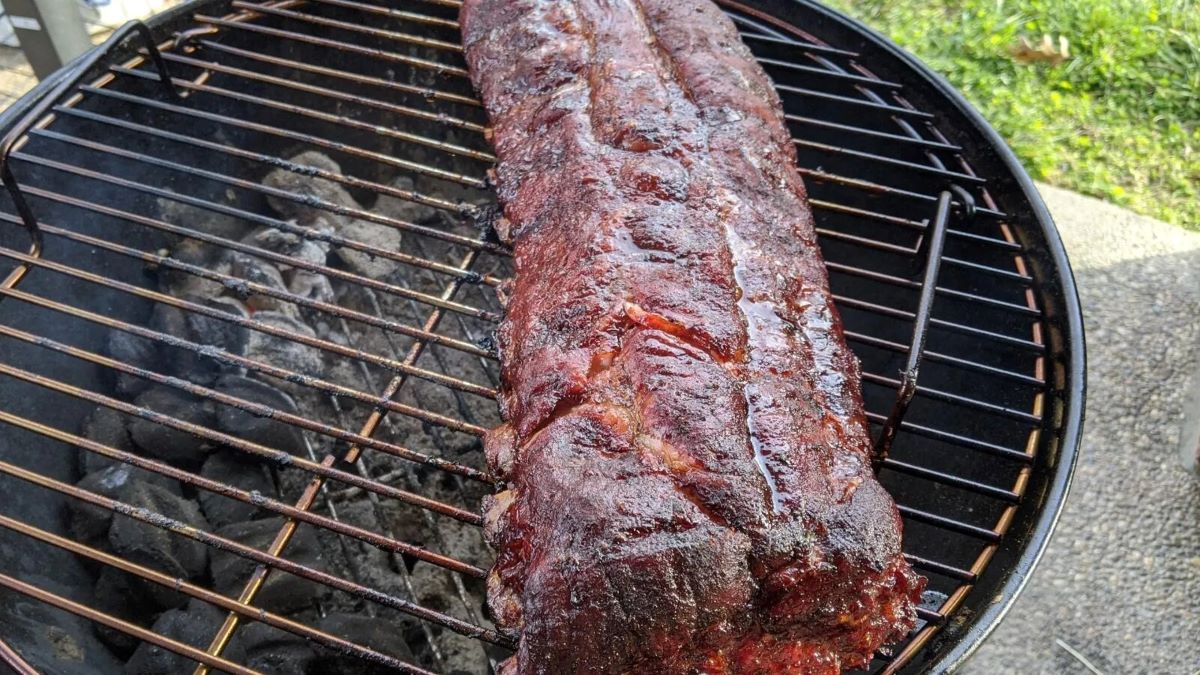
- Place the ribs in the smoker: Once the smoker is preheated, carefully place the ribs on the grill grates, bone side down.
Smoking the Ribs
With the smoker set up and the ribs in place, it’s time to let the smoking process work its magic. Here are some key tips for achieving perfectly smoked ribs:
- Monitor the temperature: Keep an eye on the smoker’s temperature throughout the cooking process, making adjustments as needed to maintain a steady heat level.
- Use the 3-2-1 method: For baby back ribs, a popular smoking technique is the 3-2-1 method. This involves smoking the ribs for 3 hours, wrapping them in foil and smoking for 2 hours, then unwrapping and smoking for 1 more hour to achieve tender, flavorful ribs.
- Apply a glaze: During the final hour of smoking, brush the ribs with your favorite BBQ sauce or glaze to add a delicious finishing touch.
Final Steps
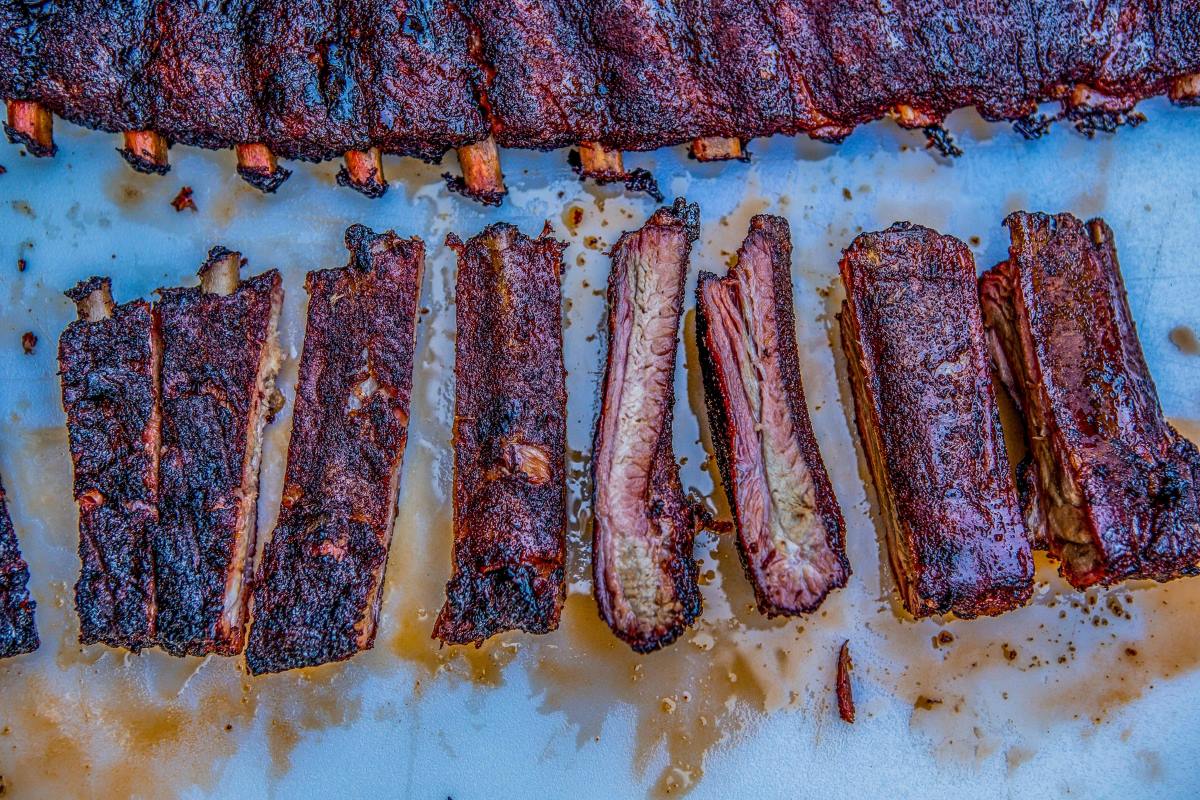
Once the smoking process is complete, it’s time to savor the fruits of your labor. Carefully remove the ribs from the smoker and let them rest for a few minutes before slicing and serving. The result? Perfectly smoked, tender, and flavorful ribs that are sure to impress your family and friends.
Now that you’ve mastered the art of smoking ribs in a pellet smoker, it’s time to fire up the grill and put your newfound skills to the test. With a little practice and experimentation, you’ll be well on your way to becoming a true pitmaster, capable of creating mouthwatering smoked ribs whenever the craving strikes.
So, what are you waiting for? Grab some ribs, fire up the pellet smoker, and get ready to enjoy the delicious rewards of smoking ribs to perfection.
Was this page helpful?
Read Next: How To Smoke Deer Meat In An Electric Smoker

