Proofing Frozen Bread: A Guide to Perfectly Fluffy Loaves
There’s nothing quite like the smell of freshly baked bread wafting through the kitchen. Whether you’re a seasoned baker or just starting out, learning how to proof frozen bread can be a game-changer. With the right techniques, you can enjoy delicious, homemade bread without the hassle of starting from scratch every time. In this guide, we’ll walk you through the steps to proof frozen bread for perfectly fluffy loaves every time.
Why Proofing Frozen Bread is Important
Before we dive into the process, let’s talk about why proofing frozen bread is important. Proofing is the final rise that dough undergoes before baking. This step allows the yeast in the dough to produce carbon dioxide, which creates air pockets in the bread, resulting in a light and airy texture. When you freeze bread dough, the yeast becomes dormant, so proper proofing is essential to revive the yeast and achieve the desired texture in the finished loaf.
Steps to Proof Frozen Bread
Now that we understand the importance of proofing frozen bread, let’s explore the step-by-step process to achieve perfect results:
- Thaw the Dough: Start by thawing the frozen bread dough in the refrigerator overnight. This gradual thawing process helps maintain the integrity of the dough and allows the yeast to become active again.
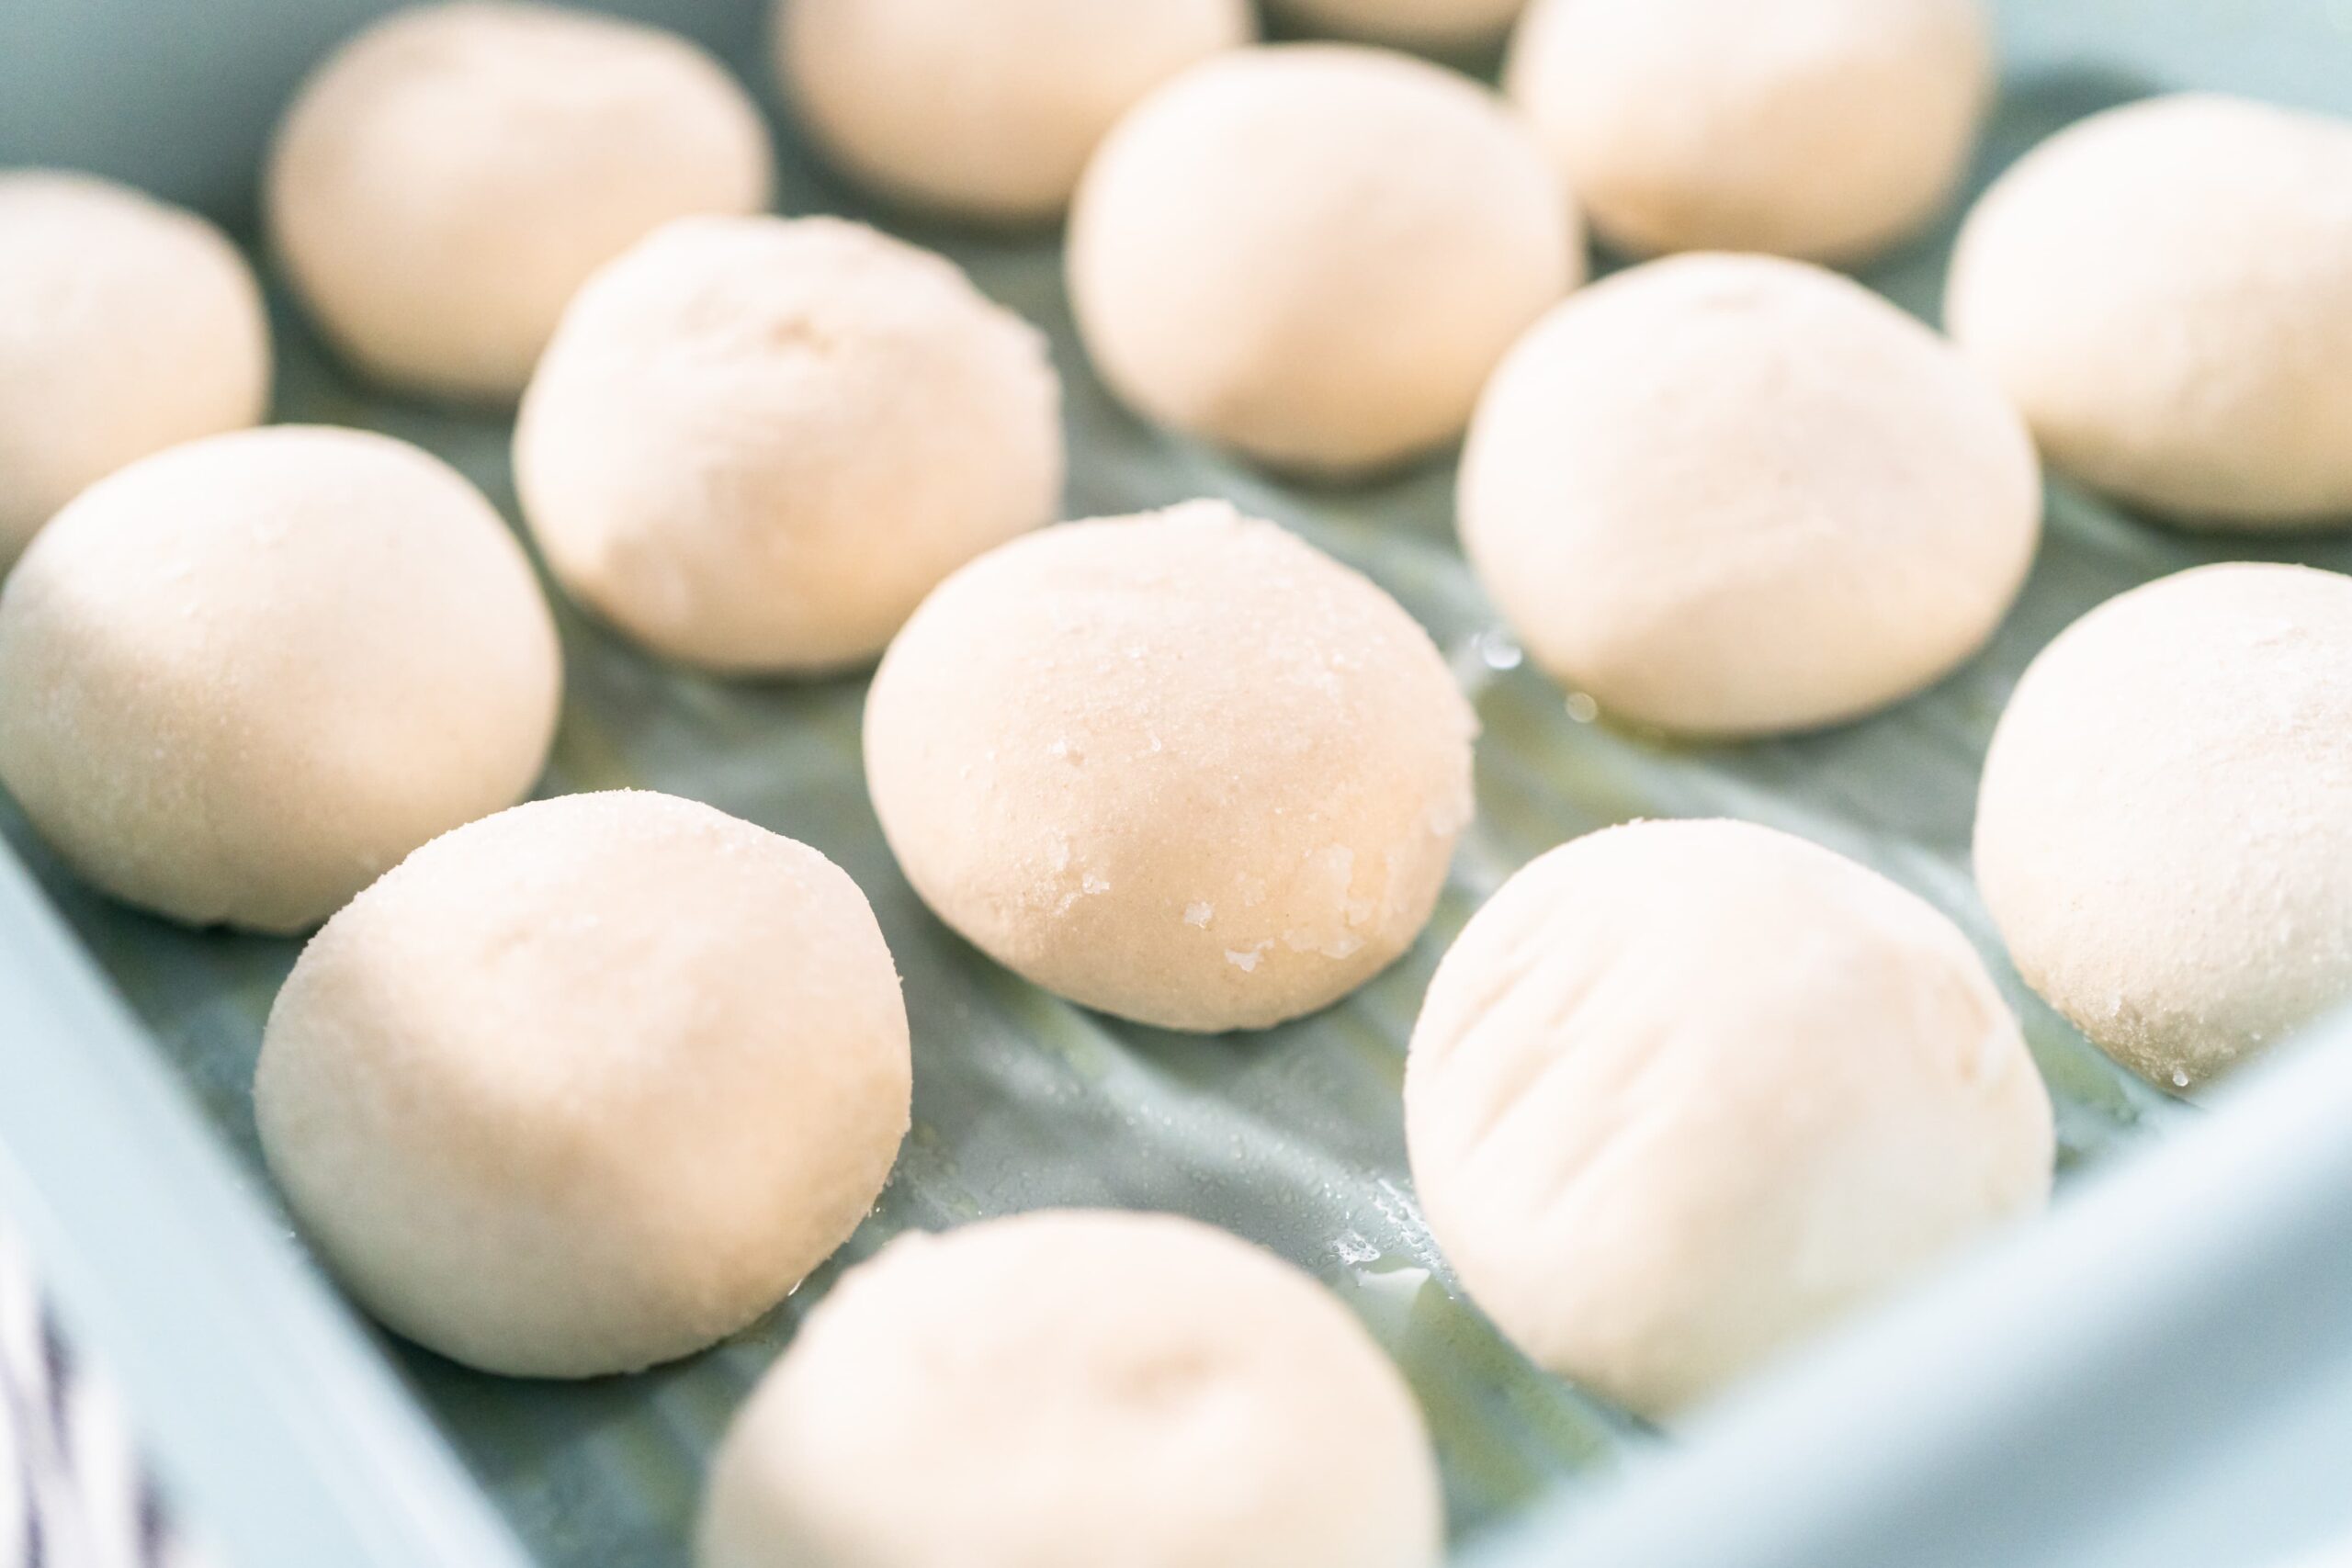
- Shape the Dough: Once the dough is fully thawed, shape it into the desired loaf or rolls. This step helps redistribute the yeast and ensures an even rise during proofing.
- Proofing Time: Place the shaped dough in a greased bowl and cover it with a damp cloth. Allow the dough to proof at room temperature until it has doubled in size. This can take anywhere from 1 to 2 hours, depending on the ambient temperature.
- Test for Readiness: To check if the dough is ready for baking, gently press a finger into the dough. If the indentation remains, the dough is properly proofed and ready to bake.
Tips for Successful Proofing
While the basic steps for proofing frozen bread are straightforward, here are some additional tips to ensure successful results:
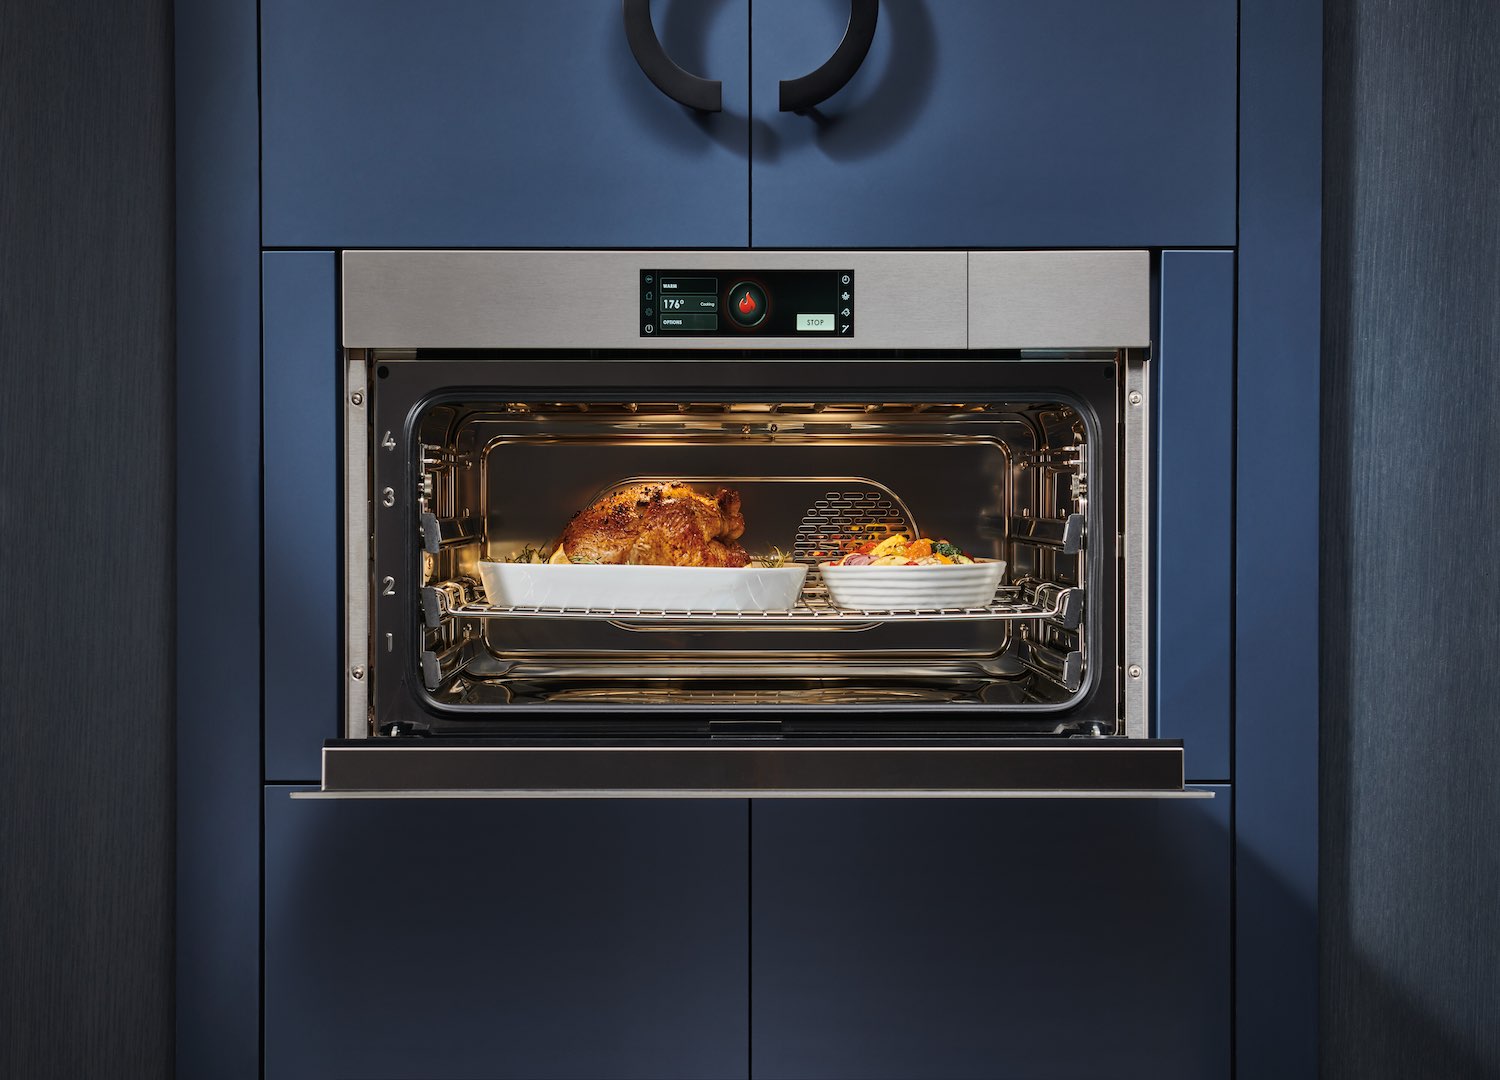
- Use a Warm Environment: If your kitchen is on the cooler side, create a warm environment for the dough to proof. You can place the bowl near a preheating oven or in a slightly warm area of the kitchen to encourage proper rising.
- Avoid Over-Proofing: Be mindful of the proofing time to avoid over-proofing the dough, which can result in a collapsed or dense loaf. Keep an eye on the dough as it proofs and proceed to baking once it has doubled in size.
- Consider Using a Proofing Box: If you frequently bake bread, investing in a proofing box can provide consistent and controlled proofing conditions, especially in colder climates.
Enjoy Fresh Bread Anytime
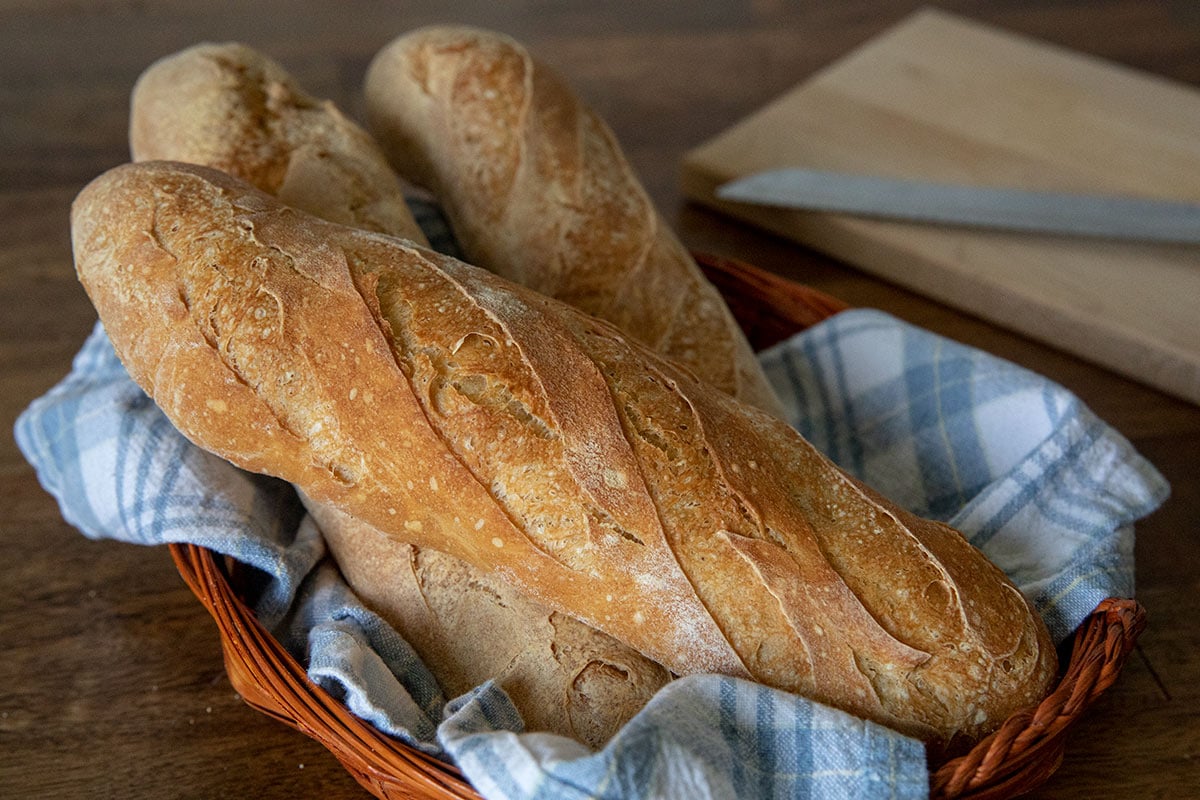
By mastering the art of proofing frozen bread, you can enjoy the convenience of having homemade bread ready to bake at a moment’s notice. Whether you prefer crusty artisan loaves or soft dinner rolls, the process of proofing frozen bread allows you to savor the aroma and flavor of freshly baked bread anytime.
So, the next time you freeze a batch of bread dough, remember these tips for successful proofing and get ready to delight your senses with the irresistible allure of freshly baked bread.
Happy baking!
Was this page helpful?
Read Next: How To Proof Frozen Rolls
