Proofing Dough Without a Basket: A Guide for Home Bakers
Proofing dough is an essential step in the bread-making process. It allows the dough to rise and develop flavor before baking. While traditional proofing baskets are commonly used for this purpose, not everyone has access to them. If you find yourself in this situation, fear not! There are several alternative methods for proofing dough without a basket. In this guide, we’ll explore some creative and effective ways to proof your dough without a traditional proofing basket.
1. Using a Mixing Bowl
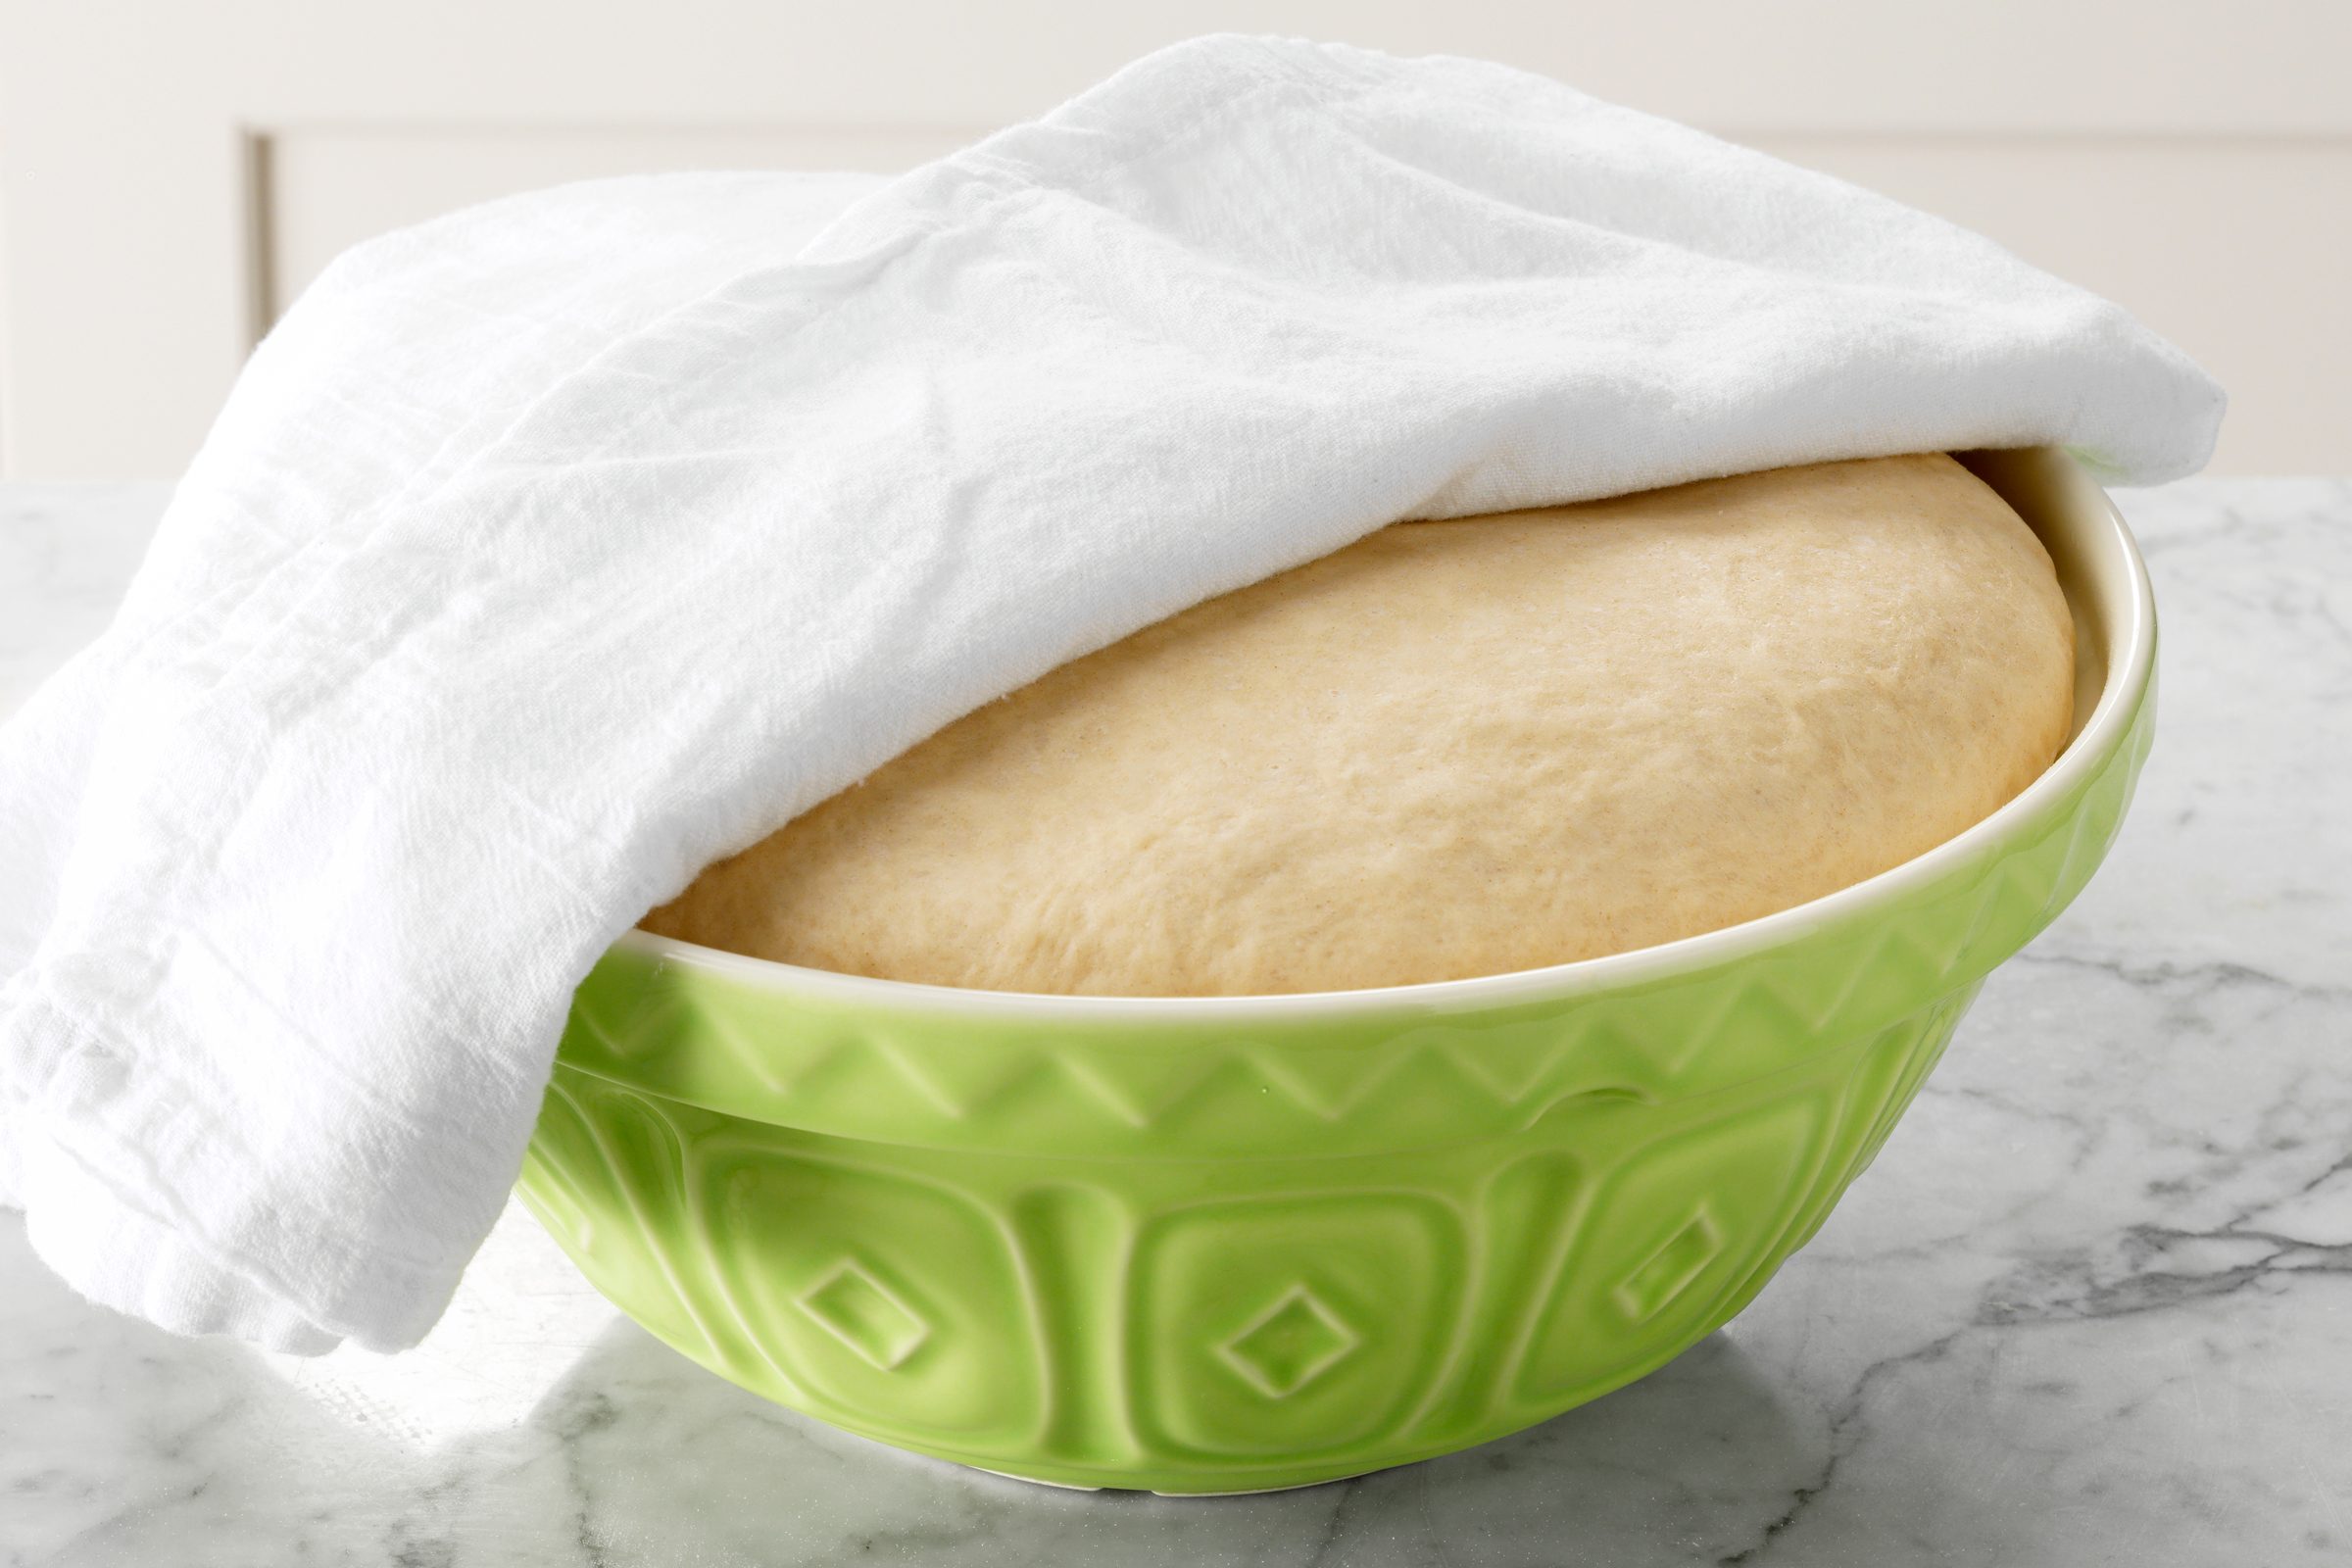
If you don’t have a proofing basket, a mixing bowl can serve as a great alternative. Here’s how to do it:
- Lightly grease the inside of a clean mixing bowl with oil to prevent the dough from sticking.
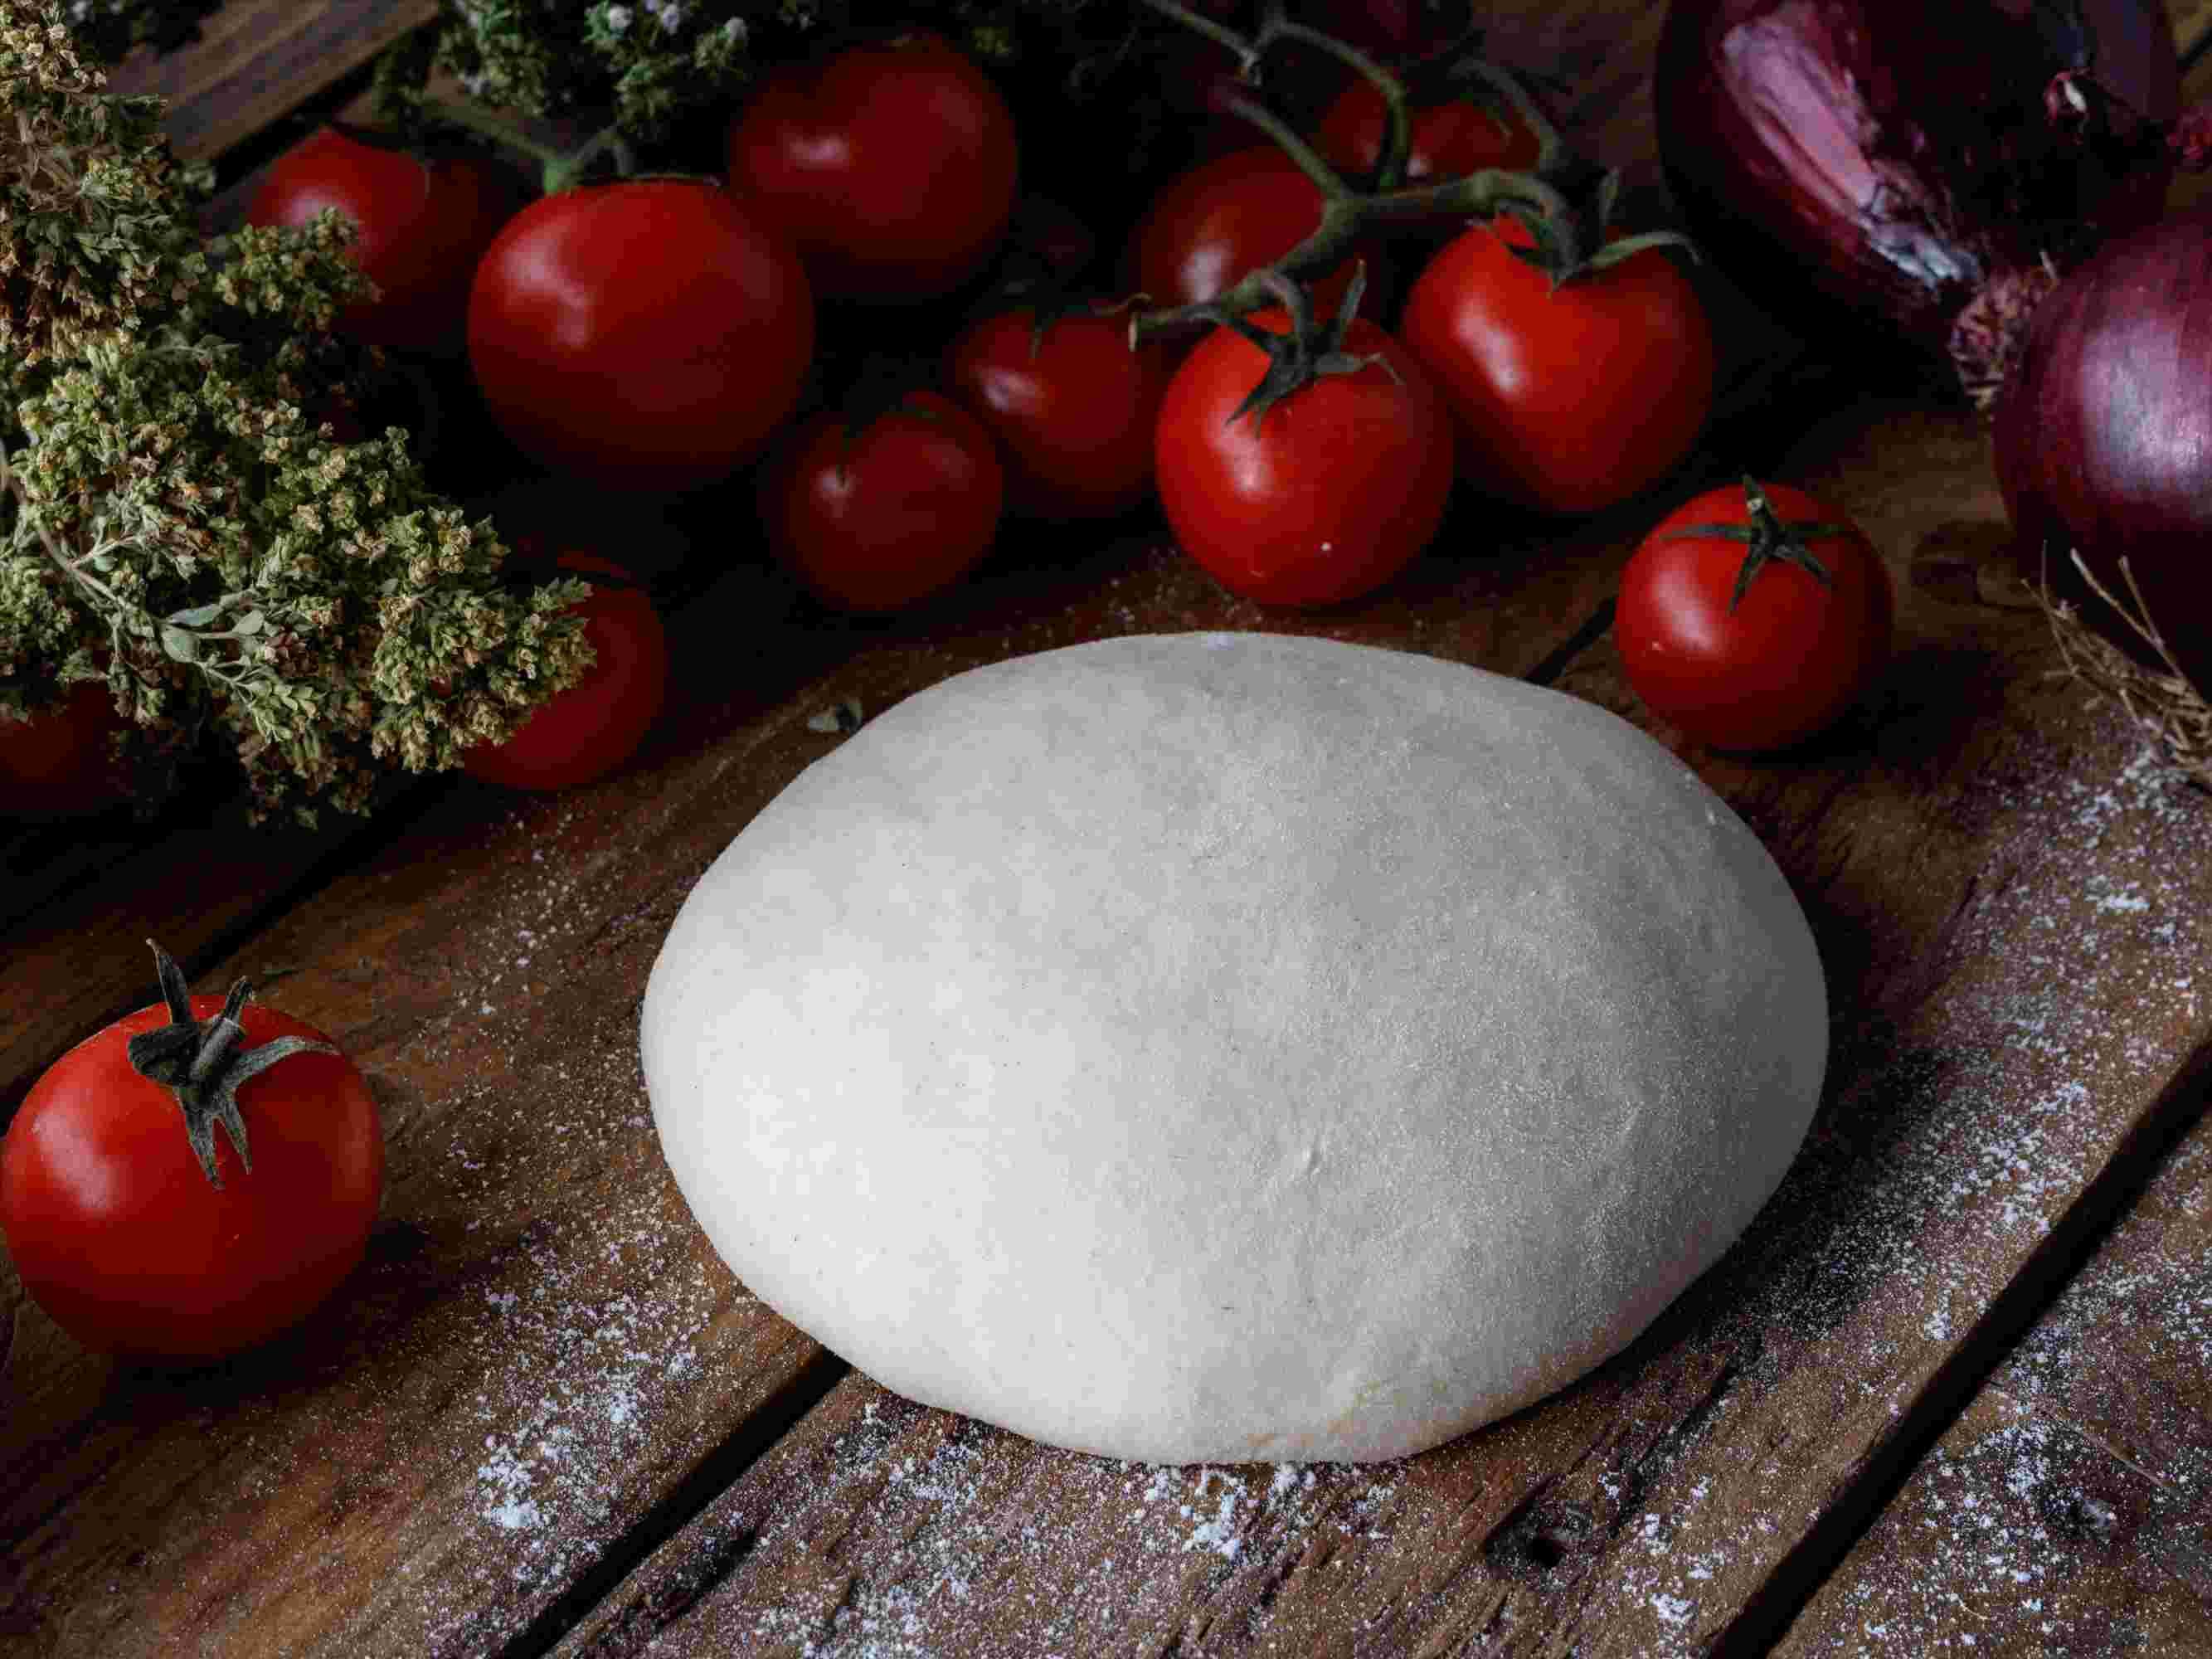
- Shape your dough into a ball and place it in the greased mixing bowl.
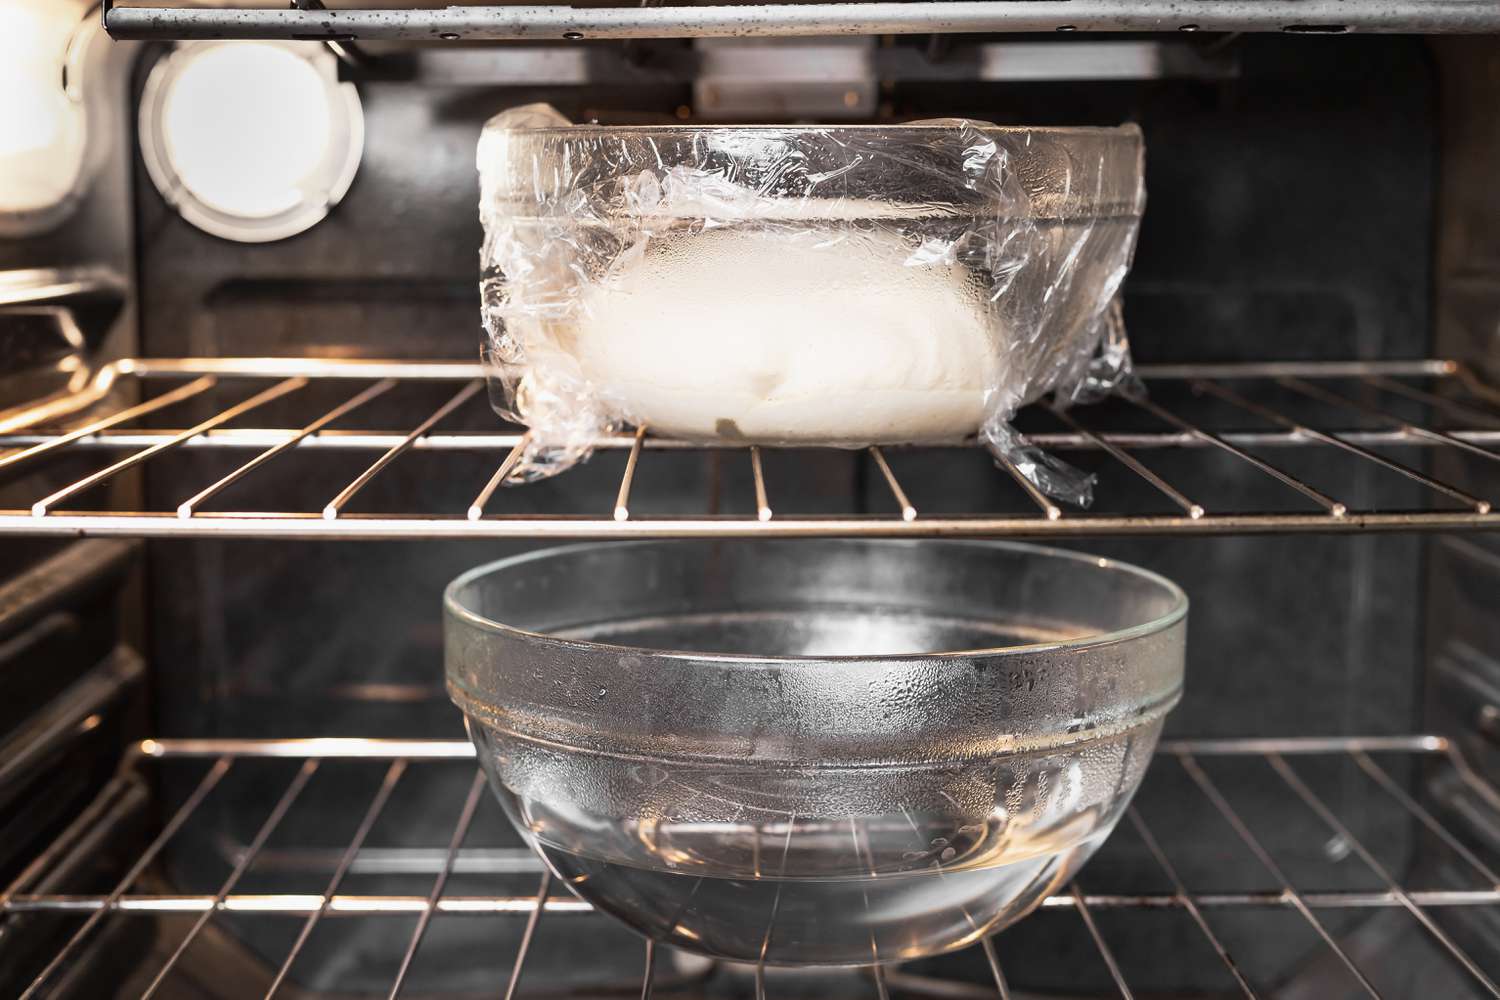
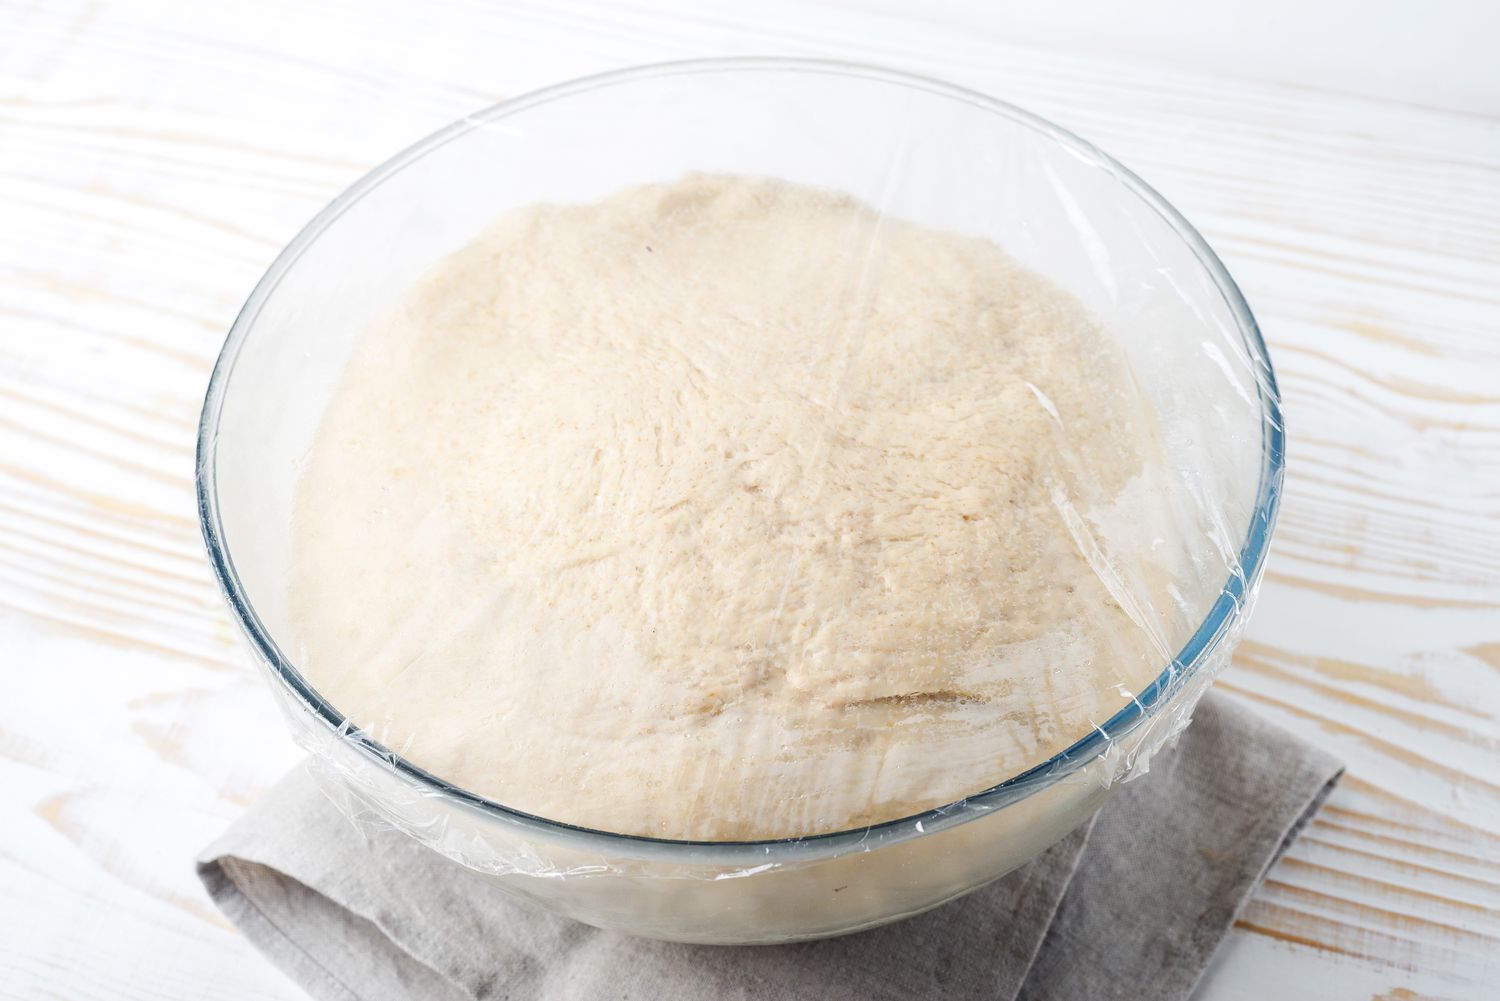
- Cover the bowl with a clean kitchen towel or plastic wrap to create a warm, humid environment for the dough to rise.
- Place the bowl in a warm, draft-free area and allow the dough to proof according to your recipe’s instructions.
2. Using a Dutch Oven
If you have a Dutch oven at home, you can use it for proofing dough. Here’s how:
- Lightly grease the inside of the Dutch oven with oil.
- Shape your dough into a ball and place it in the greased Dutch oven.
- Cover the Dutch oven with its lid or with plastic wrap to create a warm environment for the dough to rise.
- Place the Dutch oven in a warm spot and allow the dough to proof as directed by your recipe.
3. Using a Baking Sheet
A baking sheet can also be used as a makeshift proofing surface for your dough. Here’s how to do it:
- Lightly grease the surface of a clean baking sheet with oil.
- Shape your dough into the desired shape and place it on the greased baking sheet.
- Cover the dough with a clean kitchen towel or plastic wrap to create a warm, humid environment for proofing.
- Place the baking sheet in a warm, draft-free area and allow the dough to proof until it has doubled in size.
4. Using a Cloth-Lined Bowl
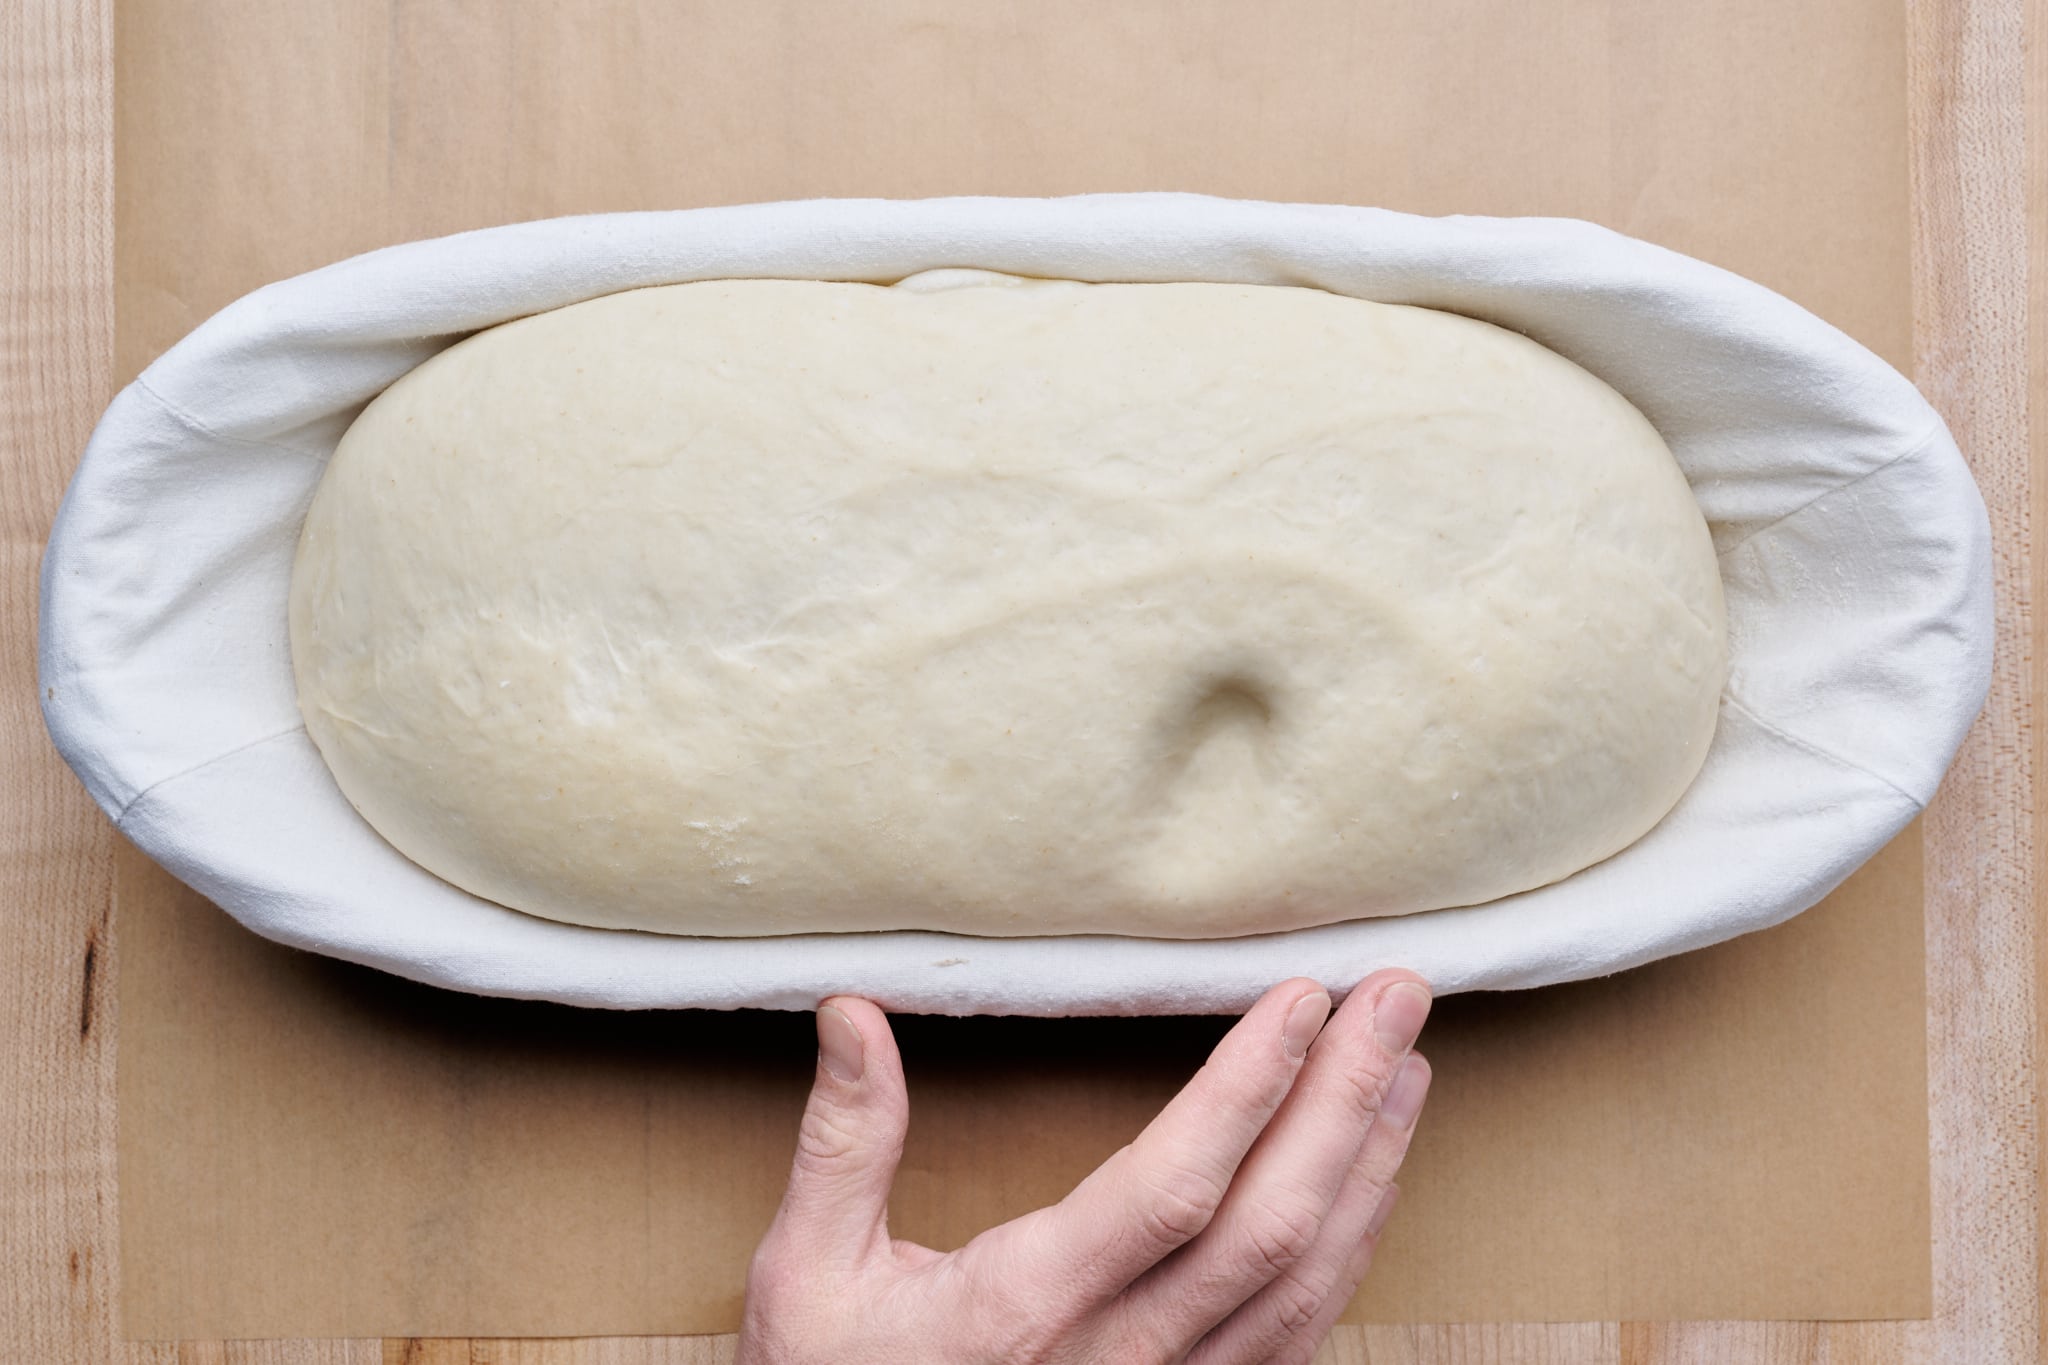
If you don’t have a proofing basket, you can create a makeshift one using a cloth-lined bowl. Here’s how:
- Line a clean mixing bowl with a clean kitchen towel or linen cloth.
- Lightly dust the lined bowl with flour to prevent the dough from sticking.
- Shape your dough into a ball and place it in the lined bowl.
- Wrap the overhanging cloth over the top of the dough to cover it.
- Place the bowl in a warm, draft-free area and allow the dough to proof as directed by your recipe.
Proofing dough without a traditional basket is not only possible but also quite simple with the right tools and techniques. By using everyday items found in your kitchen, you can achieve beautifully proofed dough that’s ready to be baked into delicious bread. Whether you opt for a mixing bowl, Dutch oven, baking sheet, or cloth-lined bowl, the key is to create a warm and humid environment for the dough to rise. So, the next time you find yourself without a proofing basket, don’t fret—get creative and use one of these alternative methods to proof your dough with ease.
Was this page helpful?
Read Next: How To Proof Yeast Rolls
