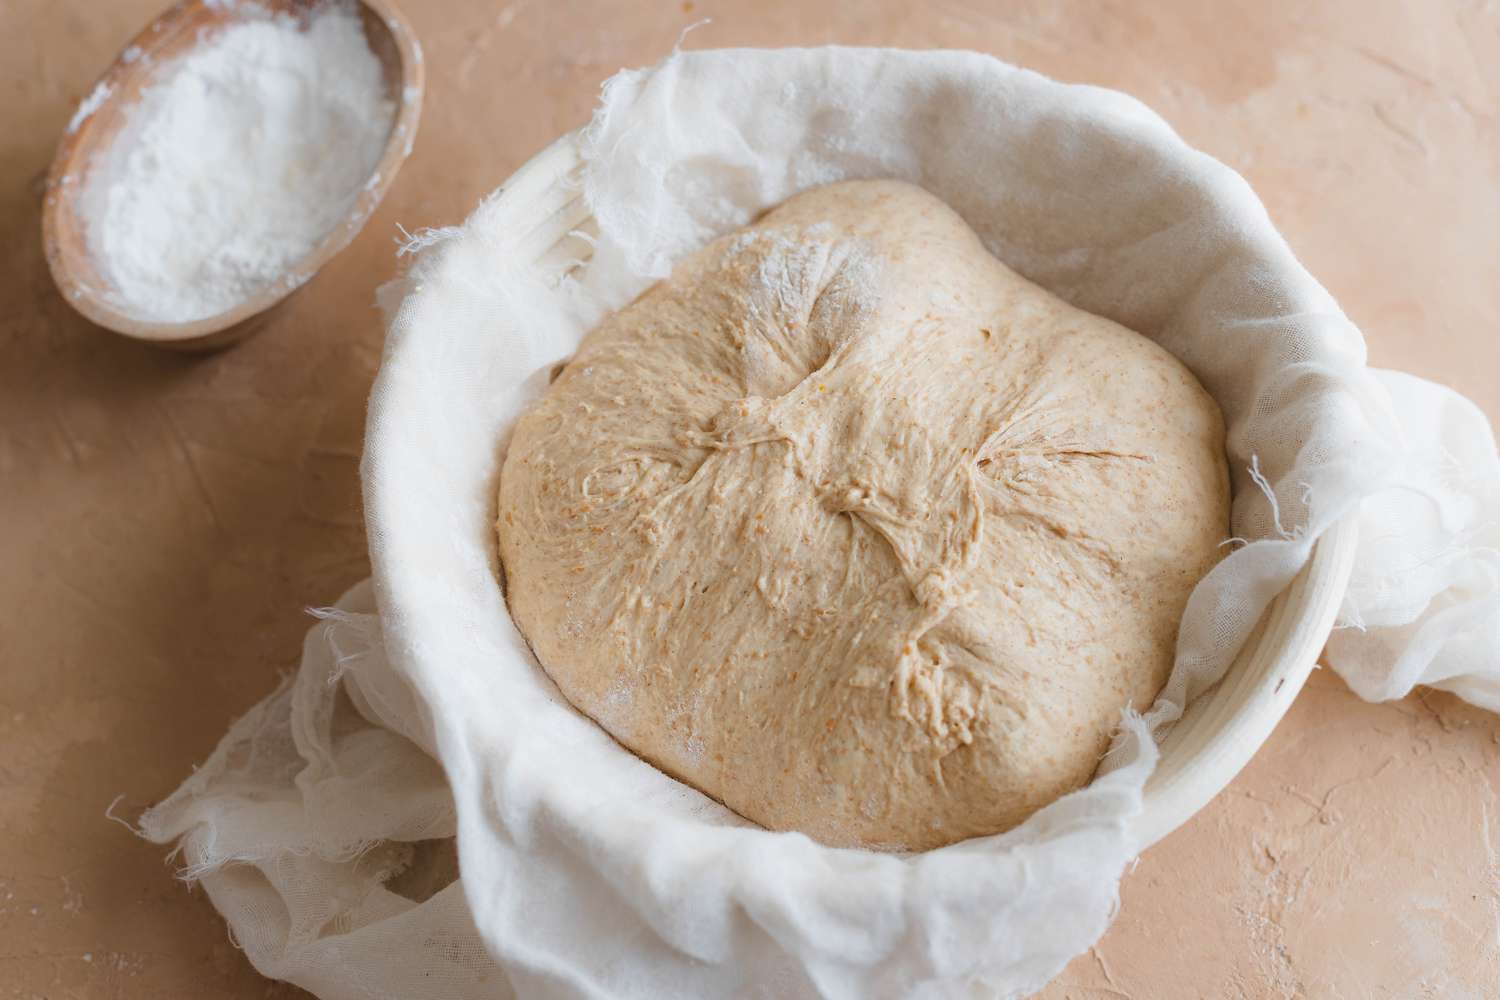
Mastering the Art of Proofing Pizza Dough
One of the most crucial steps in making the perfect pizza is proofing the dough. This process involves allowing the dough to rise, which creates a light and airy crust with a delicious flavor. Whether you’re a seasoned pizza maker or a novice in the kitchen, mastering the art of proofing pizza dough is essential for creating a mouthwatering pie. Here’s how you can perfect the proofing process:
Choose the Right Dough Recipe
Before you can begin proofing your pizza dough, you need to start with a great recipe. Whether you prefer a classic Neapolitan-style dough or a thick and chewy New York-style crust, there are countless recipes to choose from. Look for a recipe that uses high-quality ingredients, including bread flour, yeast, water, salt, and olive oil.
Mixing and Kneading
Once you’ve chosen your recipe, it’s time to mix and knead the dough. This step is crucial for developing the gluten in the dough, which gives it the perfect texture and structure. Use your hands or a stand mixer to combine the ingredients until a smooth and elastic dough forms. Be sure to knead the dough for the recommended amount of time to achieve the best results.
Allow for Proper Fermentation
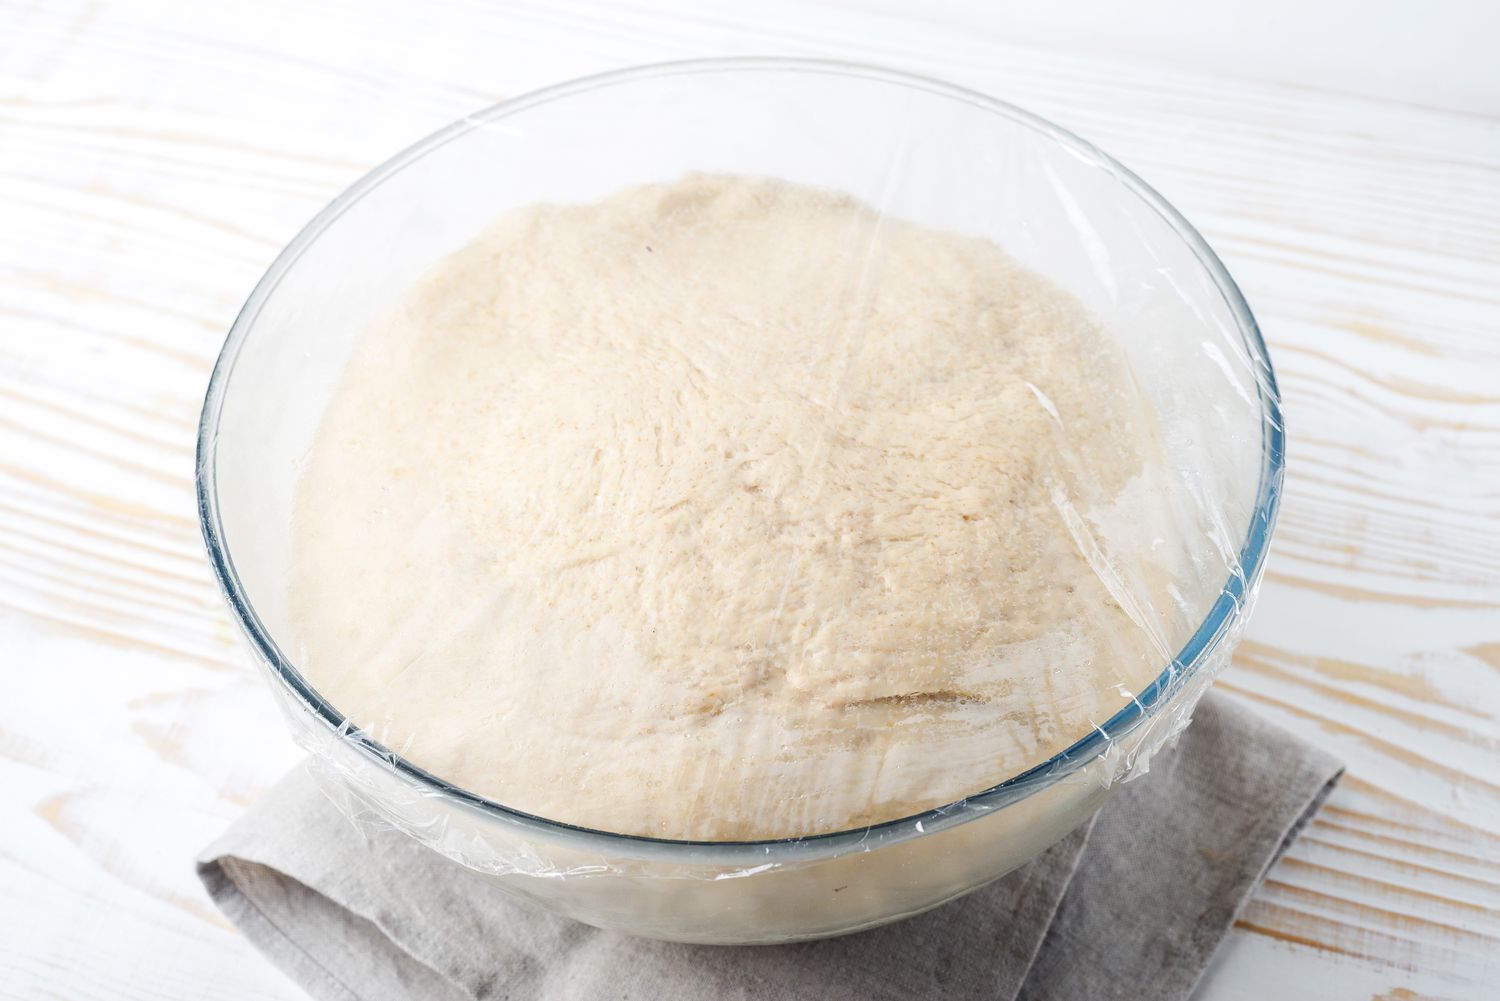
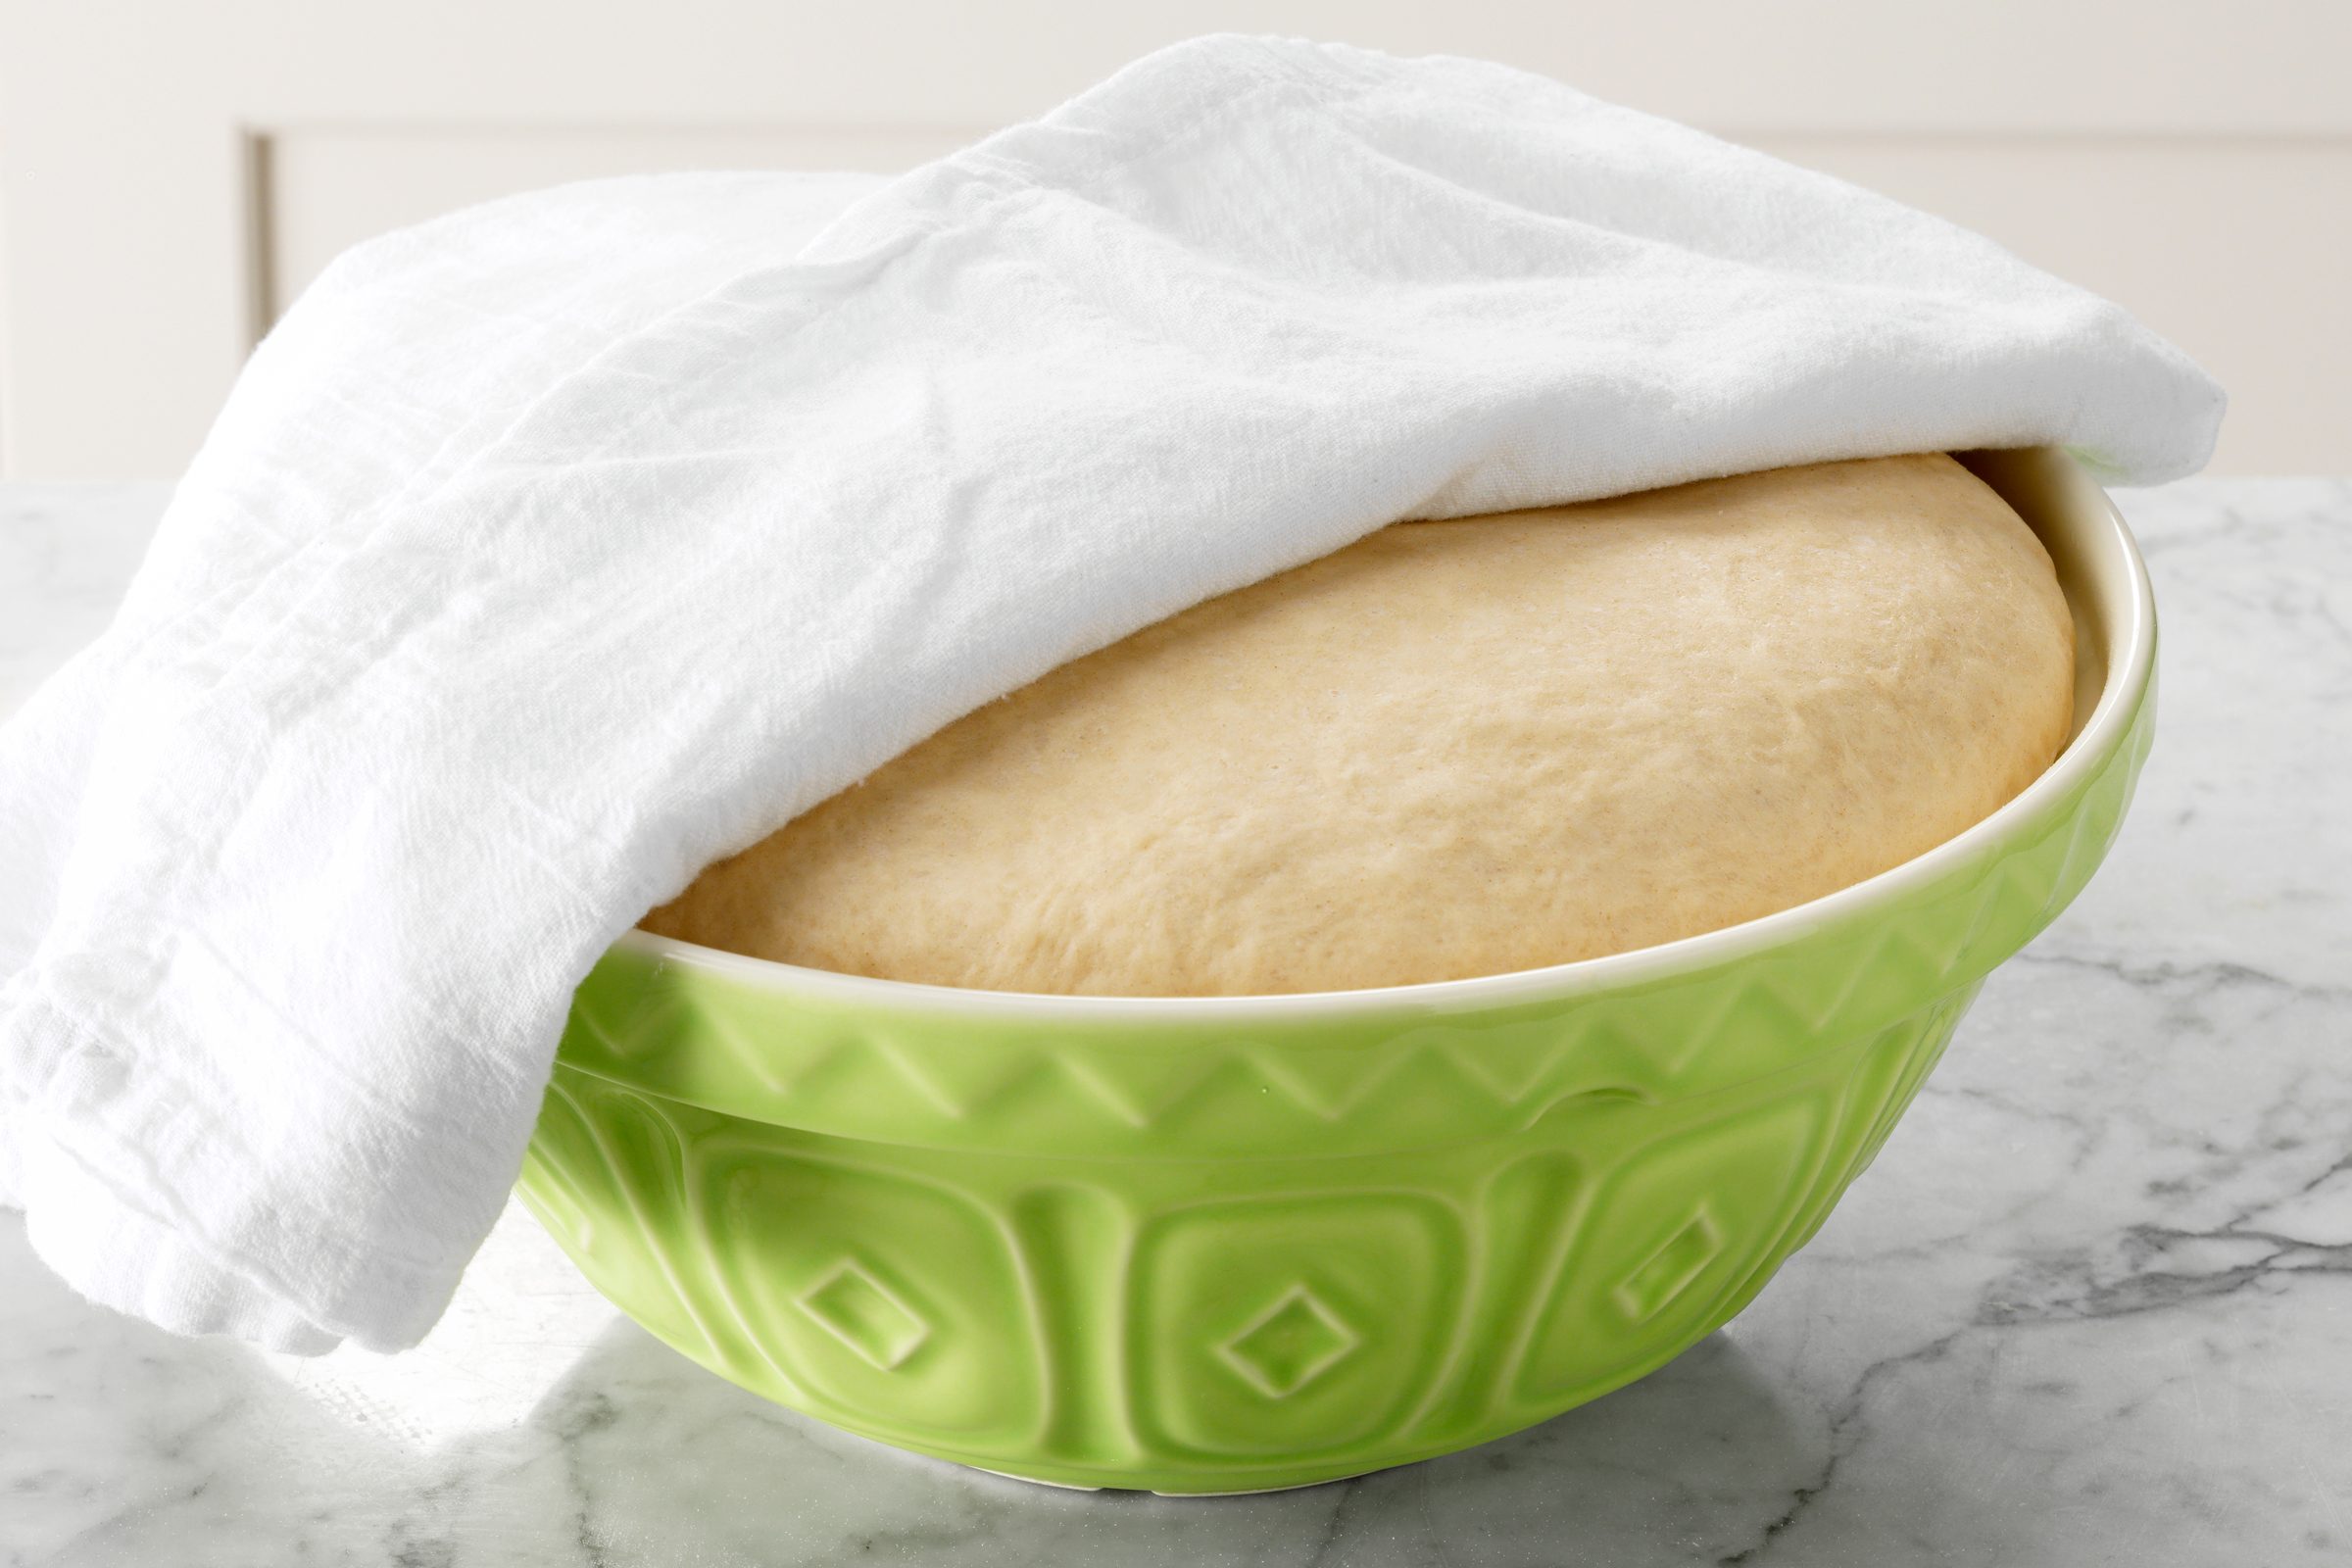
After the dough is mixed and kneaded, it’s time to let it ferment. This step allows the yeast to work its magic, creating carbon dioxide that causes the dough to rise. Place the dough in a lightly oiled bowl, cover it with plastic wrap, and let it rest at room temperature. The length of fermentation time will depend on the recipe, but it’s typically around 24 hours for the best flavor and texture.
Checking for Proper Proofing
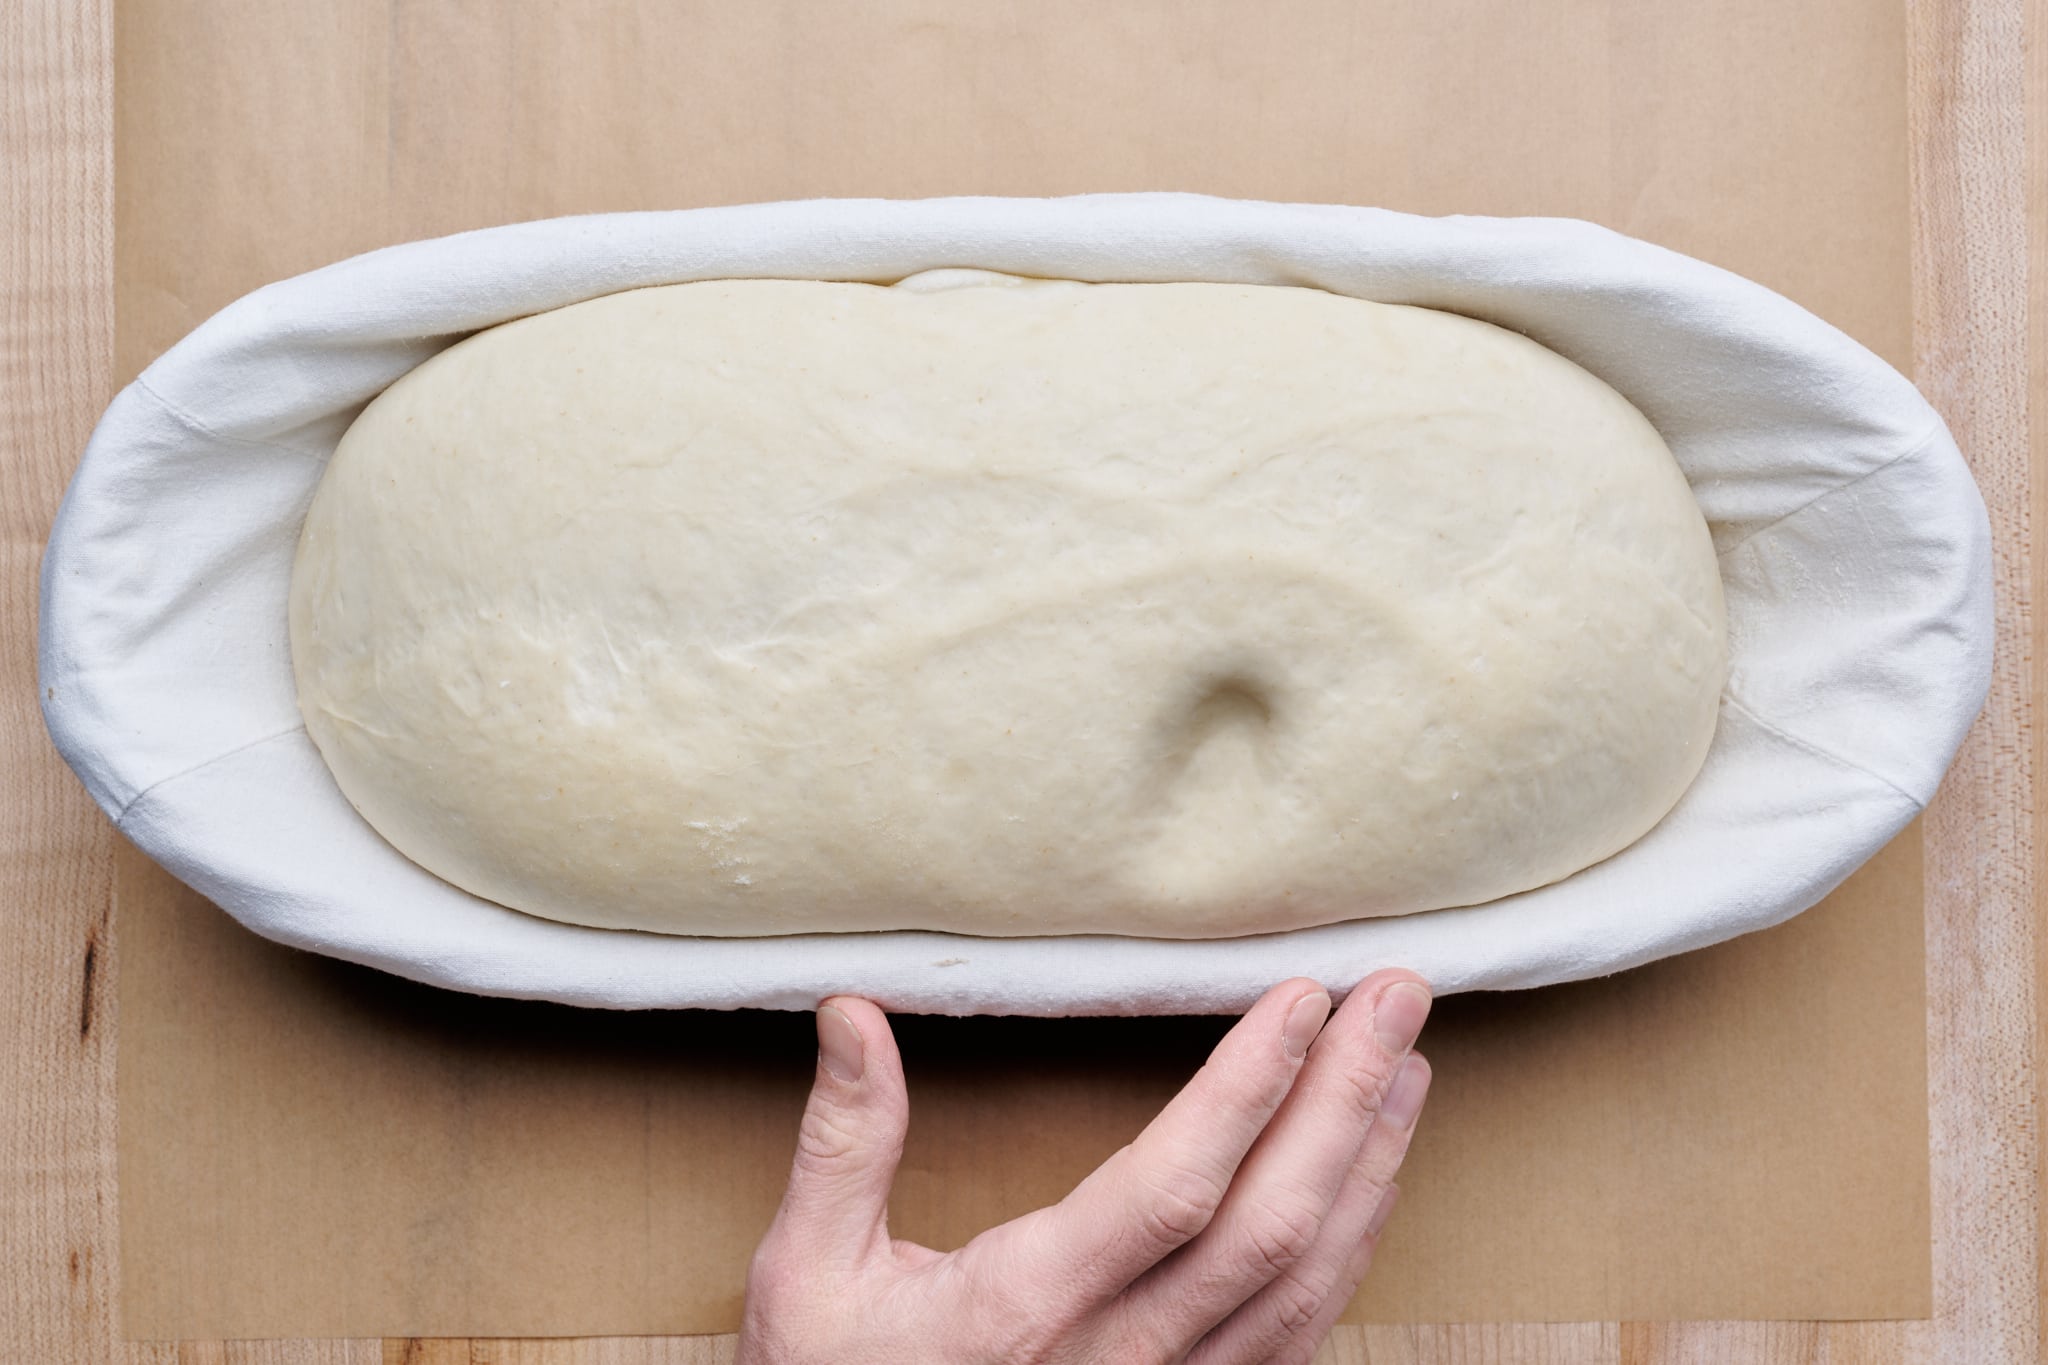
During the proofing process, it’s important to check the dough periodically to ensure it’s rising properly. The dough should double in size and have a puffy appearance. To test if the dough is ready, gently press two fingers into the dough. If the indentations remain, the dough is adequately proofed and ready to be shaped into a pizza crust.
Shaping the Dough
Once the dough is fully proofed, it’s time to shape it into a pizza crust. Gently punch down the dough to release any air bubbles, then transfer it to a floured surface. Use your hands to stretch and shape the dough into your desired size and thickness. For a traditional round crust, gently stretch the dough in a circular motion, working from the center to the edges.
Final Proofing
After the dough is shaped, it’s important to let it undergo a final proofing stage. This allows the dough to relax and rise slightly, resulting in a lighter and more tender crust. Cover the shaped dough with a clean kitchen towel and let it rest for 15-30 minutes before adding your desired toppings.
Conclusion
Mastering the art of proofing pizza dough is a key step in creating a delicious homemade pizza. By following these steps and paying attention to the details, you can elevate your pizza game and impress your friends and family with a perfect, restaurant-quality pie.
Now that you’ve learned the secrets to proofing pizza dough, it’s time to roll up your sleeves and start creating your own delicious pies. With a little practice and patience, you’ll be well on your way to becoming a pizza-making pro!
Was this page helpful?
Read Next: How To Proof Dough Without A Basket
