Proofing Dough in the Microwave: A Quick and Easy Guide
Proofing dough is an essential step in the bread-making process. It allows the dough to rise and develop flavor before baking. While traditional proofing methods can take time, the microwave offers a quick and convenient alternative. Here’s how you can proof your dough in the microwave in just a few simple steps.
Step 1: Prepare the Dough
Before proofing your dough, ensure that it has been properly prepared. Whether you’re making bread, pizza dough, or any other baked goods, follow your recipe’s instructions for mixing and kneading the dough until it reaches the desired consistency.
Step 2: Choose the Right Container
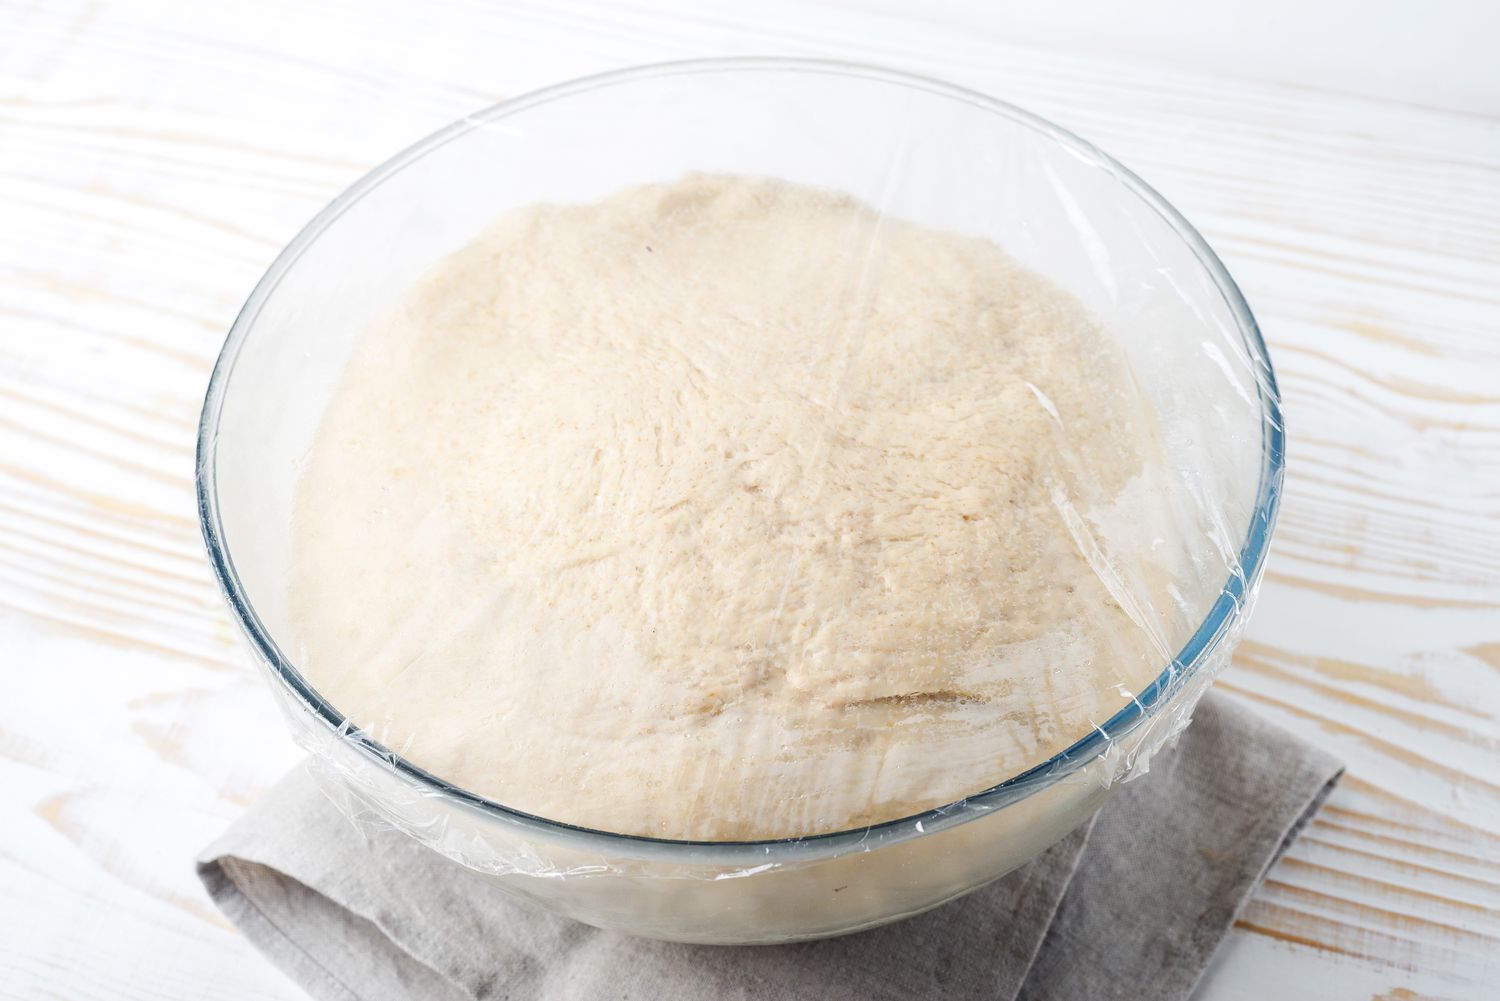
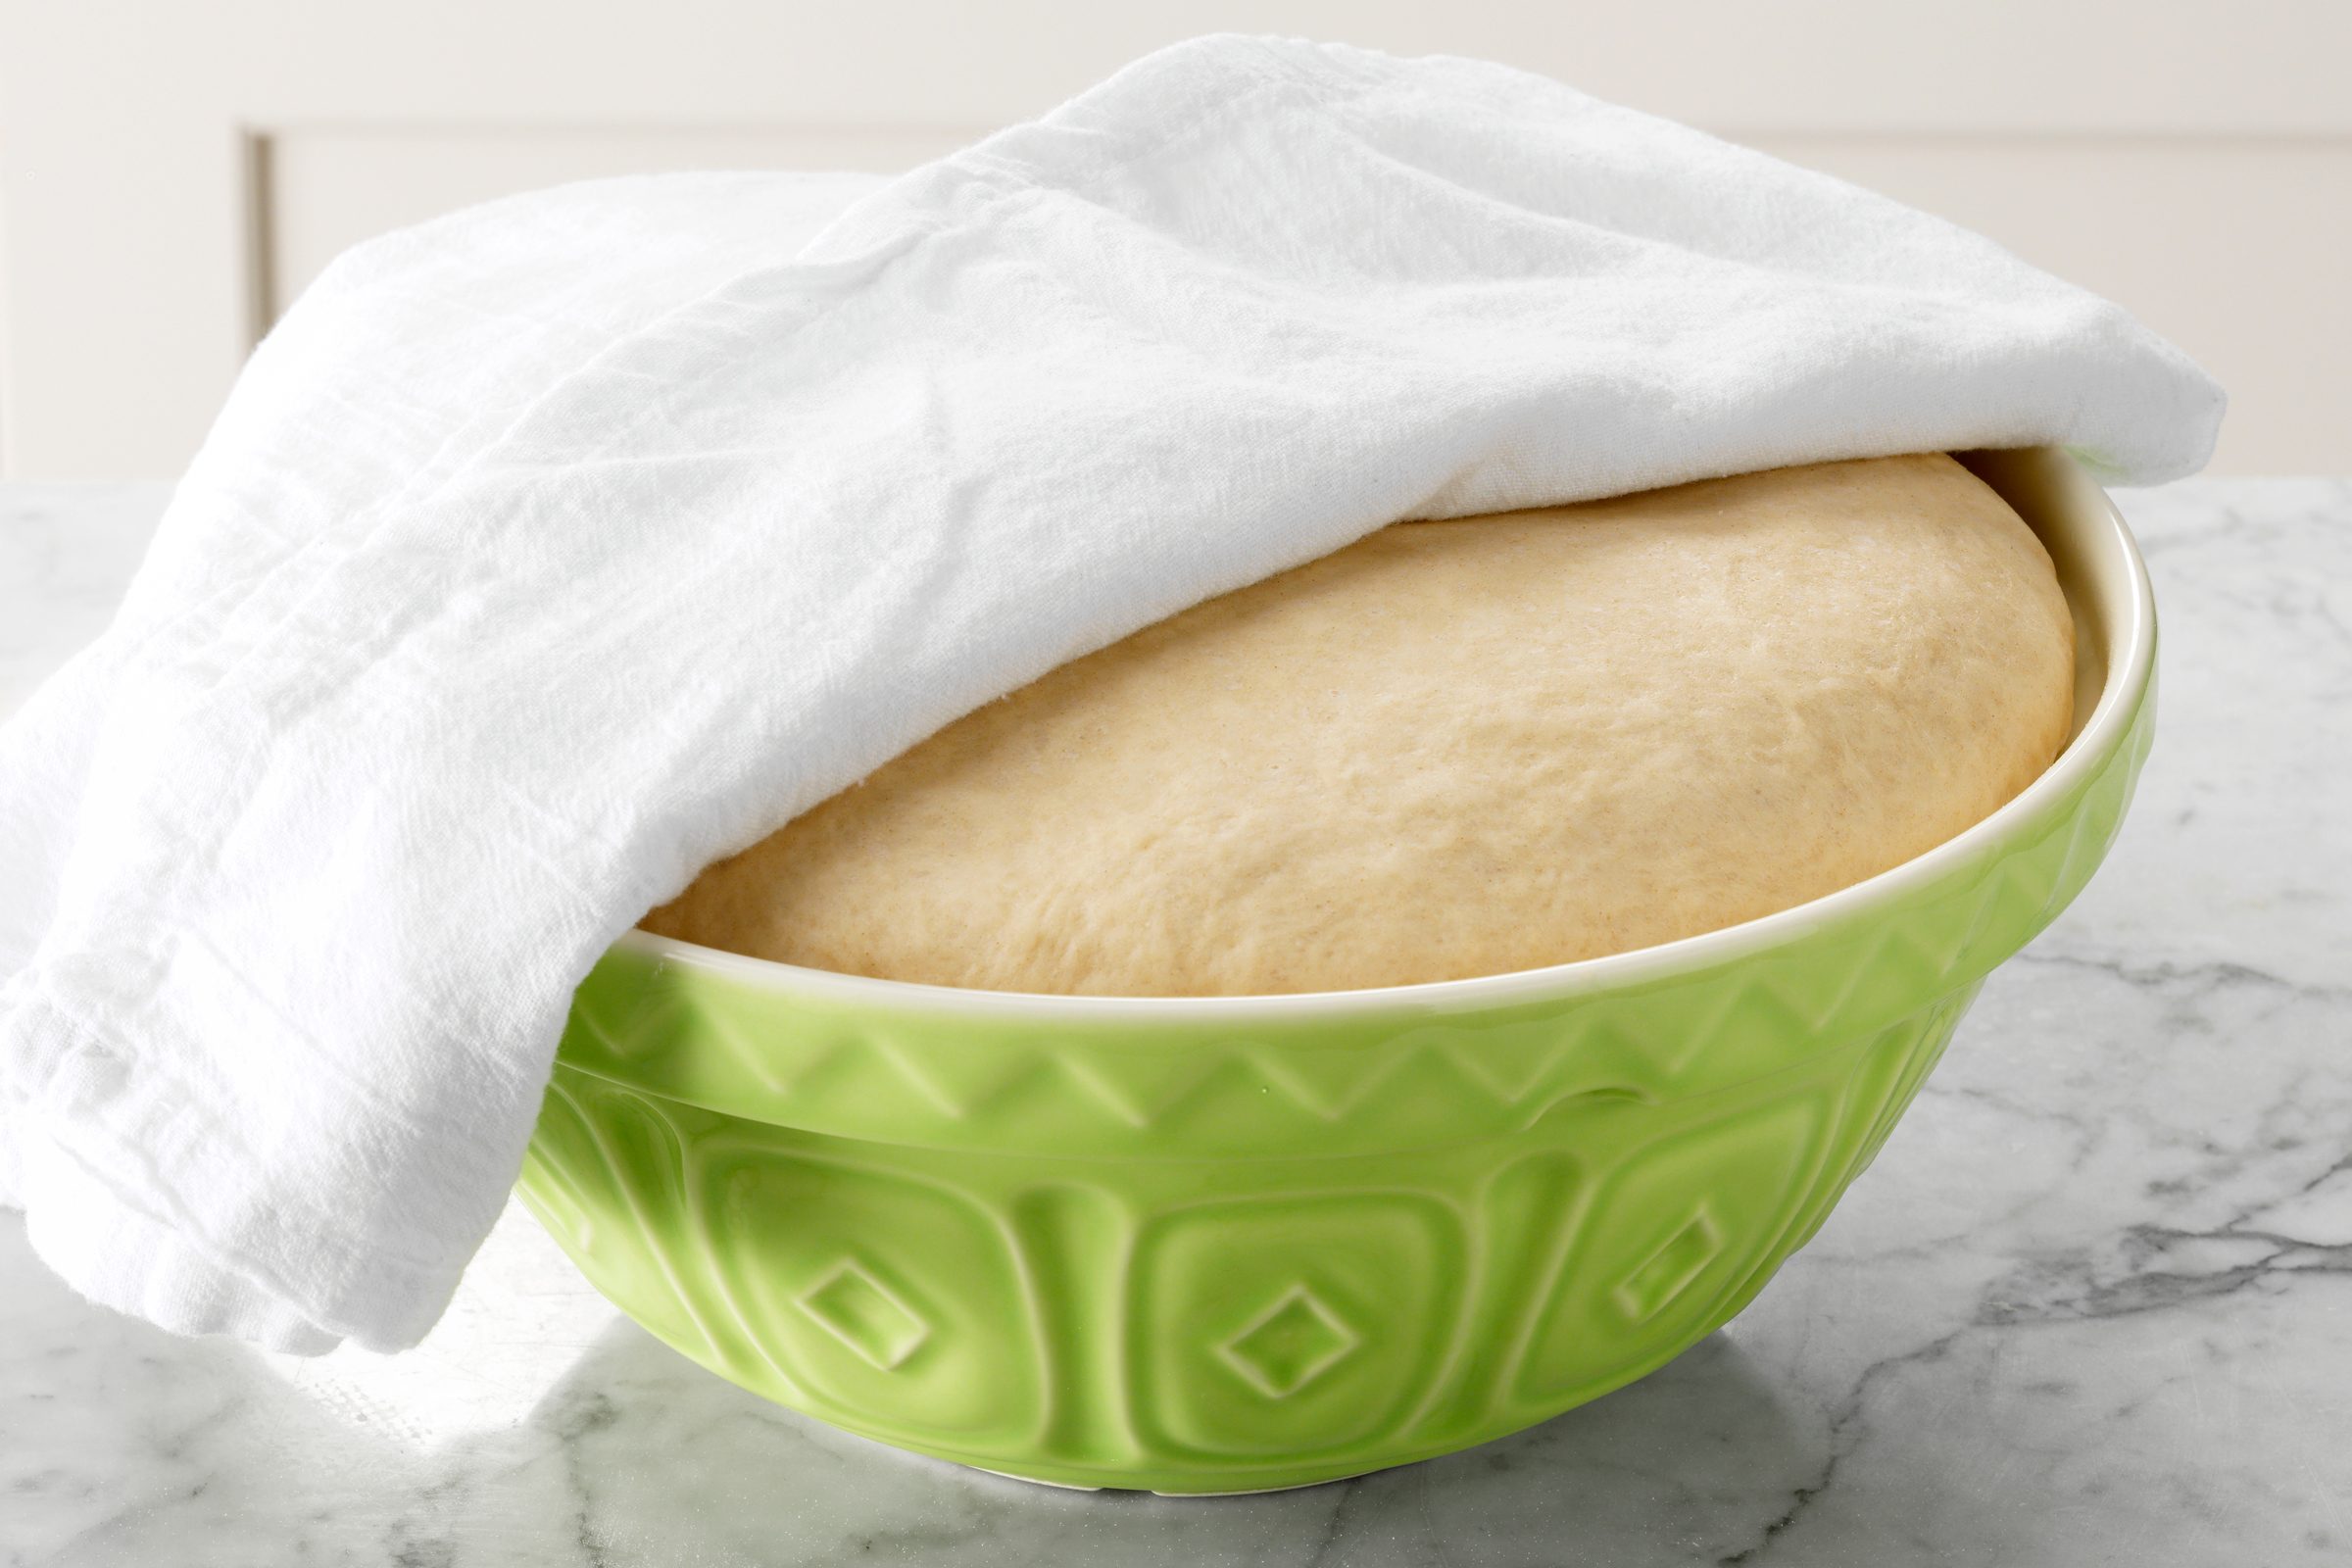
Transfer the prepared dough into a microwave-safe container. Make sure the container is large enough to accommodate the dough as it rises. A glass or ceramic bowl is ideal for this purpose.
Step 3: Create a Warm Environment
Yeast, a key ingredient in most dough recipes, thrives in warm environments. To help the dough rise quickly, you’ll need to create a warm, draft-free environment in the microwave. Here’s how to do it:
- Place a cup of water in the microwave alongside the dough. The water will create moisture in the microwave, which helps prevent the dough from drying out during the proofing process.
- Cover the container with a clean kitchen towel or plastic wrap. This will trap the warmth and moisture, creating the perfect conditions for the dough to rise.
Step 4: Microwave on Low Power
Set the microwave to its lowest power setting. This gentle heat will encourage the yeast to activate and the dough to rise evenly. Microwave the dough for 25-30 seconds. Be mindful not to overheat the dough, as this can kill the yeast and hinder the rising process.
Step 5: Check for Doneness
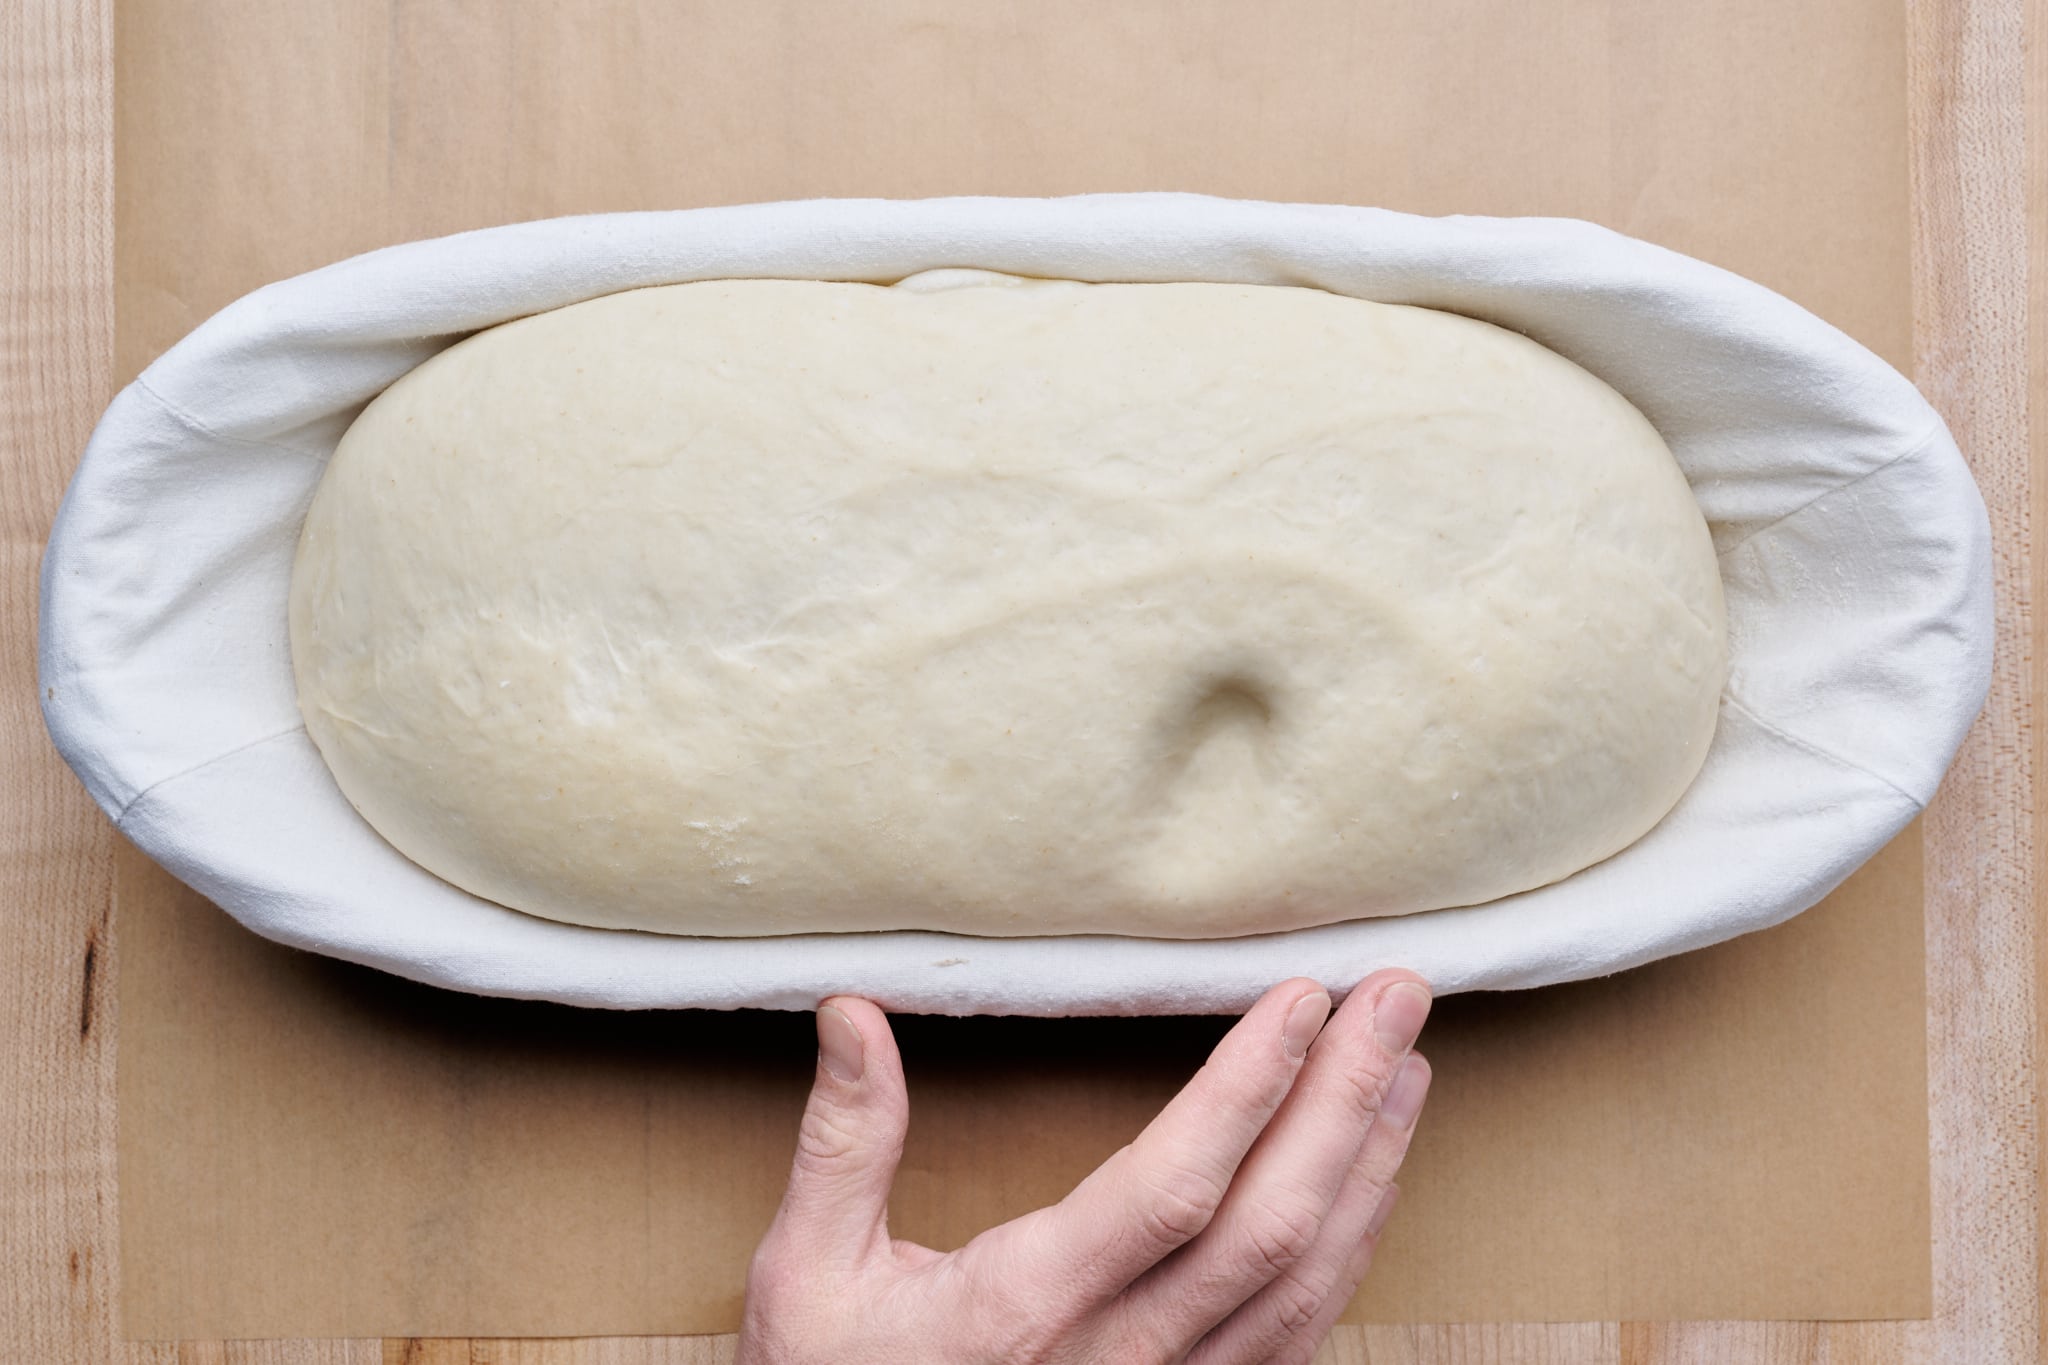
After microwaving the dough, carefully remove it from the microwave. Uncover the container and check if the dough has doubled in size. If it hasn’t, return it to the microwave for an additional 10-15 seconds on low power. Repeat this process until the dough has properly proofed.
Step 6: Proceed with Baking
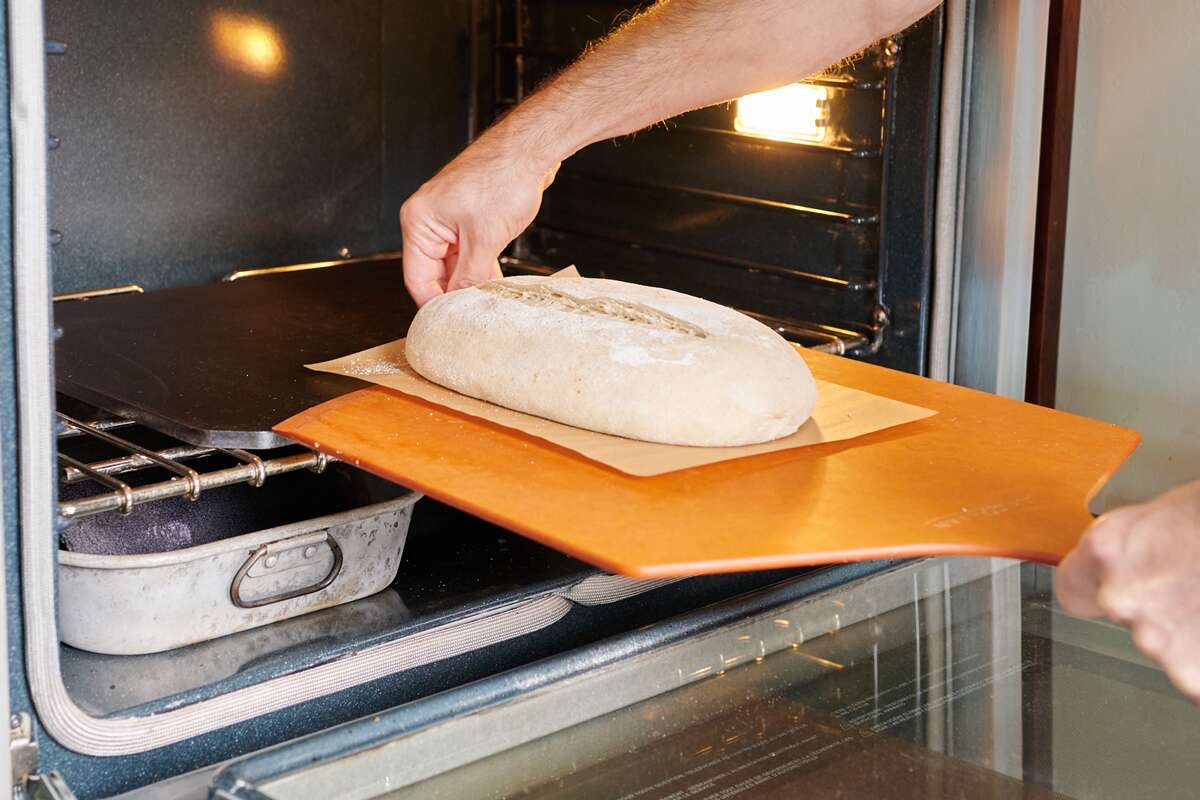
Once the dough has completed its proofing process in the microwave, it’s ready to be baked according to your recipe’s instructions. The microwave has helped expedite the proofing process, allowing you to move forward with baking your delicious homemade creations in no time.
Proofing dough in the microwave is a convenient method that can save time without compromising the quality of your baked goods. Whether you’re in a hurry or simply looking for an efficient way to proof dough, the microwave can be a valuable tool in your baking arsenal. Try this method the next time you’re preparing homemade bread or pizza dough, and enjoy the convenience of quick and easy proofing right in your kitchen.
Happy baking!
Was this page helpful?
Read Next: How To Proof Dough In Oven
