Mastering the Art of Proofing Croissants
If you’re a fan of flaky, buttery pastries, then learning how to proof croissants is an essential skill to add to your baking repertoire. The proofing process is crucial for achieving the light, airy texture and delicate layers that make croissants so irresistible. In this guide, we’ll walk you through the steps to perfecting the proofing stage of croissant making.
Understanding the Proofing Process
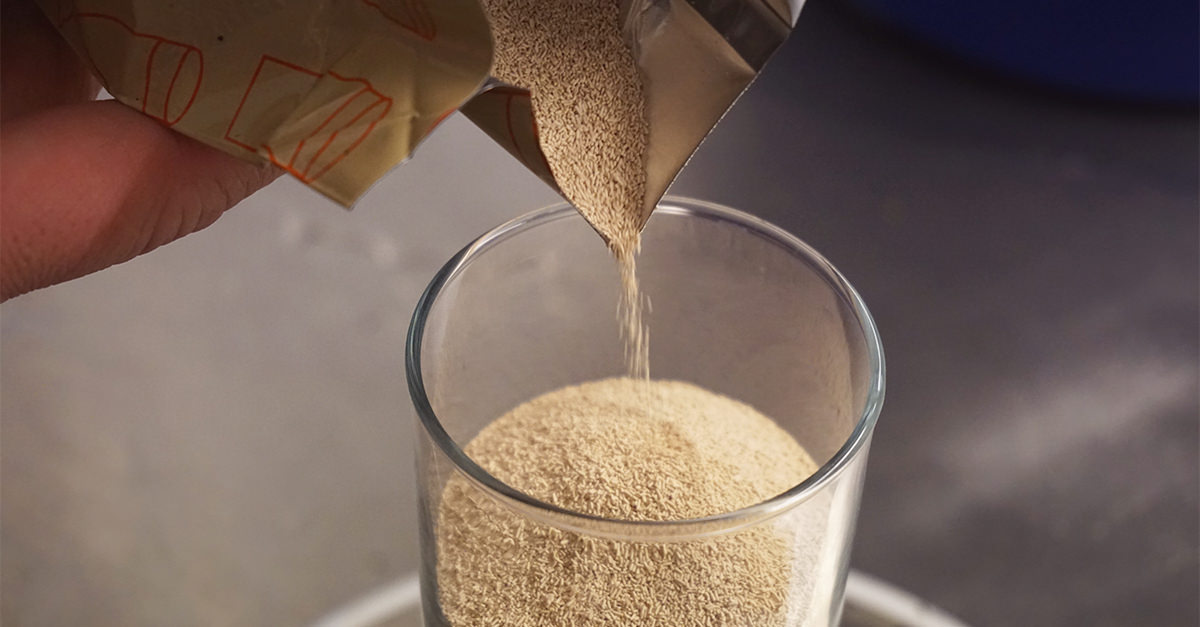
Proofing, also known as proving or fermentation, is the final rise that dough undergoes before it’s baked. During proofing, the yeast in the dough produces carbon dioxide, causing the dough to expand and rise. For croissants, proper proofing is essential for achieving the signature flakiness and airy texture.
Here’s how you can master the art of proofing croissants:
1. Prepare the Croissant Dough
Before you can begin the proofing process, you’ll need to prepare the croissant dough. This typically involves mixing flour, water, yeast, butter, and a pinch of salt to create a smooth, elastic dough. Once the dough is mixed, it’s important to give it a brief rest before shaping it into croissants.
2. Shape the Croissants
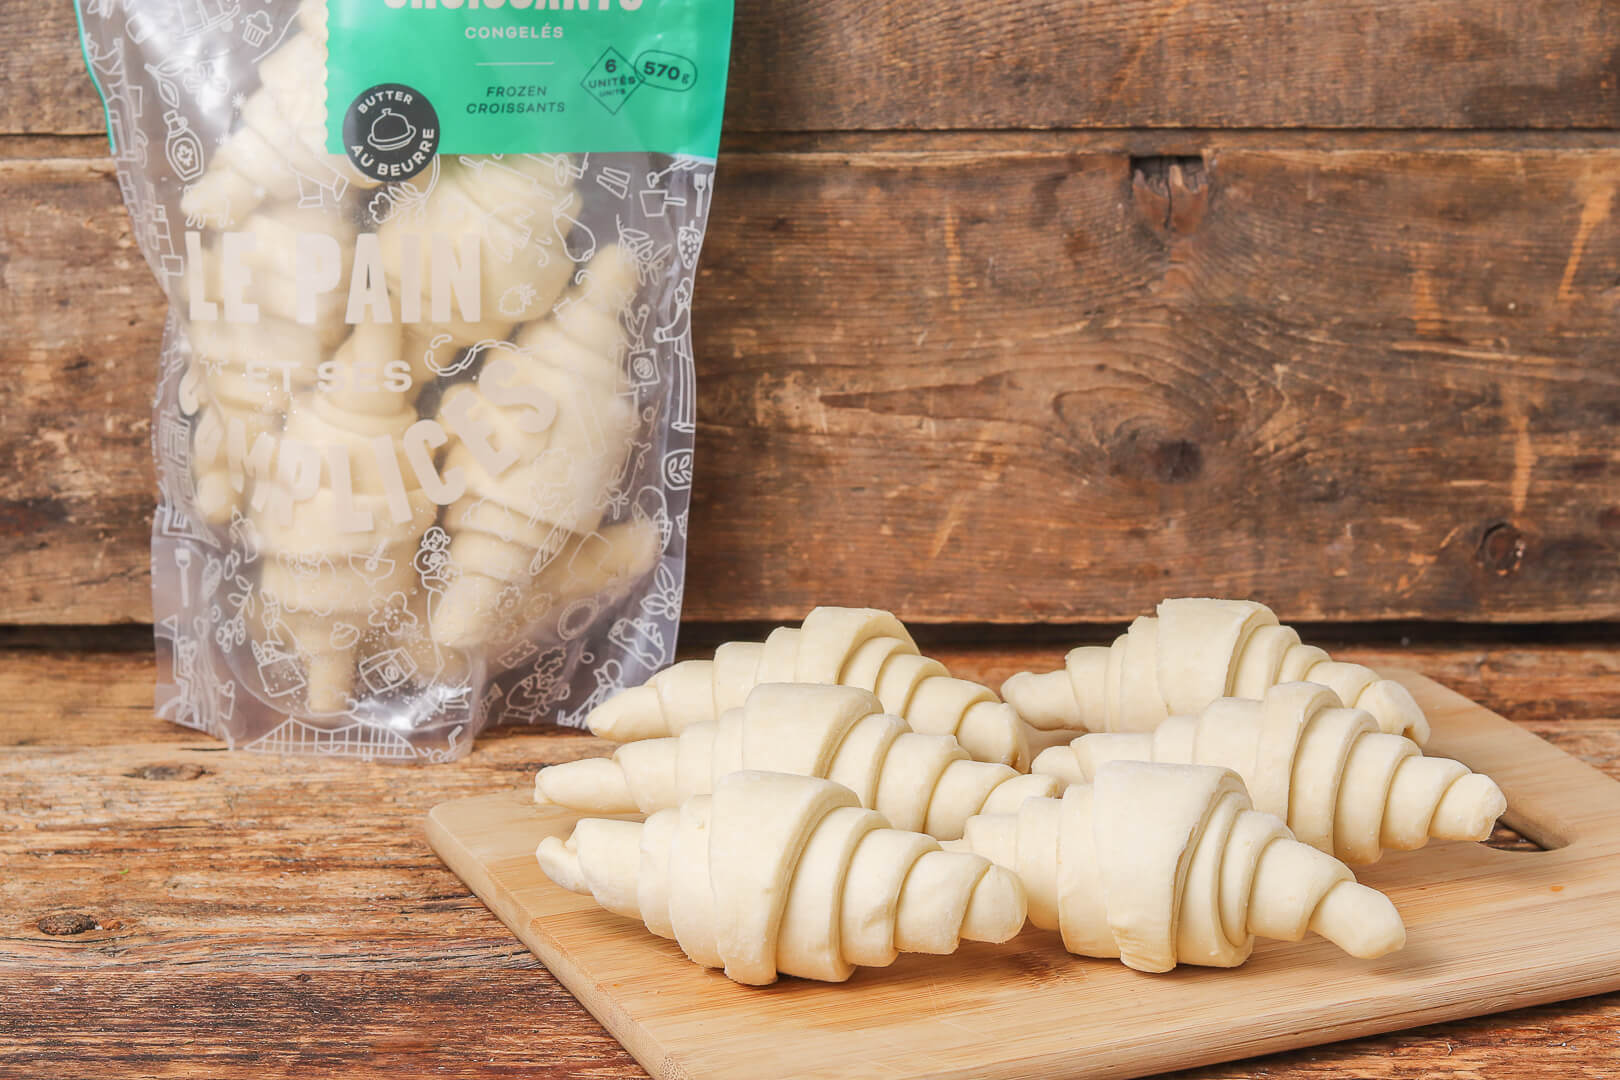
After the initial rest, the dough is rolled out into a thin sheet and cut into triangles. Each triangle is then rolled up to create the classic croissant shape. Proper shaping is important for ensuring that the croissants proof evenly and develop the desired layers.
3. Allow for Sufficient Proofing Time
Once the croissants are shaped, they need to undergo a period of proofing to allow the yeast to work its magic. The proofing time can vary depending on factors such as room temperature and the activity of the yeast. In general, croissants should be proofed until they have visibly expanded in size and feel light and airy to the touch.
4. Create the Ideal Proofing Environment
For successful proofing, it’s important to provide the croissants with the right environment. A warm, draft-free area is ideal for proofing, as it encourages the yeast to ferment the dough at a steady pace. If your kitchen is on the cooler side, you can create a makeshift proofing chamber by placing the croissants in a turned-off oven with a bowl of hot water to create a humid environment.
5. Know When the Croissants Are Ready to Bake
One of the key indicators that your croissants are ready to bake is the visual appearance. Properly proofed croissants will have visibly expanded in size and developed a puffy, airy texture. Additionally, a gentle poke with your finger should leave a slight indentation that slowly springs back, indicating that the croissants are sufficiently proofed and ready for the oven.
6. Bake to Perfection
After the proofing process is complete, it’s time to bake the croissants to golden perfection. The oven should be preheated to the appropriate temperature, and the croissants should be baked until they are beautifully golden brown and have a crisp, flaky exterior.
By mastering the art of proofing croissants, you can elevate your baking skills and enjoy the satisfaction of creating delectable pastries from scratch. With a bit of practice and attention to detail, you’ll be well on your way to producing homemade croissants that rival those from your favorite bakery.
So, roll up your sleeves, dust off your rolling pin, and get ready to embark on a delicious journey of mastering the proofing process for perfect croissants!
Explore More: Exciting Recipes and Creative Uses
Once you've mastered the art of proofing croissants from the guide, why not put your new skills to the test with a variety of delicious recipes? From the simple elegance of Classic French Croissants to the sweet indulgence of Pain au Chocolat, there's a recipe to suit every palate. We highly recommend trying the Almond Croissants for a delightful twist on the classic, or the Garlic Butter Croissants for a savory option that's perfect for any dinner table. Each recipe offers a unique way to apply the proofing techniques you've learned, ensuring your baked goods turn out flaky and perfect every time.
Was this page helpful?
Read Next: How To Proof Sour Dough Bread
