Dehydrating Food in a Nuwave Oven
Dehydrating food is a great way to preserve fruits, vegetables, and meats while retaining their nutrients and flavors. If you own a Nuwave oven, you’re in luck because it can be used for dehydrating food as well. Follow these simple steps to dehydrate your favorite foods using a Nuwave oven.
Prepare the Food
The first step in dehydrating food in a Nuwave oven is to prepare the food items you want to dehydrate. Wash and slice fruits and vegetables into uniform pieces. For meats, trim off any excess fat and slice them into thin strips. This step is crucial as it ensures even dehydration of the food.
Preheat the Oven
Before placing the food in the Nuwave oven, it’s important to preheat the appliance. Set the temperature to the appropriate setting for the type of food you are dehydrating. Fruits and vegetables typically require a lower temperature, around 130°F to 140°F, while meats may need a higher temperature, around 160°F to 165°F.
Place the Food on the Racks
Once the oven is preheated, arrange the prepared food on the racks that come with the Nuwave oven. Make sure to leave some space between the pieces to allow for proper air circulation. This will help the food dehydrate evenly.
Set the Timer
After placing the food in the oven, set the timer for the appropriate duration. Dehydrating times can vary depending on the type of food and the thickness of the slices. Fruits and vegetables may take anywhere from 6 to 12 hours, while meats can take up to 12 hours or more. Keep an eye on the food towards the end of the dehydration process to ensure it reaches the desired texture.
Check for Dryness
Throughout the dehydration process, it’s important to periodically check the food for dryness. The food is ready when it is leathery and dry to the touch, with no moisture remaining. Be sure to rotate the racks in the Nuwave oven during the process to ensure even dehydration.
Store the Dehydrated Food
Once the food is fully dehydrated, allow it to cool to room temperature before storing it in airtight containers. Properly dehydrated food can be stored for several months, providing a convenient and nutritious snack option whenever you need it.
Cleaning the Nuwave Oven
After dehydrating food, it’s important to clean the Nuwave oven to remove any food particles and residue. Allow the oven to cool completely before wiping down the racks and interior with a damp cloth. The Nuwave oven’s removable parts, such as the racks and trays, can be washed with warm, soapy water and dried thoroughly before storing.
Dehydrating food in a Nuwave oven is a simple and effective way to preserve your favorite foods for later use. By following these steps, you can enjoy the convenience of homemade dehydrated snacks and ingredients while maintaining their nutritional value.
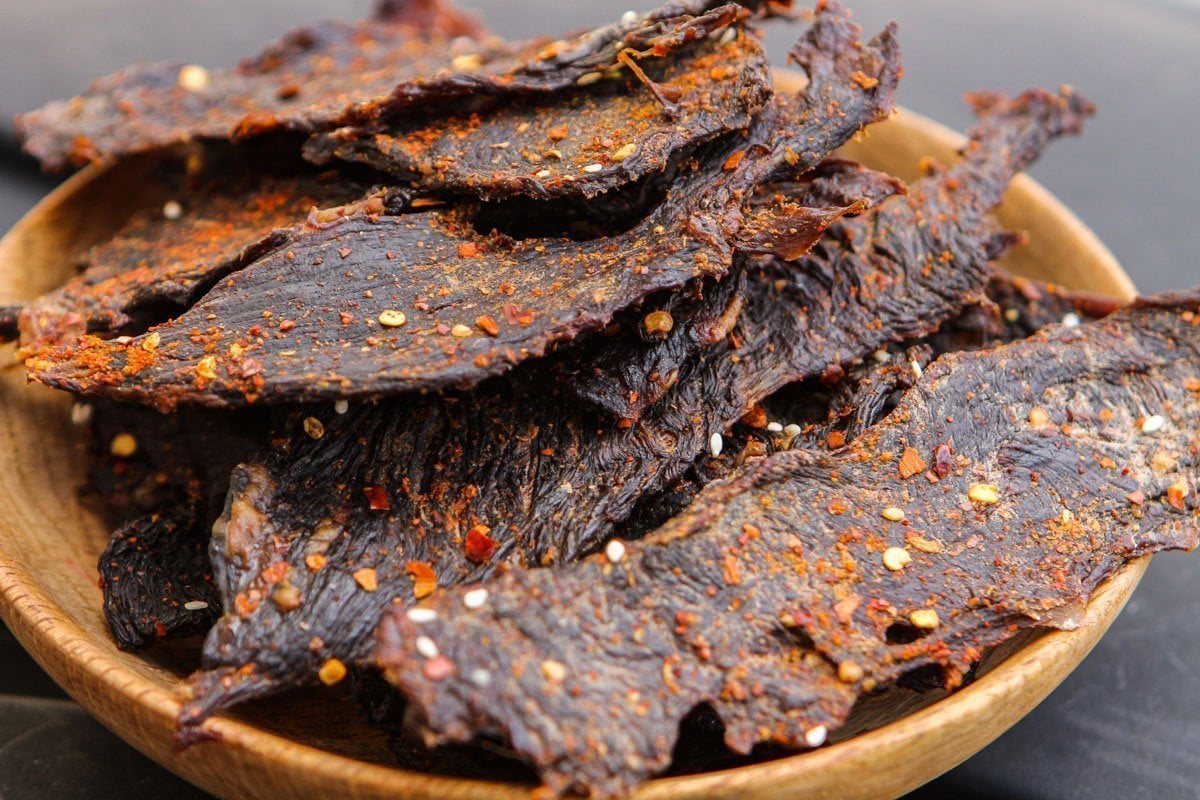
For those diving into the world of dehydration using a Nuwave Oven, there are several enticing recipes to consider. Start with the Dehydrated Apple Chips Recipe for a simple, sweet snack that's incredibly easy to make. Next, try your hand at the Dehydrated Pineapple Rings Recipe, offering a tropical twist that's perfect for on-the-go munching. If you're in the mood for something savory, the Beef Jerky Recipe is a must-try, providing a protein-packed option that's great for hiking or long trips. For a healthy snack with a bit of crunch, the Dehydrated Kale Chips Recipe is an excellent choice, combining nutrition with taste. These recipes not only help you master the art of dehydration but also expand your snack repertoire with delicious, homemade options.
Was this page helpful?
Read Next: How To Dehydrate Fruit


