Dehydrating Food for Backpacking
When it comes to backpacking, having lightweight and nutritious food is essential. Dehydrating your own food is a cost-effective way to create delicious meals that are easy to pack and carry. Whether you’re a seasoned backpacker or new to the world of outdoor adventures, learning how to dehydrate food for backpacking can elevate your outdoor dining experience. Here’s a guide to help you get started.
Choose the Right Foods
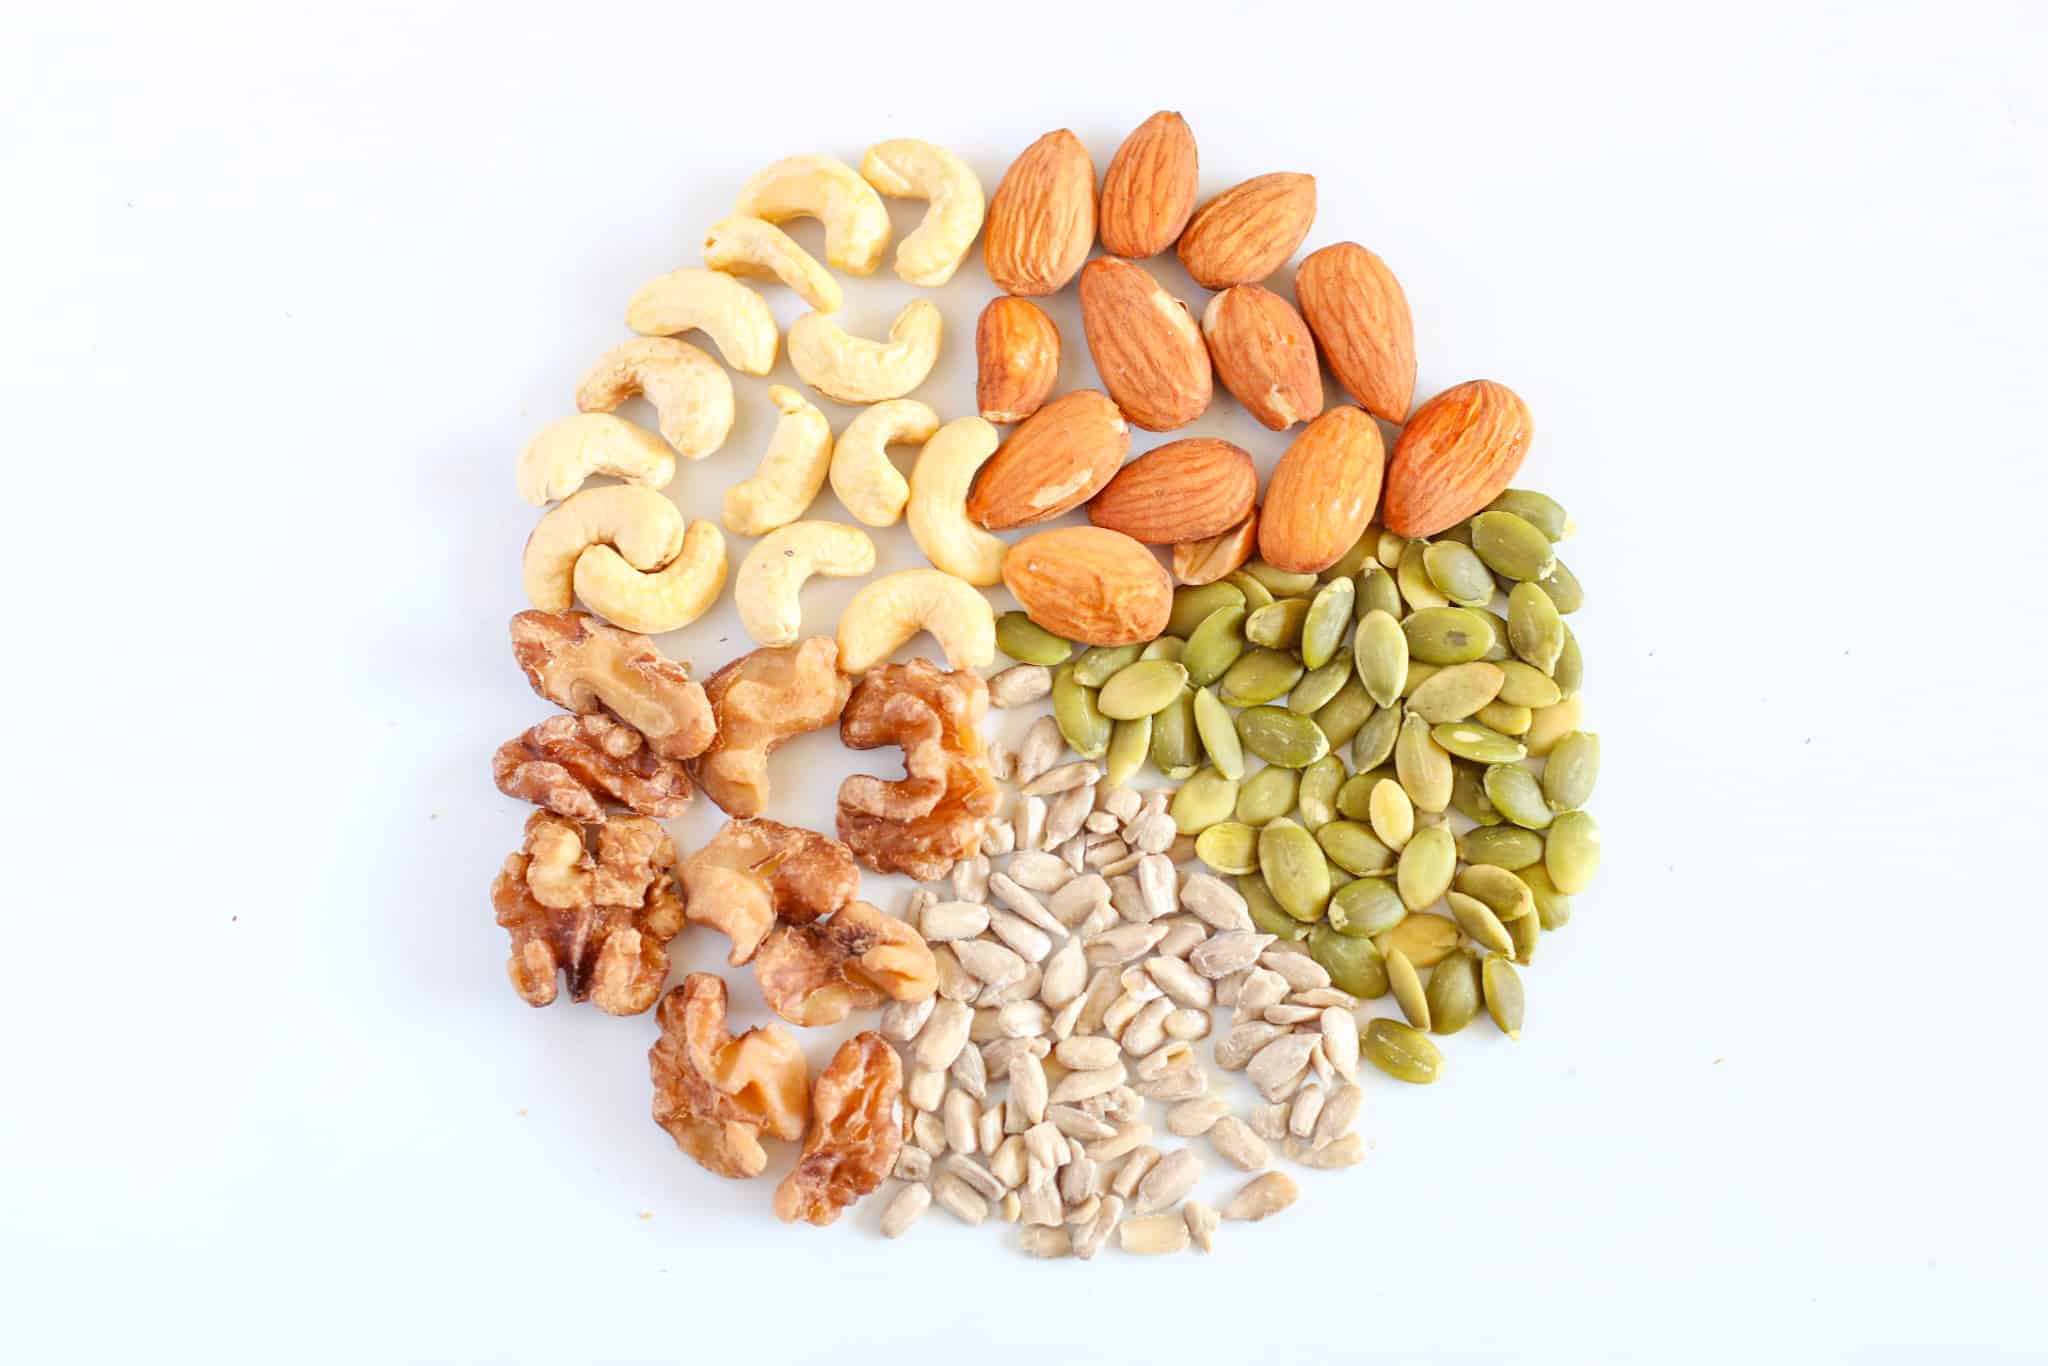
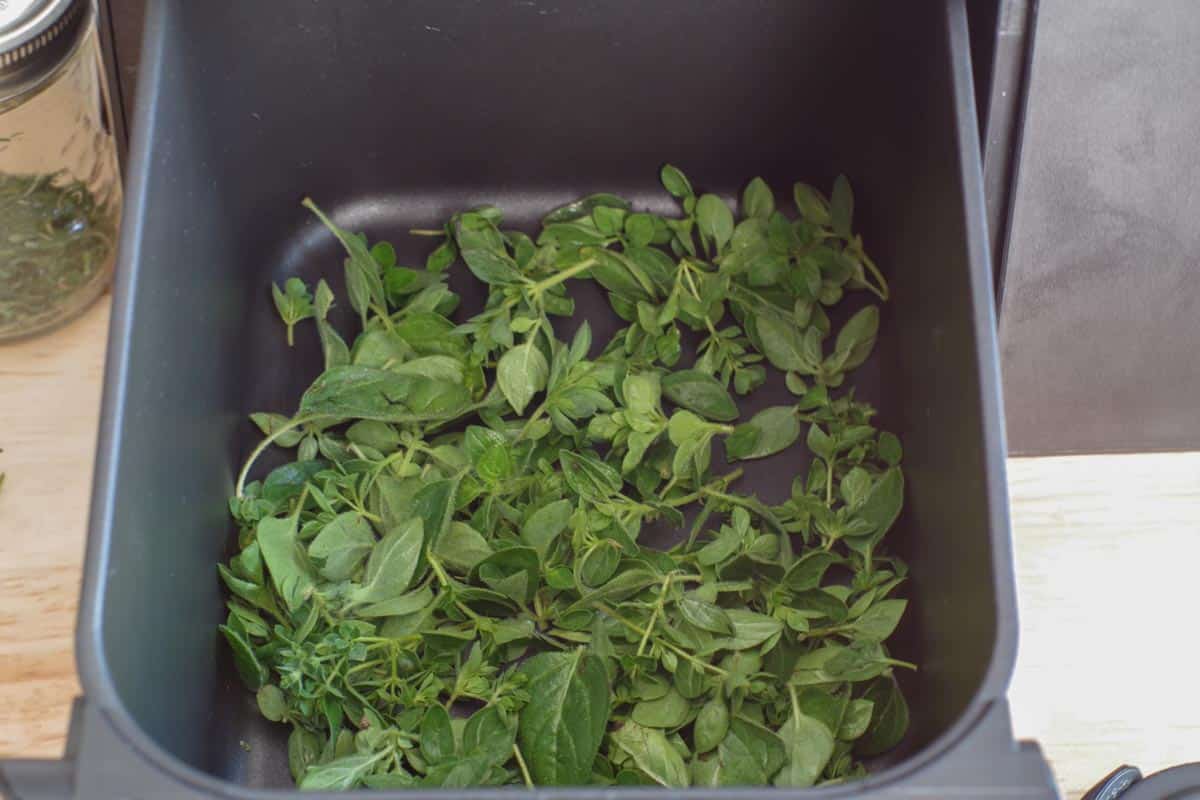
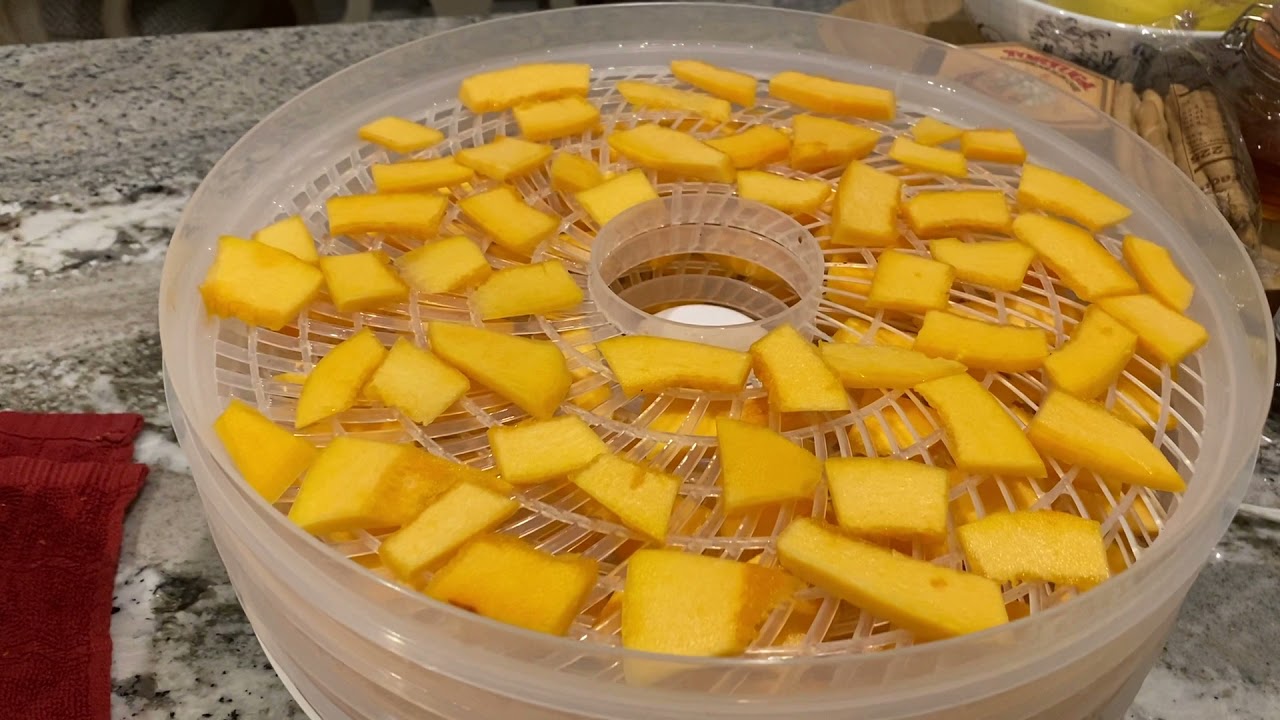
Not all foods are suitable for dehydration. Fruits, vegetables, meat, and cooked grains are great options for dehydrating. Avoid foods with high fat content as they tend to go rancid quickly. When selecting produce, opt for ripe, fresh items to ensure the best flavor and nutritional value.
Preparation
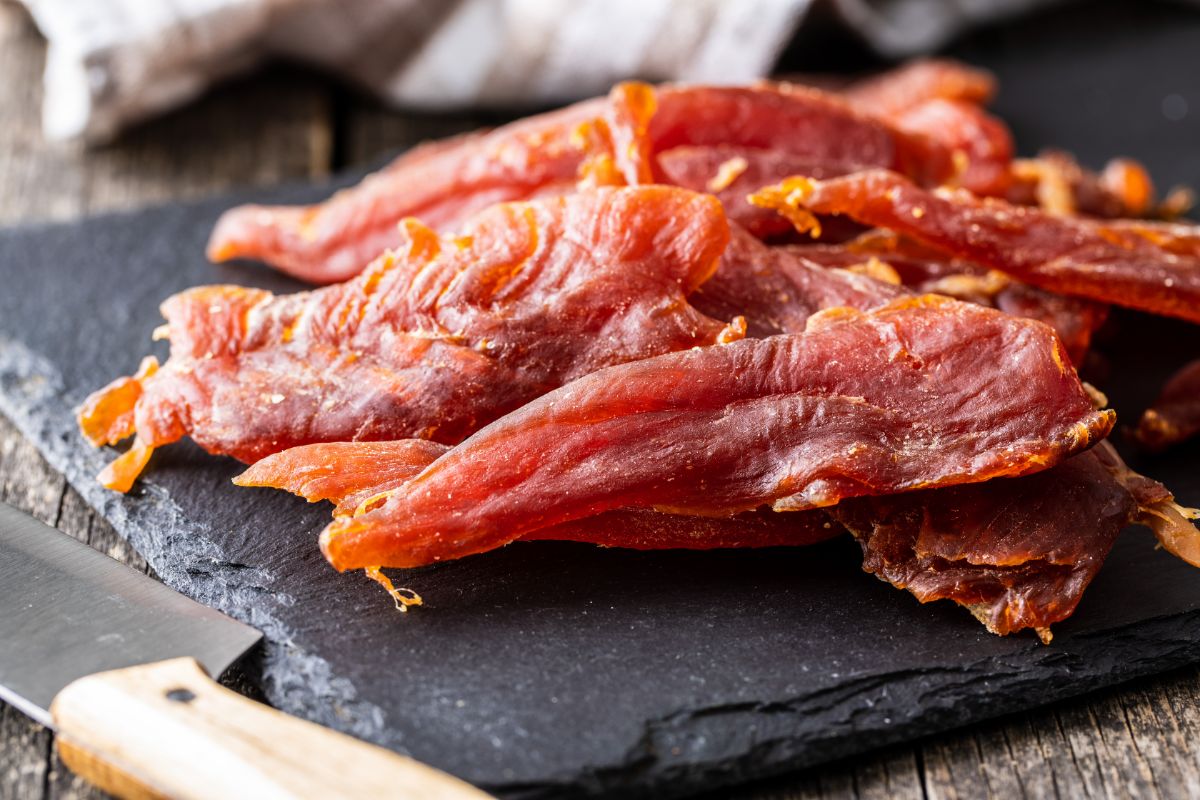
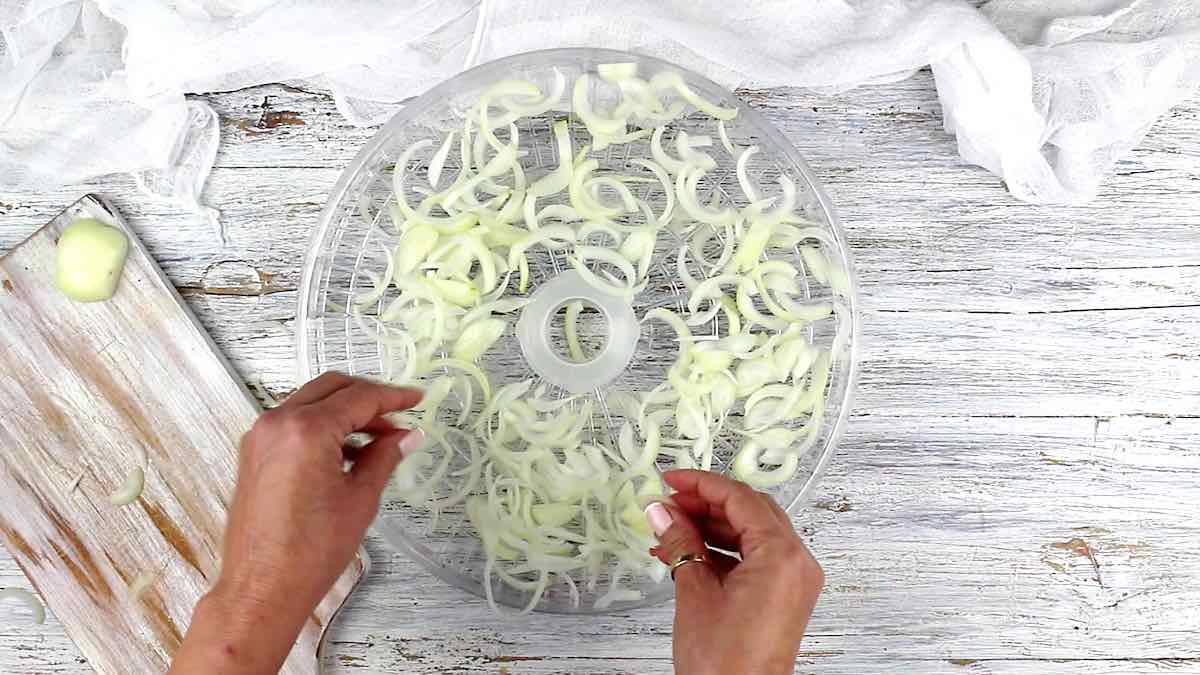
Before dehydrating, it’s important to prepare the food properly. Wash and peel fruits and vegetables, and remove any seeds or pits. For meat, trim off excess fat and slice it into thin strips. Cooking grains like rice or quinoa before dehydrating can help speed up the rehydration process during meal preparation on the trail.
Dehydrating Methods
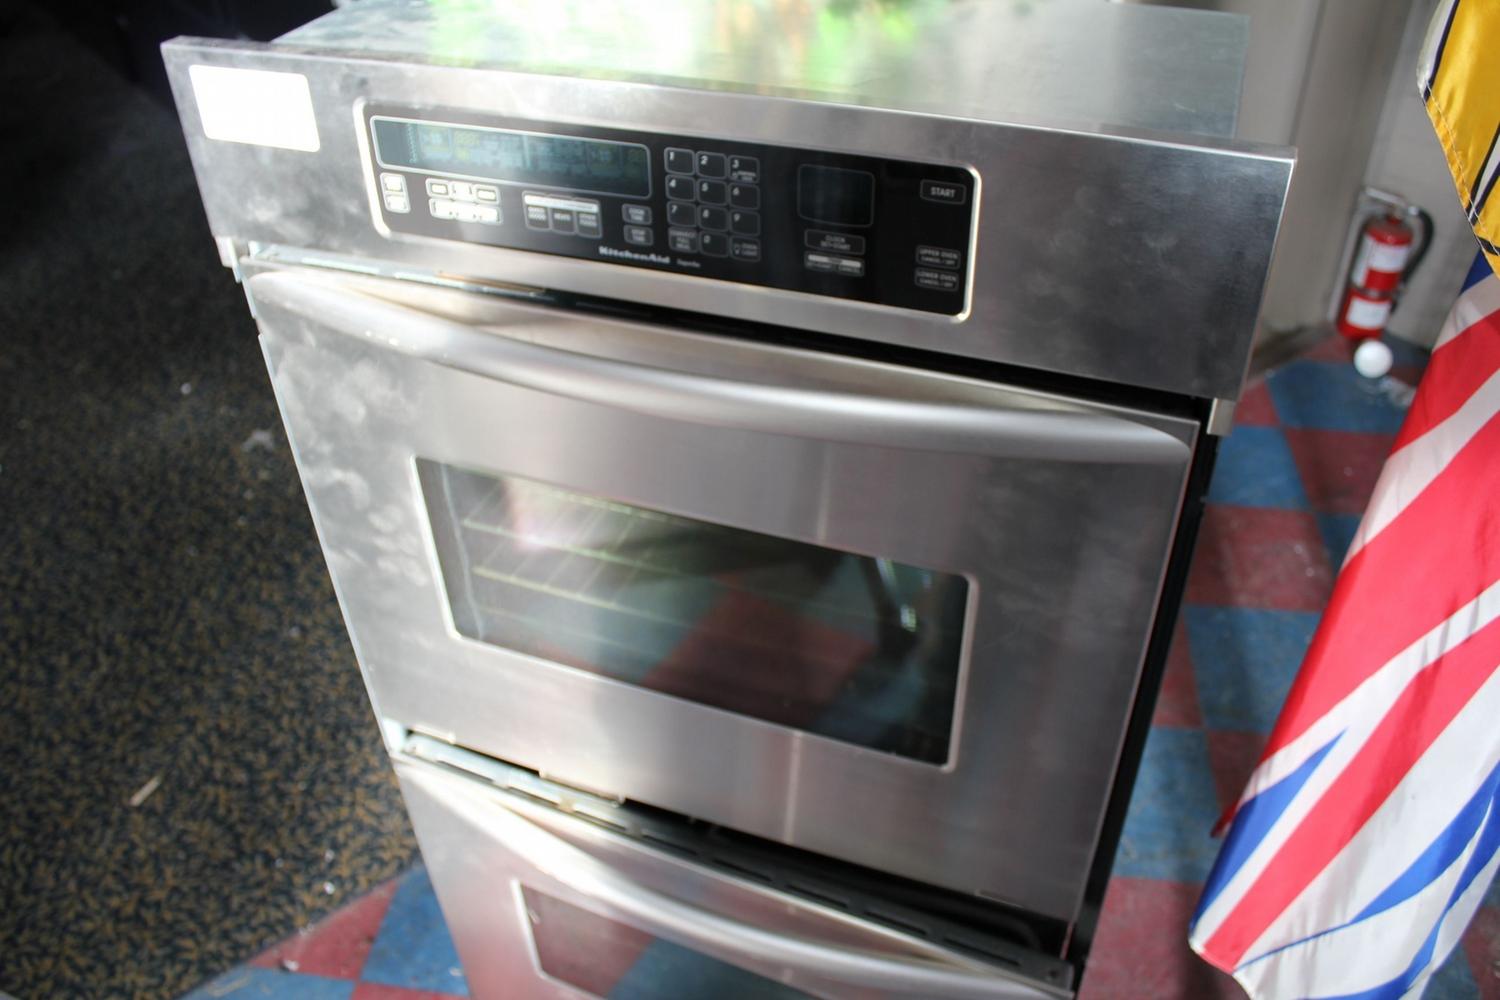
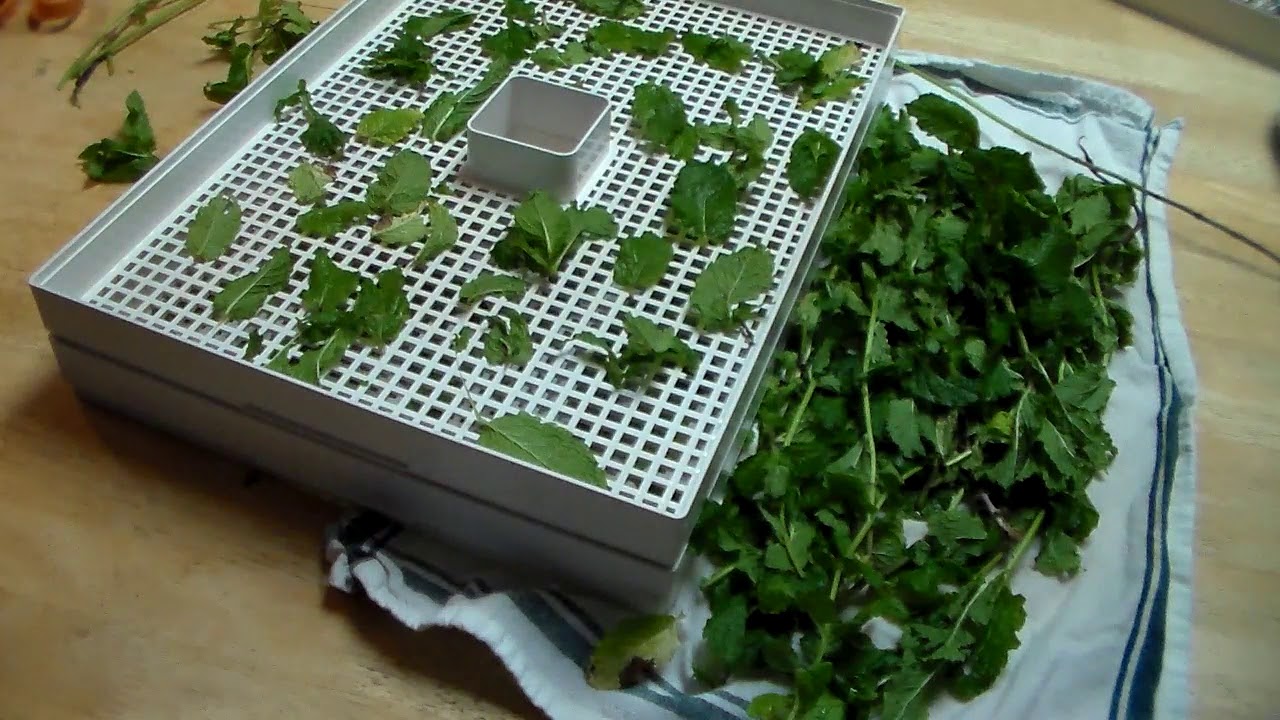
There are several methods for dehydrating food, including using a dehydrator, oven, or even the sun. A dehydrator offers precise temperature control and consistent results, making it a popular choice for many backpackers. If using an oven, set it to the lowest temperature and prop the door open slightly to allow moisture to escape. Sun drying is a more traditional method that requires warm, dry weather and can take several days to complete.
Dehydration Time
The time it takes to dehydrate food varies depending on the type and thickness of the food, as well as the dehydrating method used. Generally, fruits and vegetables take 6 to 12 hours, while meat can take 8 to 12 hours. It’s important to monitor the progress and check for dryness regularly to prevent over-drying.
Storage
Once the food is fully dehydrated, allow it to cool to room temperature before transferring it to airtight containers or resealable bags. Proper storage is crucial to maintain the quality of the dehydrated food. Keep the containers in a cool, dark place to prolong the shelf life. Labeling the containers with the date of dehydration can help you keep track of freshness.
Rehydration
When you’re ready to enjoy your dehydrated meals on the trail, rehydration is key. Simply add hot water to the dehydrated food and let it sit for a few minutes to rehydrate. For meat and grains, consider bringing them to a boil and then simmering for a few minutes to ensure thorough rehydration.
Benefits of Dehydrating Food for Backpacking
Dehydrating your own food for backpacking offers several benefits, including:
- Lightweight and compact meals
- Customizable flavors and seasoning
- Cost-effective compared to pre-packaged dehydrated meals
- Reduced packaging waste
- Control over ingredients and food quality
By mastering the art of dehydrating food for backpacking, you can elevate your outdoor dining experience and ensure that you have delicious, nutritious meals to fuel your adventures. With a bit of practice and experimentation, you’ll be able to create a variety of dehydrated meals that will keep you energized on the trail.
For those looking to master dehydrating food for backpacking, there are several recipes worth trying. Beef Jerky is a classic, offering a high-protein snack that's easy to pack and enjoy on the trail. Chicken and Rice provides a hearty meal that's both filling and flavorful after a long day of hiking. For a spicy kick, give Chili Con Carne a shot – it's a comforting option that warms you up. If you're in the mood for something sweet, Dehydrated Yogurt Drops are a fun and nutritious treat. Lastly, Fruit Leather is perfect for a quick energy boost and a taste of home. These recipes not only complement the dehydration techniques discussed but also ensure you have delicious and nutritious options on your adventure.
Was this page helpful?
Read Next: How To Dehydrate With A Pellet Grill
