Dehydrating Dill in the Oven: A Step-by-Step Guide
Dehydrating dill is a great way to preserve its flavor and aroma for future use. While there are several methods to dehydrate dill, using an oven is a convenient and effective option. In this article, we will guide you through the process of dehydrating dill in the oven so that you can enjoy its delightful taste all year round.
Step 1: Preparing the Dill
Before you begin the dehydration process, it’s essential to start with fresh dill. Wash the dill thoroughly under cold water to remove any dirt or impurities. Pat it dry with a clean kitchen towel or paper towel to remove excess moisture.
Step 2: Removing the Stems
Once the dill is clean and dry, carefully remove the stems from the leaves. You can do this by holding the top of the stem with one hand and running your other hand down the stem to strip off the delicate leaves. Discard the stems and gather the dill leaves for the next step.
Step 3: Preheating the Oven
Preheat your oven to the lowest possible temperature. Typically, this will be around 140°F (60°C). It’s important to use a low temperature to gently dehydrate the dill without causing it to burn or lose its flavor.
Step 4: Arranging the Dill
Once the oven is preheated, line a baking sheet with parchment paper. Spread the dill leaves out in a single layer on the prepared baking sheet. Make sure the leaves are not overlapping to ensure even dehydration.
Step 5: Dehydrating the Dill
Place the baking sheet in the preheated oven and let the dill dehydrate for 1-2 hours. Keep an eye on the dill to prevent it from browning or burning. The dehydration time may vary based on the moisture content of the dill and your oven’s specific temperature.
Step 6: Checking for Dryness
After 1 hour, check the dill for dryness. The leaves should feel crisp and crumble easily between your fingers when they are fully dehydrated. If the dill is not yet dry, return it to the oven and continue checking every 15-30 minutes until it reaches the desired level of dryness.
Step 7: Storing the Dehydrated Dill
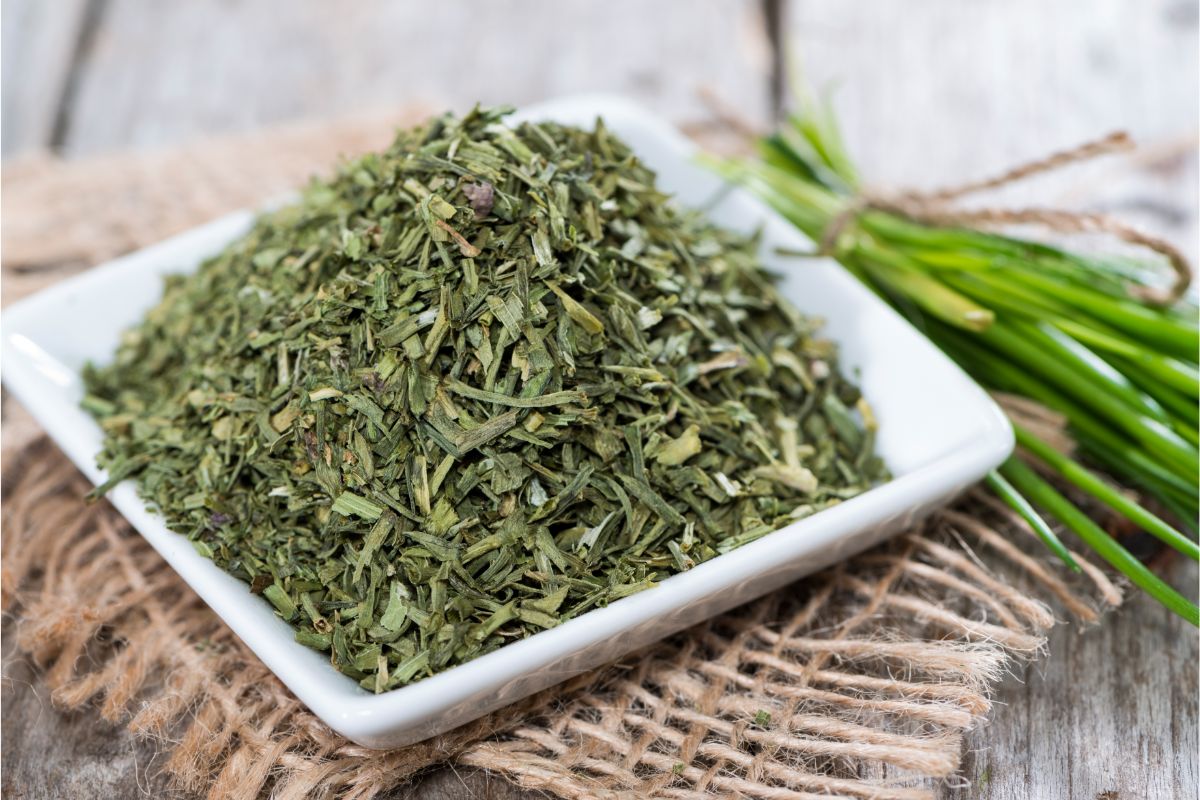
Once the dill is completely dehydrated, remove it from the oven and allow it to cool to room temperature. Store the dehydrated dill in an airtight container, away from direct sunlight and moisture. Properly stored, dehydrated dill can retain its flavor for up to a year.
Now that you’ve successfully dehydrated dill in the oven, you can use it to enhance the flavor of various dishes, including soups, stews, salads, and more. Enjoy the delightful taste of dill in your culinary creations, knowing that you’ve preserved its freshness through the simple process of oven dehydration.
Dehydrating dill in the oven is a simple and rewarding way to extend the shelf life of this aromatic herb. By following these easy steps, you can enjoy the vibrant flavor of dill in your favorite recipes throughout the year.
For those looking to put their newly acquired dill-dehydration skills to use, there are several delightful recipes to explore. Start with Dill-Infused Potato Salad for a refreshing side dish that highlights the herb's bright flavor. Another great option is Dill and Sour Cream Mashed Potatoes, which offers a creamy, tangy twist on a classic comfort food. If you're in the mood for something lighter, Creamy Dill and Cucumber Dip makes for a fantastic appetizer, pairing perfectly with fresh veggies or crackers. For a main course, try Lemon Dill Roasted Chicken, where the dill adds a zesty note to the succulent chicken. Finally, Dill and Garlic Pickles are a must-try for any pickle enthusiast, providing a crunchy, tangy treat that's perfect for snacking. These recipes not only showcase the versatility of dill but also make the most of its unique, aromatic qualities.
Was this page helpful?
Read Next: How To Dehydrate Parsely

