Brining Turkey in a Cooler: The Ultimate Guide
Brining a turkey is a fantastic way to infuse flavor and moisture into the meat, ensuring a delicious and juicy result. While there are various methods for brining, using a cooler can be an effective and convenient way to accomplish this. In this guide, we’ll walk you through the steps to brine a turkey in a cooler, ensuring a flavorful and succulent bird for your next feast.
What You’ll Need
Before you begin the brining process, it’s important to gather the necessary supplies. Here’s what you’ll need:
- A large cooler
- Enough ice to keep the turkey cold
- Water
- Kosher salt
- Sugar
- Herbs and spices of your choice (such as thyme, rosemary, and peppercorns)
- A whole turkey
The Brining Process
Now that you have your supplies ready, it’s time to start the brining process. Follow these simple steps:
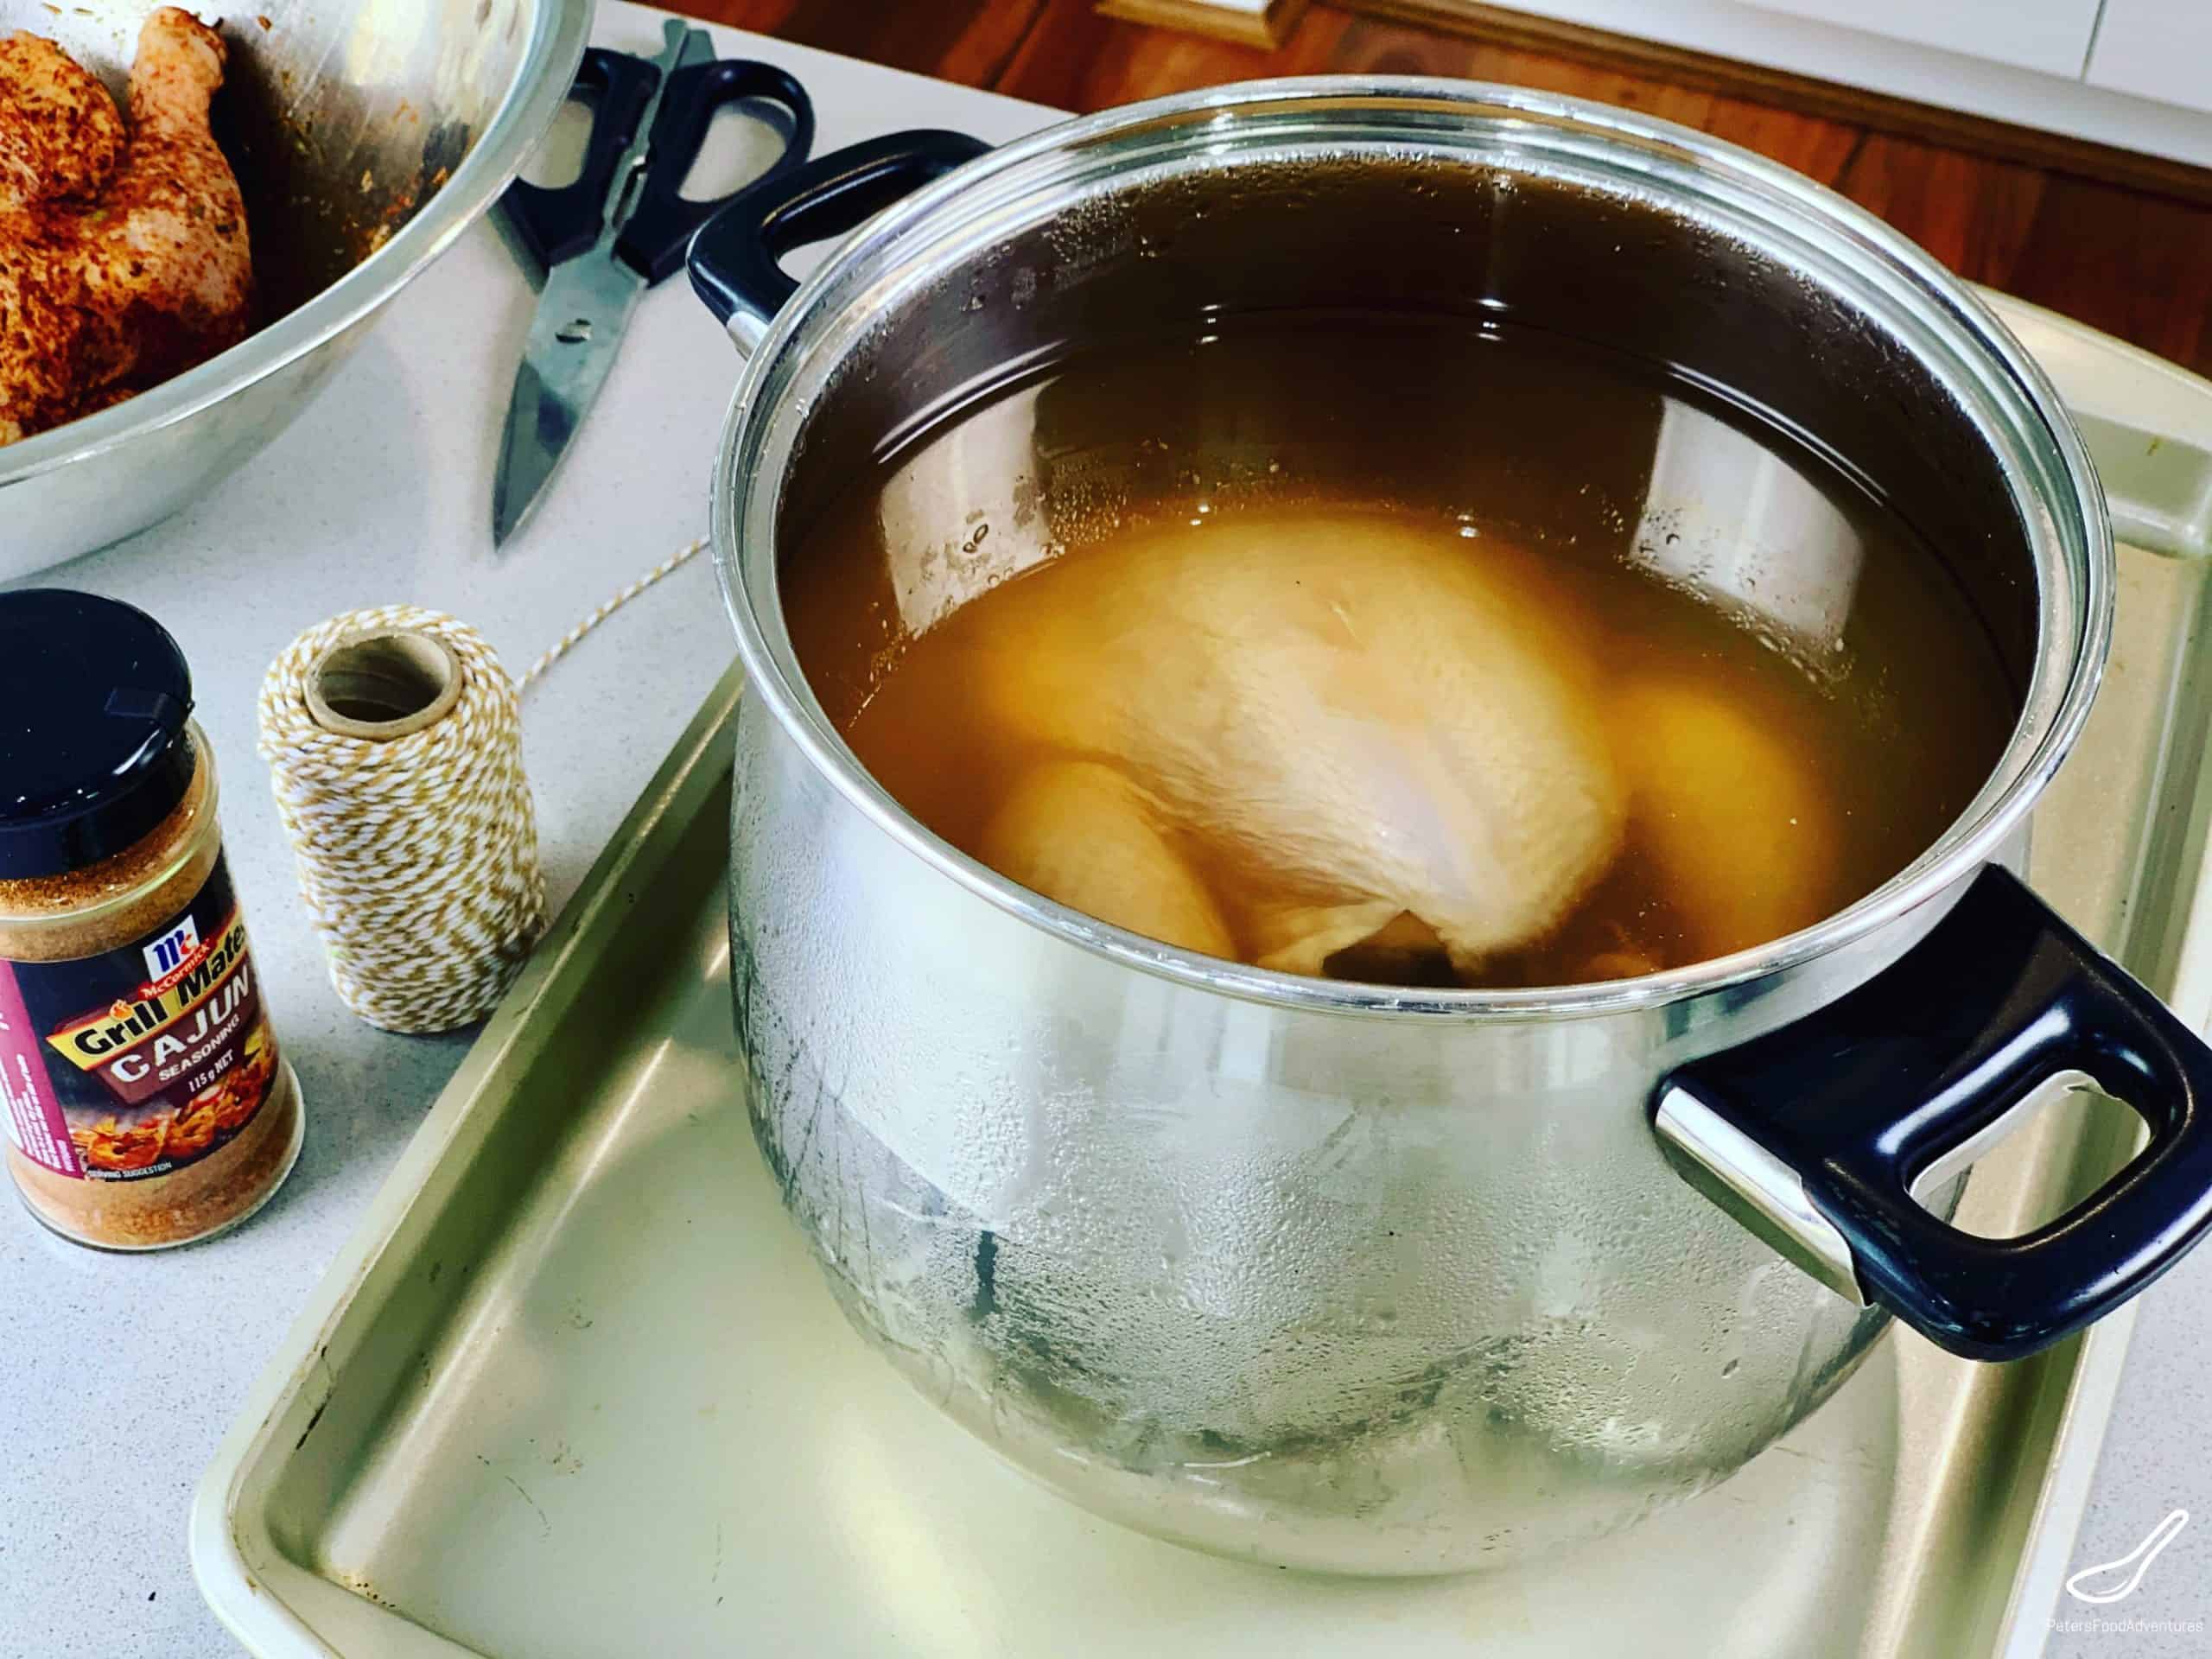
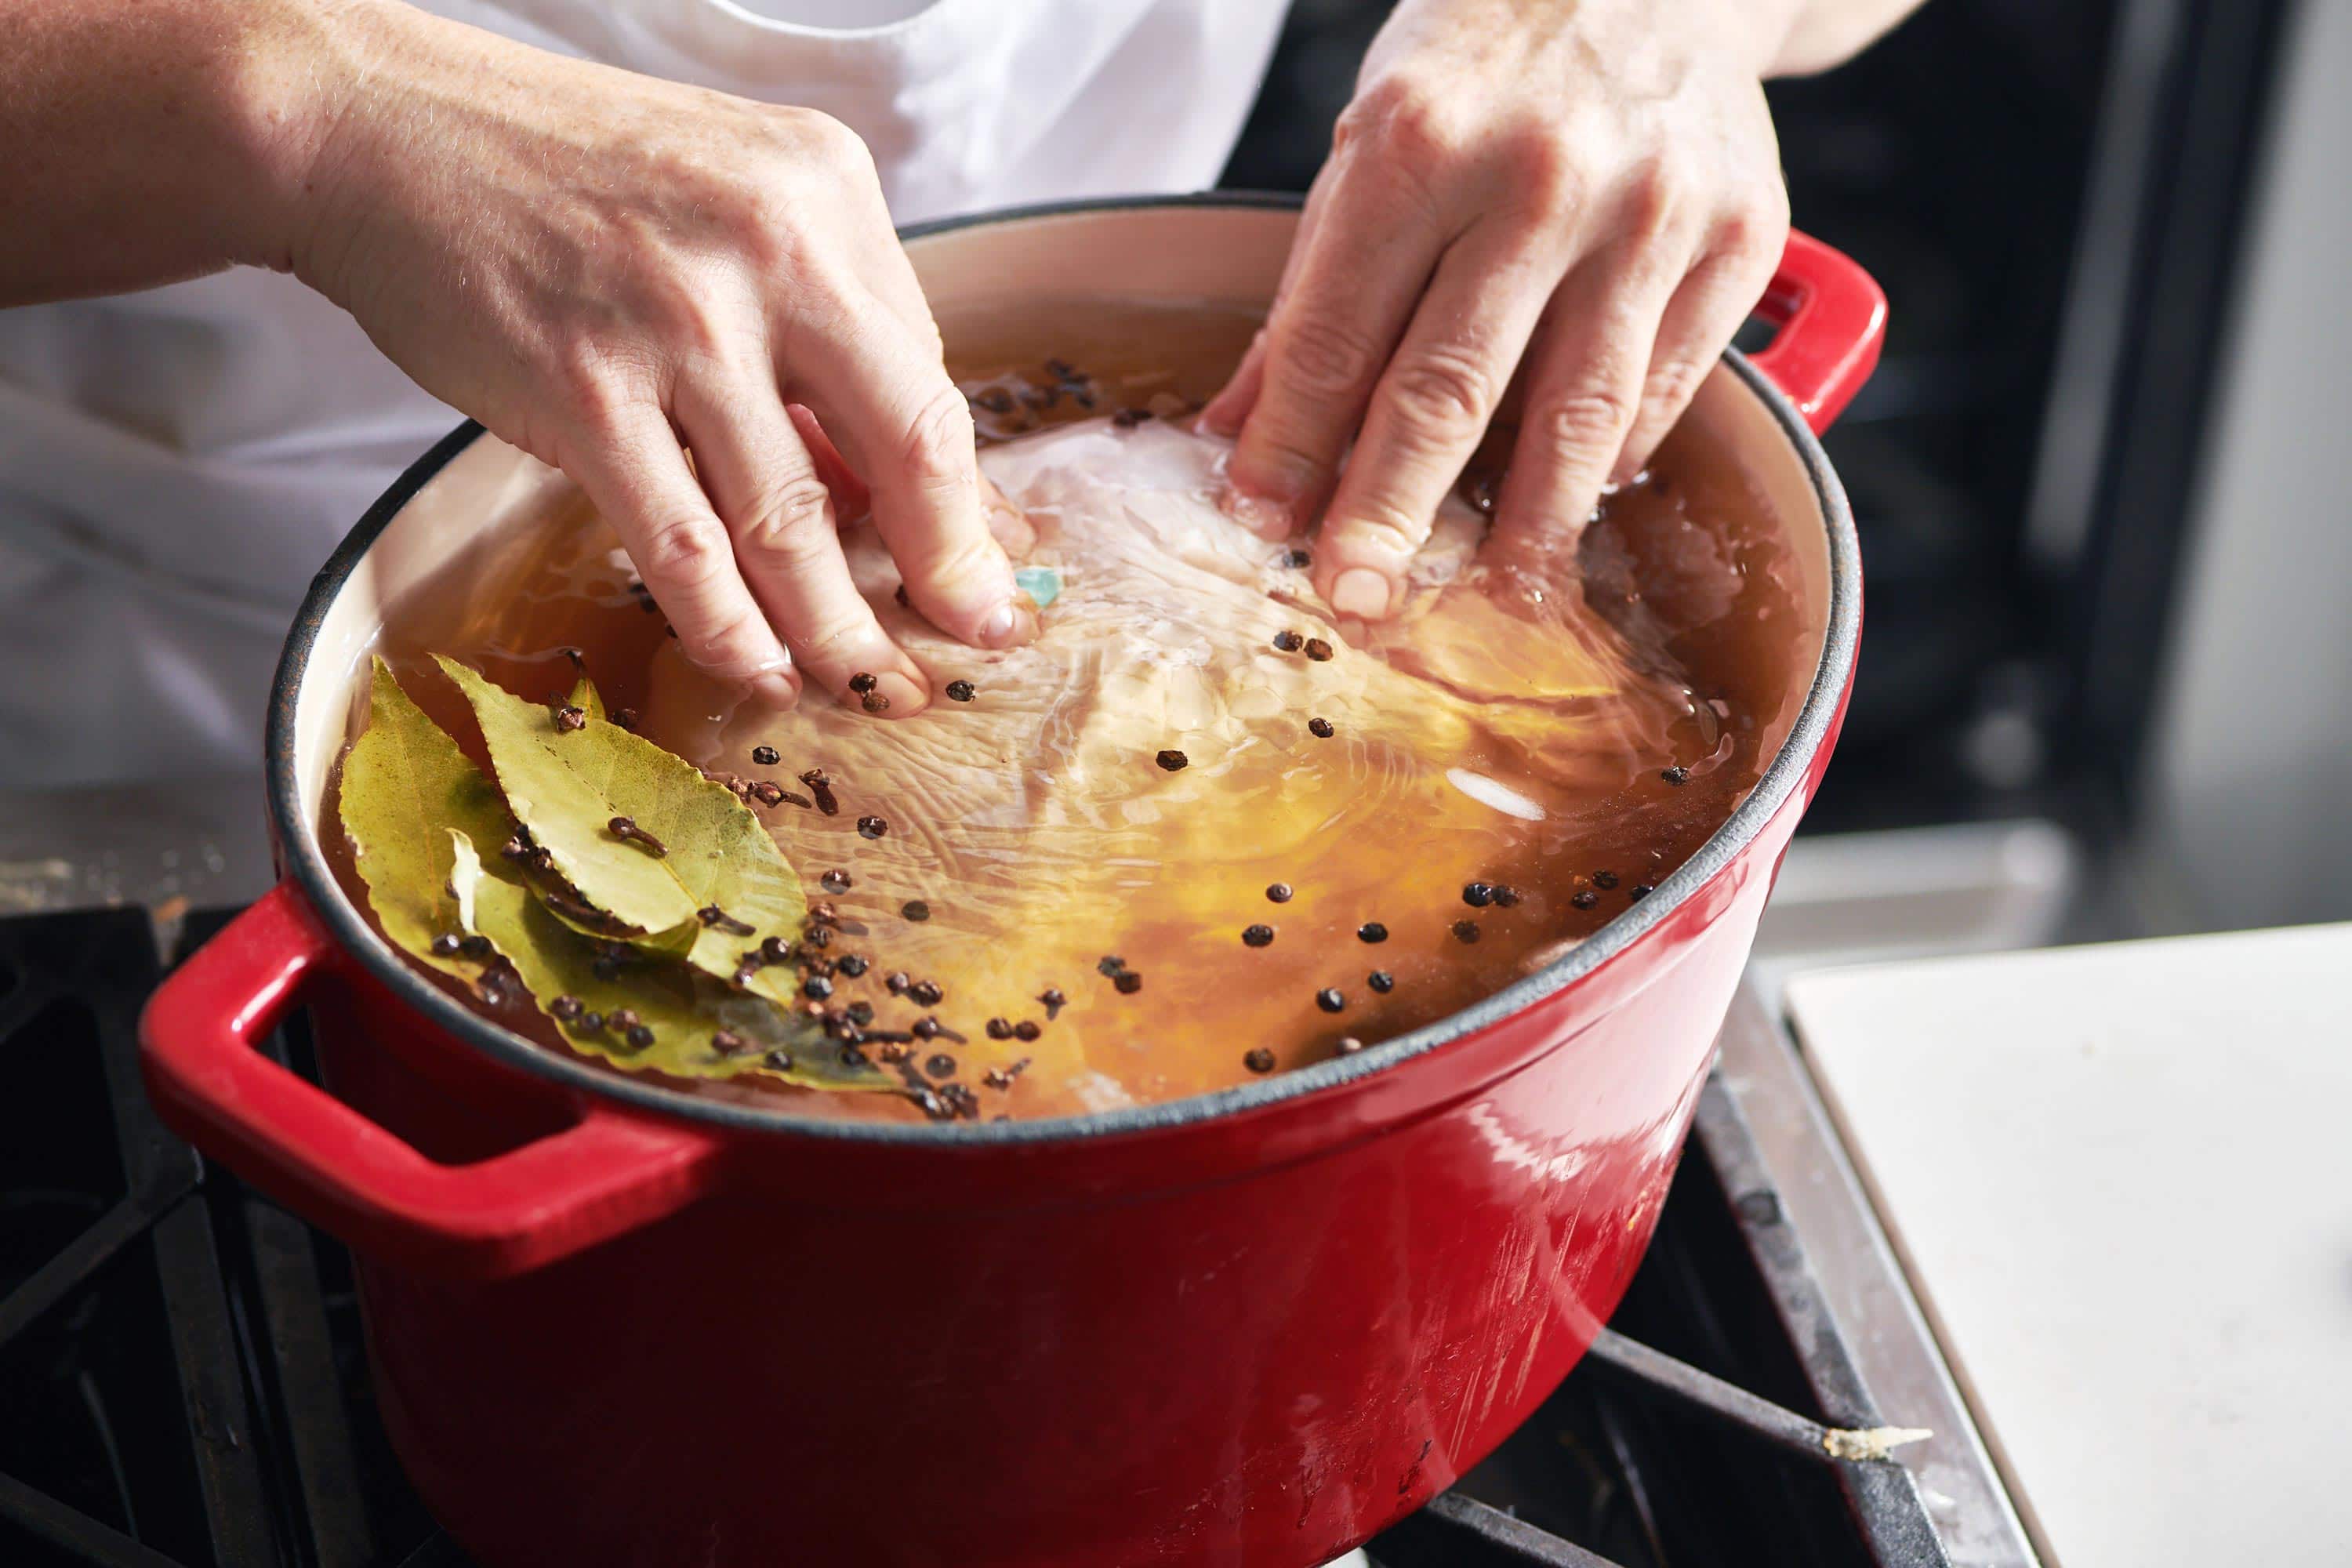
- Prepare the Brine: In a large pot, combine water, kosher salt, sugar, and your choice of herbs and spices. Bring the mixture to a simmer, stirring until the salt and sugar are fully dissolved. Allow the brine to cool to room temperature.
- Place the Turkey in the Cooler: Once the brine has cooled, place your thawed turkey into the cooler.
- Pour the Brine: Carefully pour the brine over the turkey until it is fully submerged. If the turkey floats, you can weigh it down with a heavy plate or sealed plastic bags filled with water.
- Add Ice: Fill the cooler with ice to keep the turkey and brine cold throughout the brining process. Check the cooler regularly and add more ice as needed to maintain a cold temperature.
- Brine the Turkey: Allow the turkey to brine in the cooler for the recommended time, typically 12-24 hours depending on the size of the bird and the strength of the brine.
Tips for Success
Brining a turkey in a cooler can yield fantastic results, but here are a few additional tips to ensure success:
- Ensure the turkey stays cold: It’s essential to monitor the temperature of the cooler regularly and add more ice as needed to keep the turkey and brine at a safe, cold temperature.
- Use a reliable thermometer: When cooking the turkey, use a meat thermometer to ensure it reaches the appropriate internal temperature for safe consumption.
- Experiment with flavors: Don’t be afraid to get creative with your brine! Try different herbs, spices, and aromatics to customize the flavor of your turkey.
- Plan ahead: Brining takes time, so be sure to plan accordingly and factor in the brining time when preparing your holiday meal.
Conclusion
Brining a turkey in a cooler is a straightforward and effective way to enhance the flavor and juiciness of your holiday bird. By following these steps and tips, you’ll be well on your way to serving a delicious, perfectly brined turkey that will impress your family and guests.
So, the next time you’re preparing a turkey for a special occasion, consider using a cooler for brining, and get ready to enjoy a moist and flavorful feast!
Was this page helpful?
Read Next: How To Brine Fish Before Cooking
