Brining a Turkey Breast: A Delicious Way to Enhance Flavor
Brining is a simple yet effective technique for adding flavor and moisture to turkey breast. Whether you’re preparing a Thanksgiving feast or simply craving a tender and juicy turkey dish, brining can take your culinary skills to the next level. In this guide, we’ll walk you through the steps to brine just a turkey breast, ensuring a mouthwatering result that will leave your taste buds singing.
Why Brine a Turkey Breast?
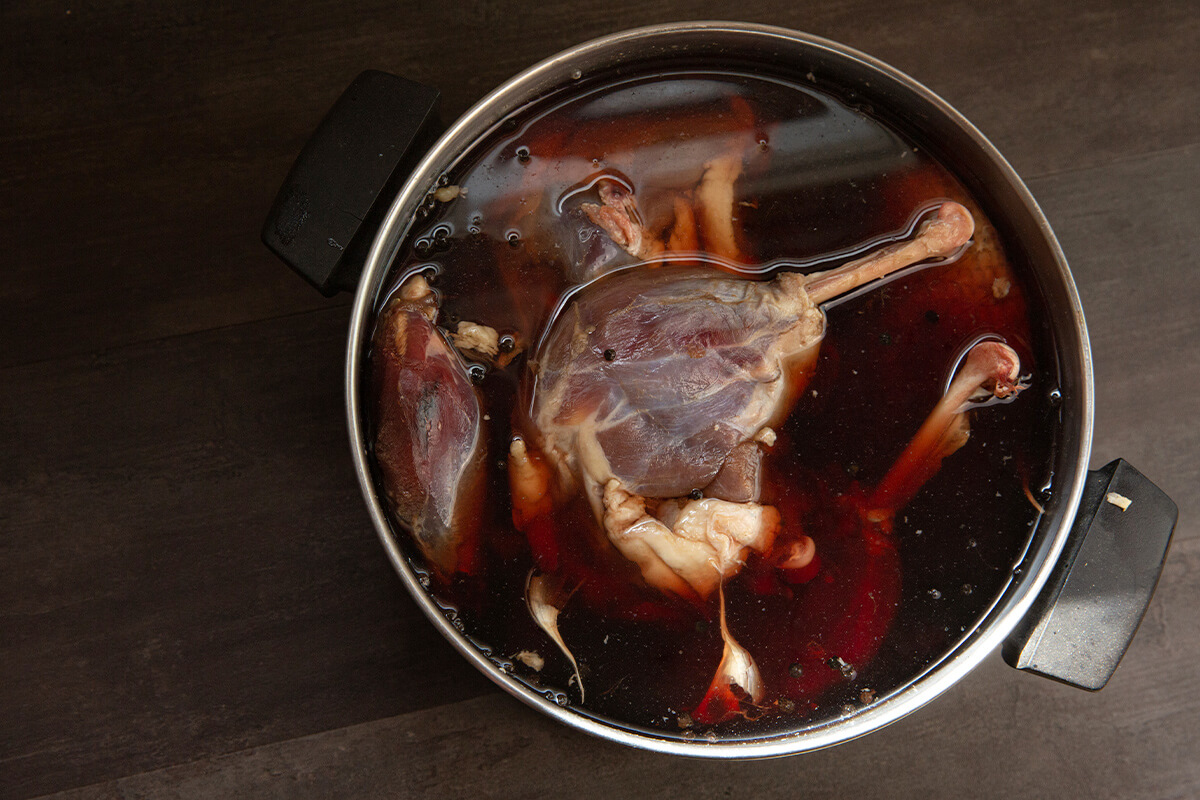
Brining involves soaking the turkey breast in a saltwater solution, often with the addition of herbs and spices. This process not only infuses the meat with flavor but also helps it retain moisture during cooking, resulting in a juicy and succulent texture. By brining a turkey breast, you can elevate its natural flavors and create a more enjoyable dining experience for yourself and your guests.
Choosing the Right Ingredients
Before you begin brining, it’s essential to gather the necessary ingredients. For a basic turkey breast brine, you’ll need:
- Water
- Kosher salt
- Granulated sugar
- Herbs and spices (such as peppercorns, bay leaves, and thyme)
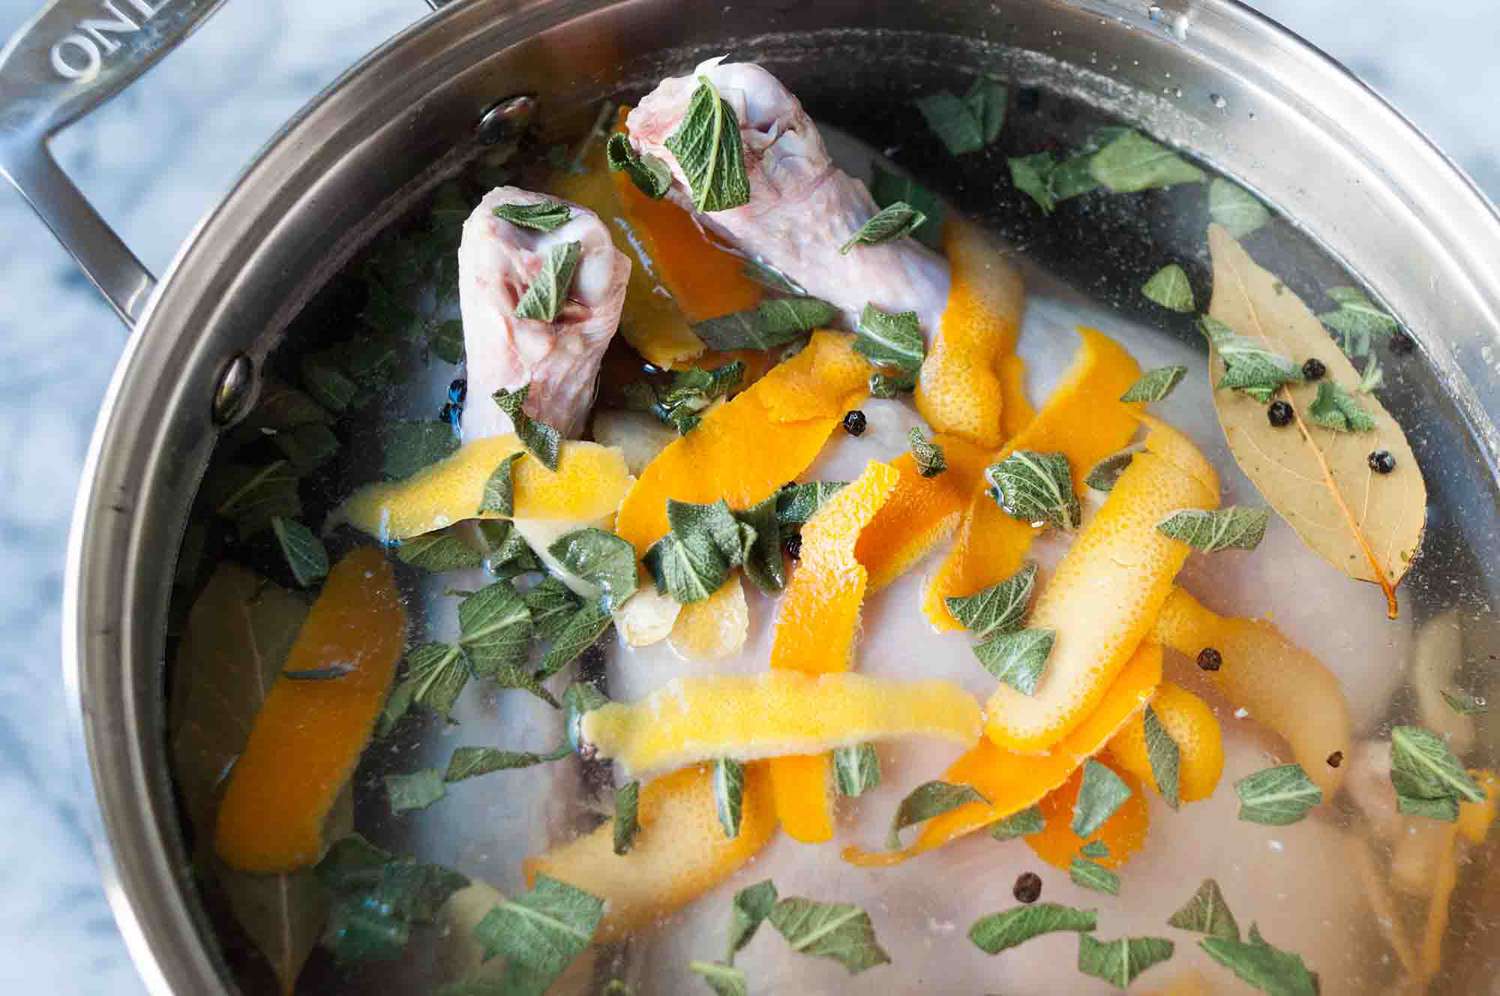
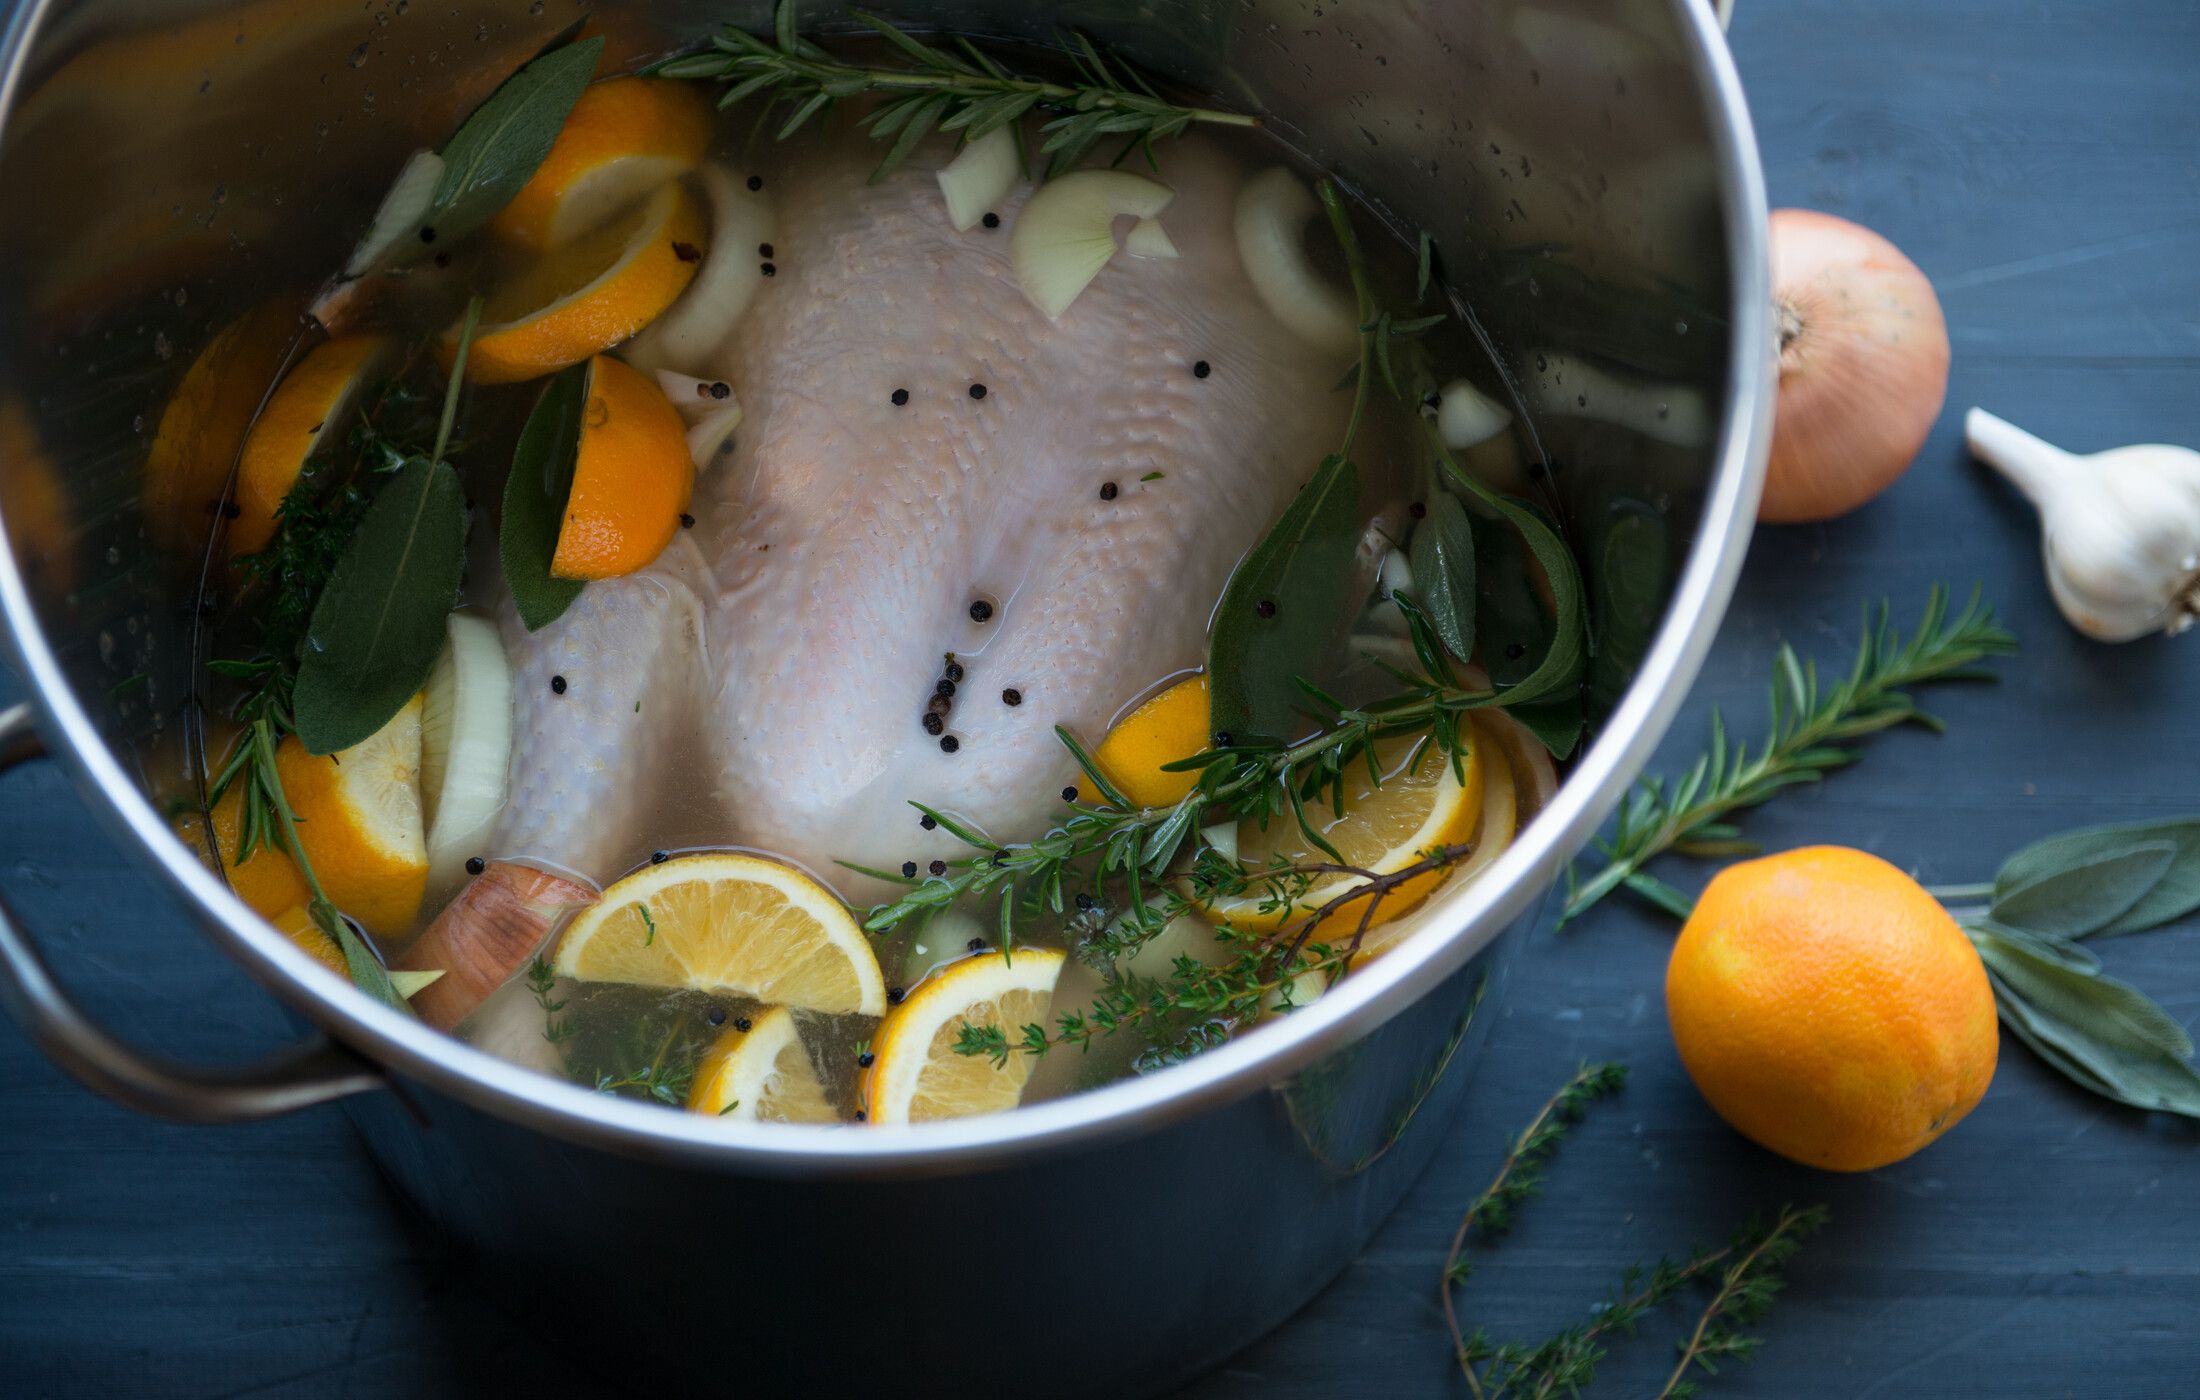
Feel free to customize the brine by adding other seasonings or aromatics to suit your taste preferences. Some popular additions include garlic, rosemary, and citrus zest.
The Brining Process
Now that you have your ingredients ready, it’s time to start the brining process. Follow these simple steps:
- In a large pot, combine water, kosher salt, sugar, and your chosen herbs and spices. Bring the mixture to a simmer, stirring occasionally until the salt and sugar are fully dissolved.
- Allow the brine to cool to room temperature. It’s crucial to brine the turkey breast in a cold or chilled solution to prevent any potential food safety issues.
- Place the turkey breast in a container or resealable plastic bag, ensuring that it is fully submerged in the brine. Refrigerate the turkey breast and let it brine for the recommended amount of time, typically 8-12 hours.
Brining Tips and Tricks
As you embark on your brining journey, keep these helpful tips in mind to achieve the best results:
- Use a non-reactive container for brining, such as stainless steel or food-grade plastic, to prevent any unwanted flavors from leaching into the turkey breast.
- Adjust the brining time based on the size of the turkey breast. Larger cuts may require a longer brining period, while smaller ones can be adequately seasoned in less time.
- After brining, thoroughly rinse the turkey breast under cold water to remove any excess salt from the surface. Pat it dry with paper towels before cooking.
Cooking the Brined Turkey Breast
Once the turkey breast has finished brining, it’s ready to be cooked using your preferred method. Whether you choose to roast, grill, or smoke the turkey breast, the brining process will have laid the foundation for a delectable and tender result. Be mindful of the internal temperature to ensure that the turkey breast is fully cooked and safe to eat.
Enjoying the Fruits of Your Labor
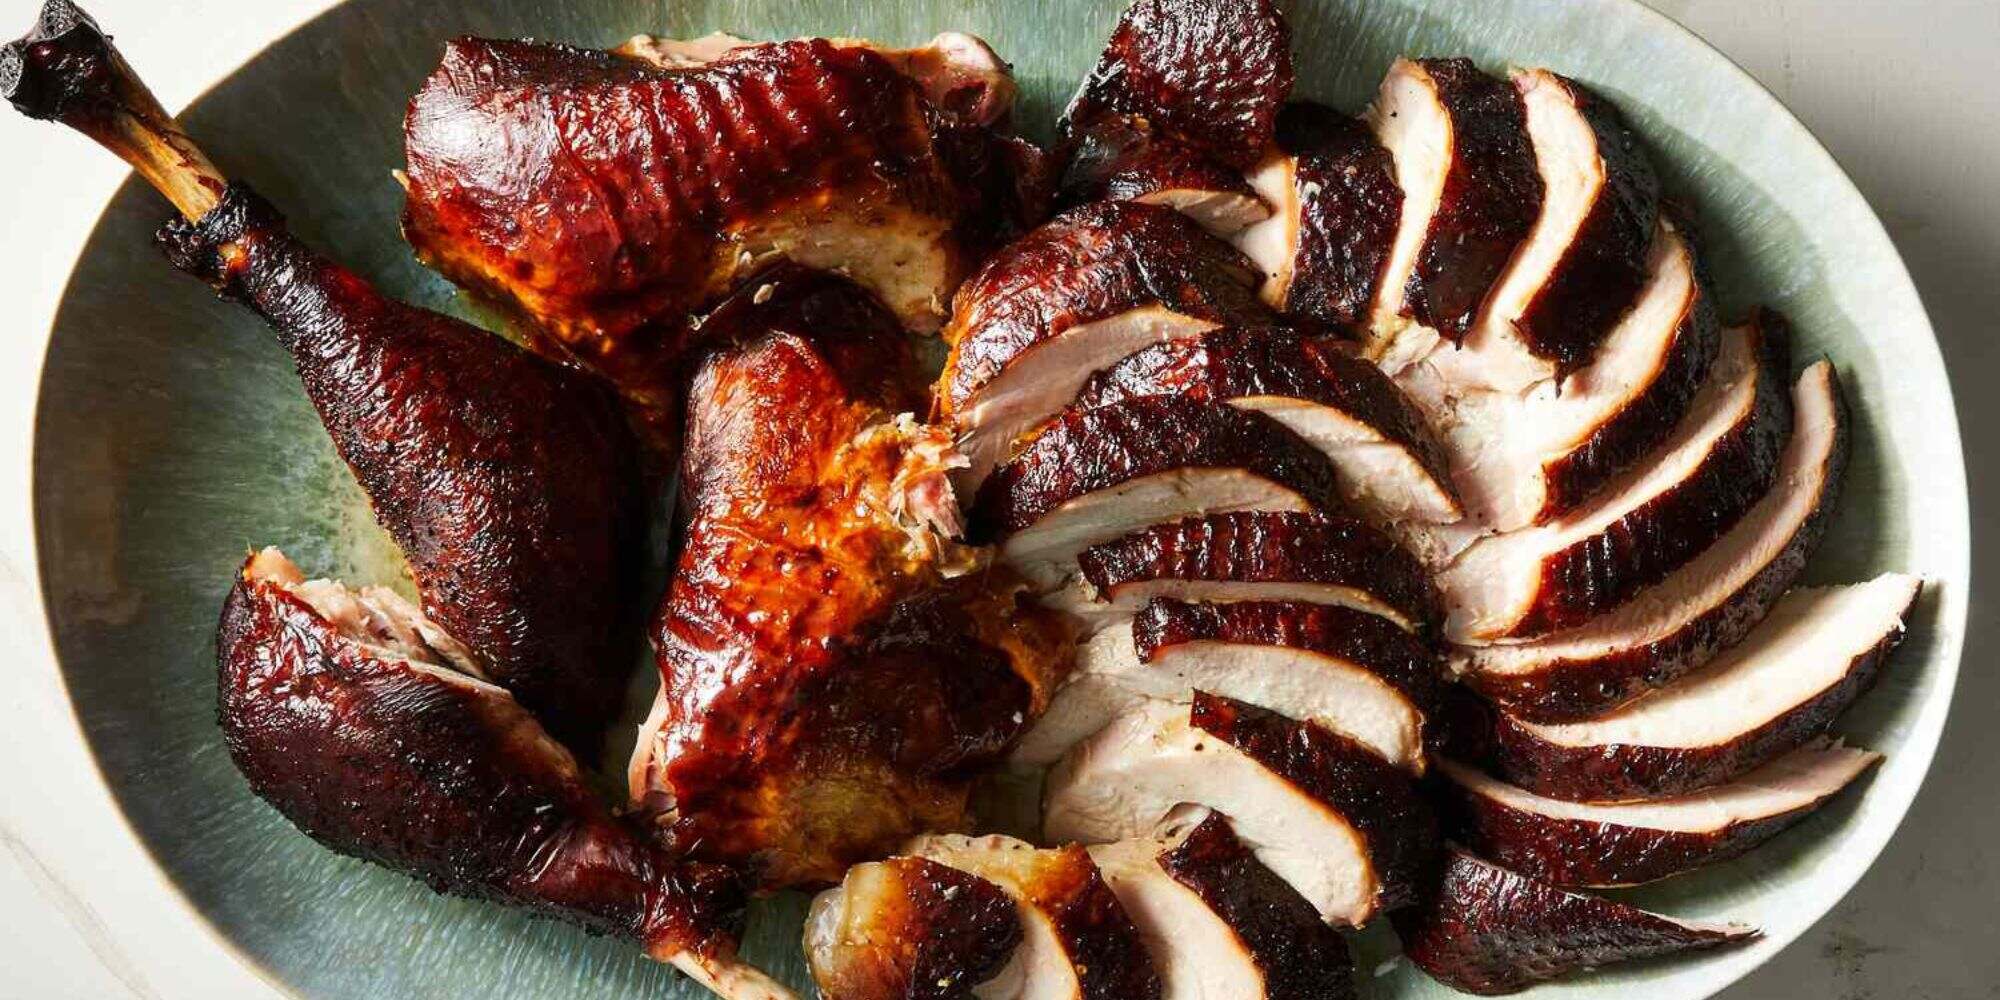
After cooking, allow the turkey breast to rest for a few minutes before slicing and serving. With each bite, savor the flavorful and moist meat that the brining process has bestowed upon your dish. Whether enjoyed as the centerpiece of a holiday meal or as a delightful weeknight dinner, a brined turkey breast is sure to impress and satisfy all who partake in its deliciousness.
Brining a turkey breast is a simple yet impactful way to enhance its natural flavors and texture. By following these steps and tips, you can master the art of brining and elevate your culinary prowess to new heights. So, the next time you’re craving a succulent and flavorful turkey dish, consider brining just a turkey breast to unlock its full potential.
Was this page helpful?
Read Next: How To Brine A Turkey Inside A Bucket
