Brining with a Food Saver: A Game-Changer for Flavorful Food
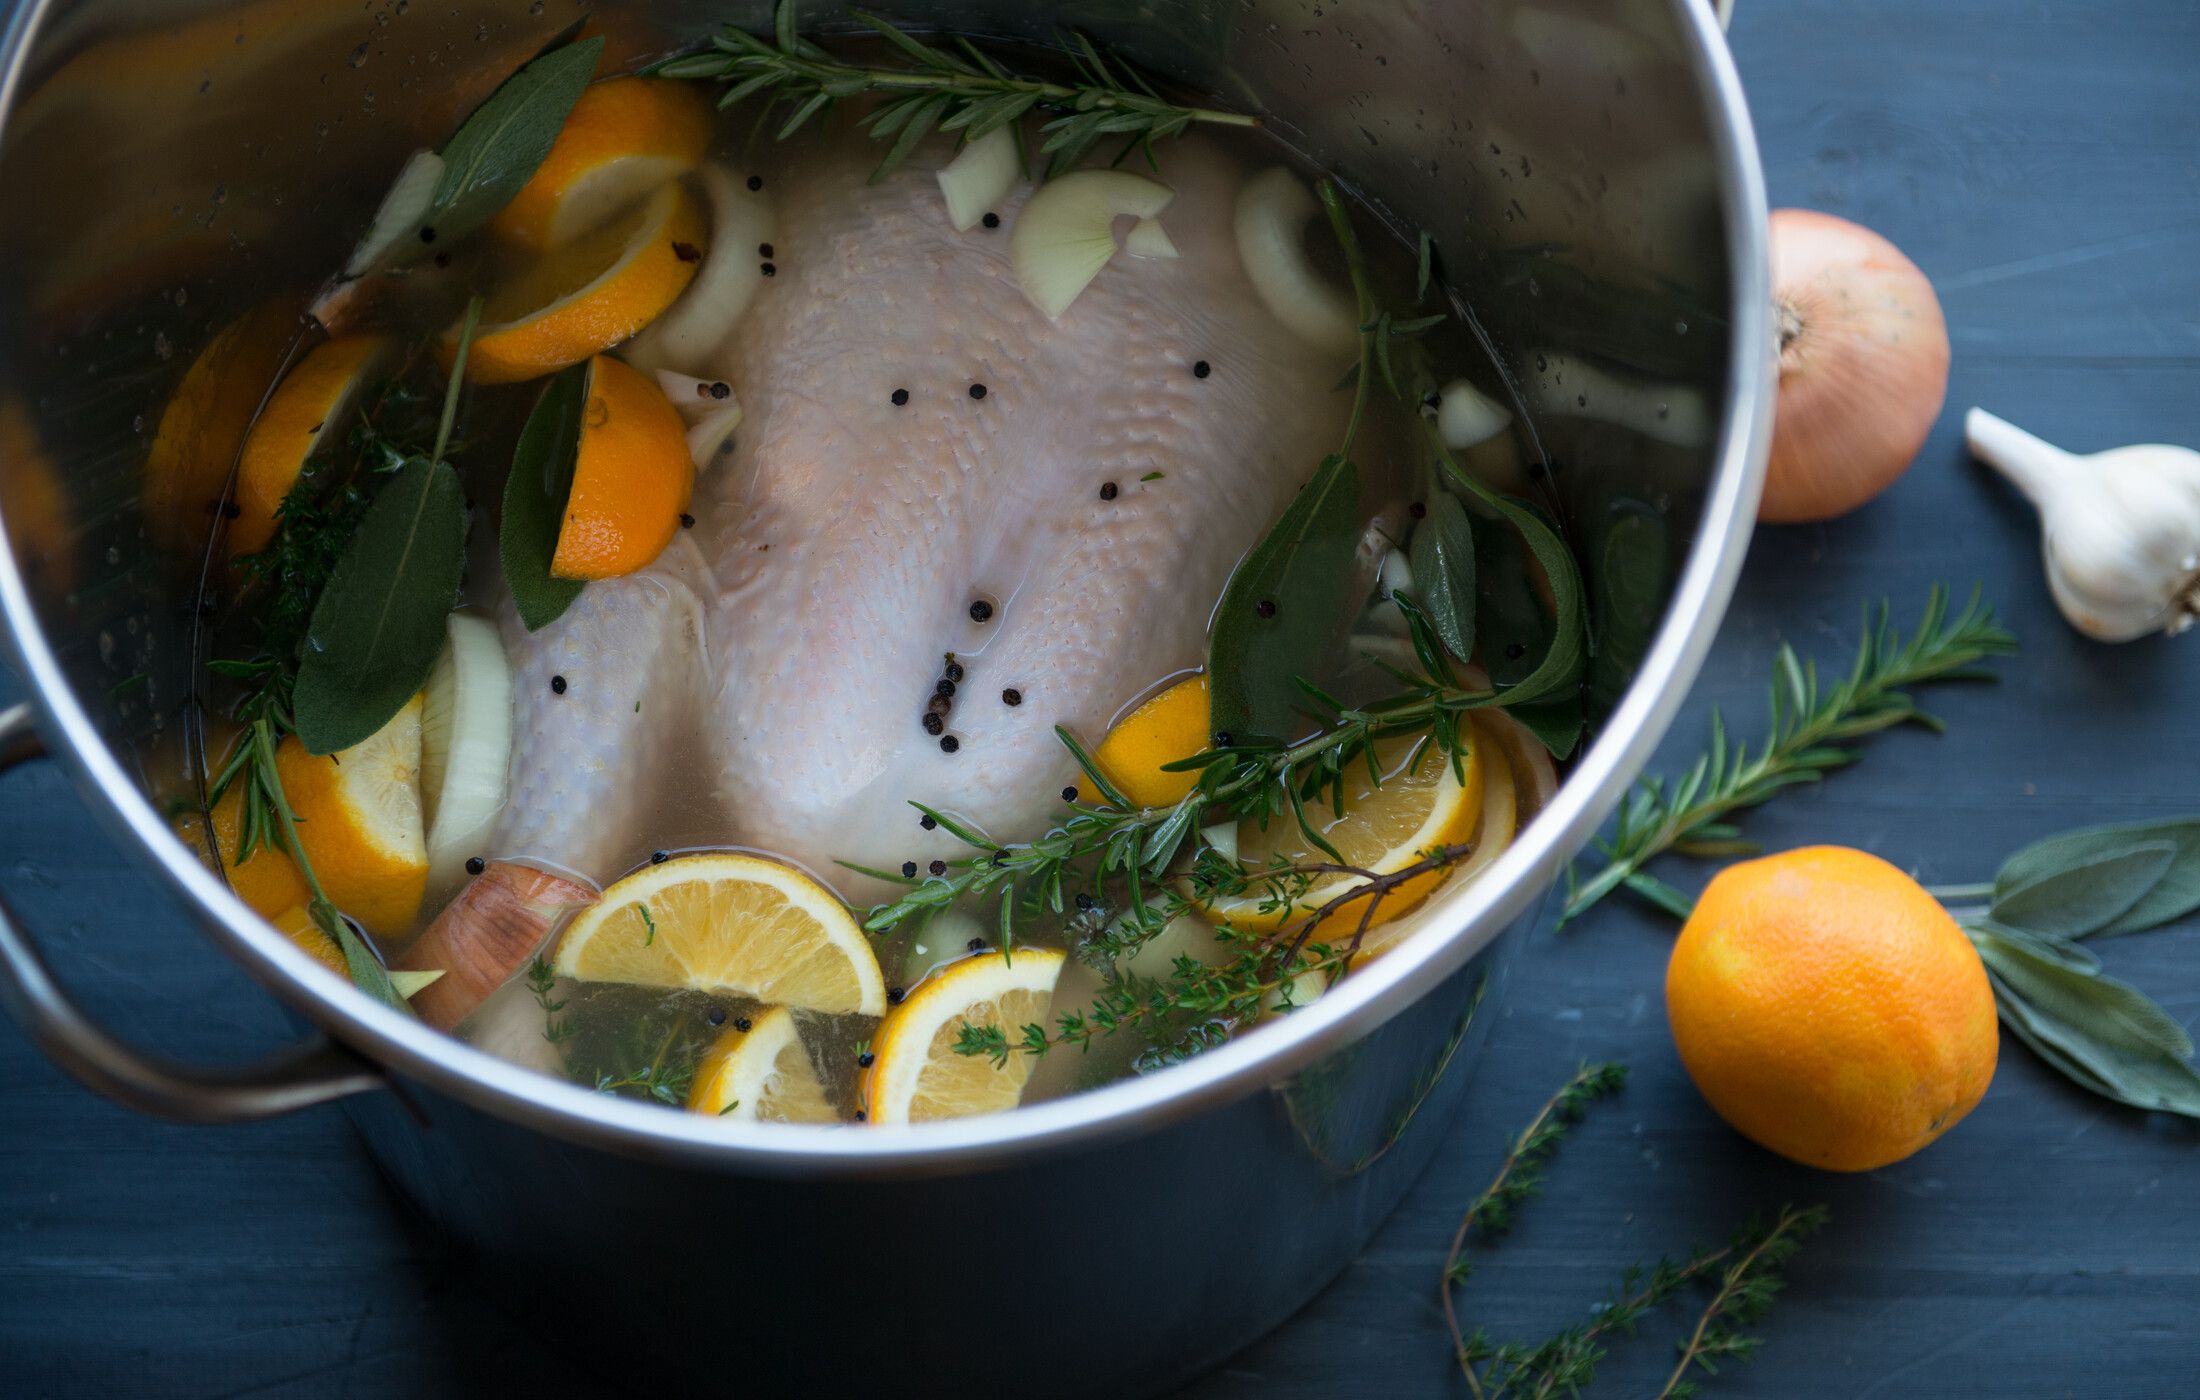
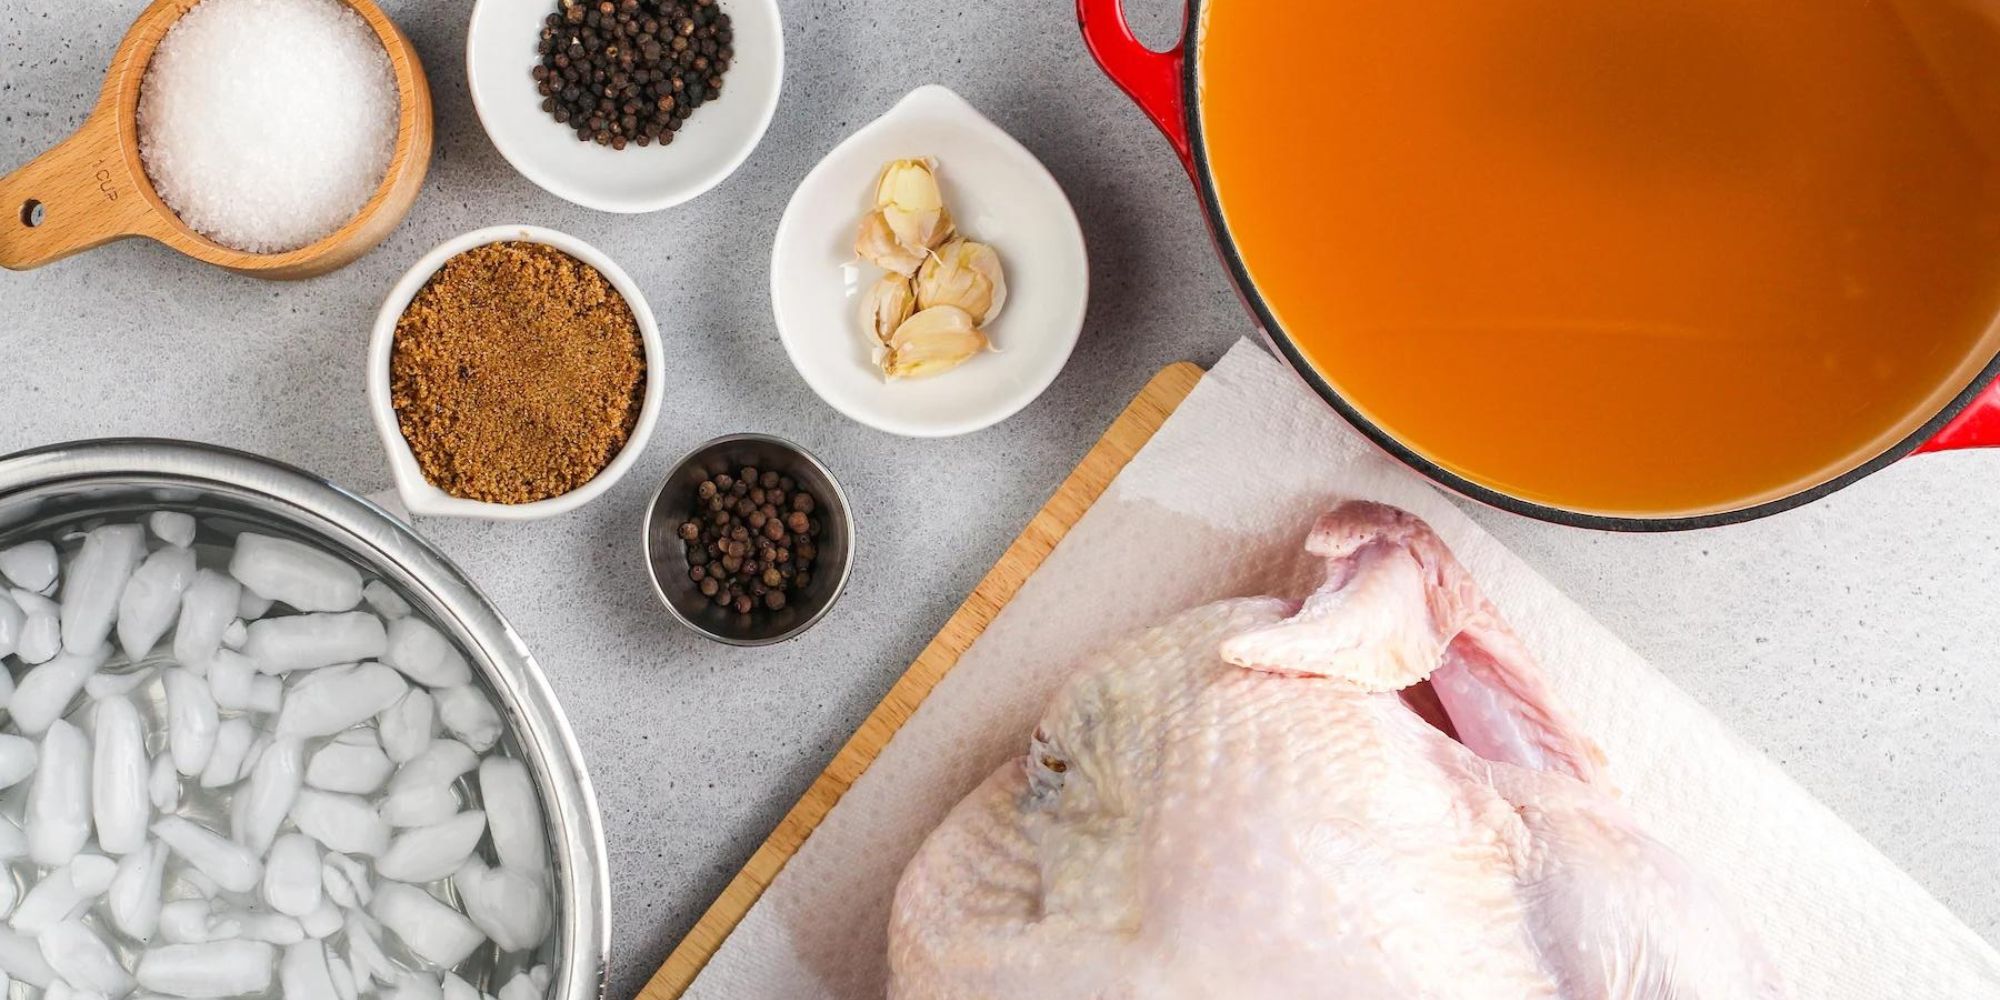
Brining is a technique that has been used for centuries to enhance the flavor and juiciness of meat and poultry. It involves soaking the food in a solution of salt, water, and often other flavorings before cooking. The process of brining with a Food Saver takes this method to the next level, ensuring that the flavors penetrate deep into the food and result in a truly delicious dish.
Why Brine with a Food Saver?
Using a Food Saver for brining offers several advantages:
- Improved Flavor: The vacuum sealing process of a Food Saver ensures that the brine comes into direct contact with the food, allowing the flavors to penetrate more effectively.
- Enhanced Juiciness: Brining with a Food Saver helps the food retain moisture during the cooking process, resulting in a juicier end product.
- Convenient and Mess-Free: The vacuum sealing process eliminates the need for bulky containers or messy plastic bags, making brining with a Food Saver a clean and hassle-free experience.
Steps for Brining with a Food Saver
Brining with a Food Saver is a simple process that can be broken down into a few easy steps:
- Prepare the Brine: In a large bowl, mix together water, salt, and any desired flavorings such as herbs, spices, or sugar. Stir until the salt is fully dissolved.
- Place the Food in a Food Saver Bag: Put the food to be brined into a Food Saver bag, ensuring that it is large enough to hold the food and the brine.
- Add the Brine: Carefully pour the brine into the Food Saver bag, ensuring that the food is fully submerged.
- Vacuum Seal the Bag: Place the open end of the bag into the Food Saver machine and follow the instructions to vacuum seal the bag. This will remove the air and create a tight seal around the food and brine.
- Refrigerate: Place the sealed bag in the refrigerator and allow the food to brine for the recommended amount of time.
Brining Tips and Tricks
When brining with a Food Saver, keep the following tips in mind to achieve the best results:
- Brining Time: The optimal brining time can vary depending on the type and size of the food being brined. As a general rule, smaller cuts of meat or poultry may require a shorter brining time, while larger cuts may benefit from a longer brining period.
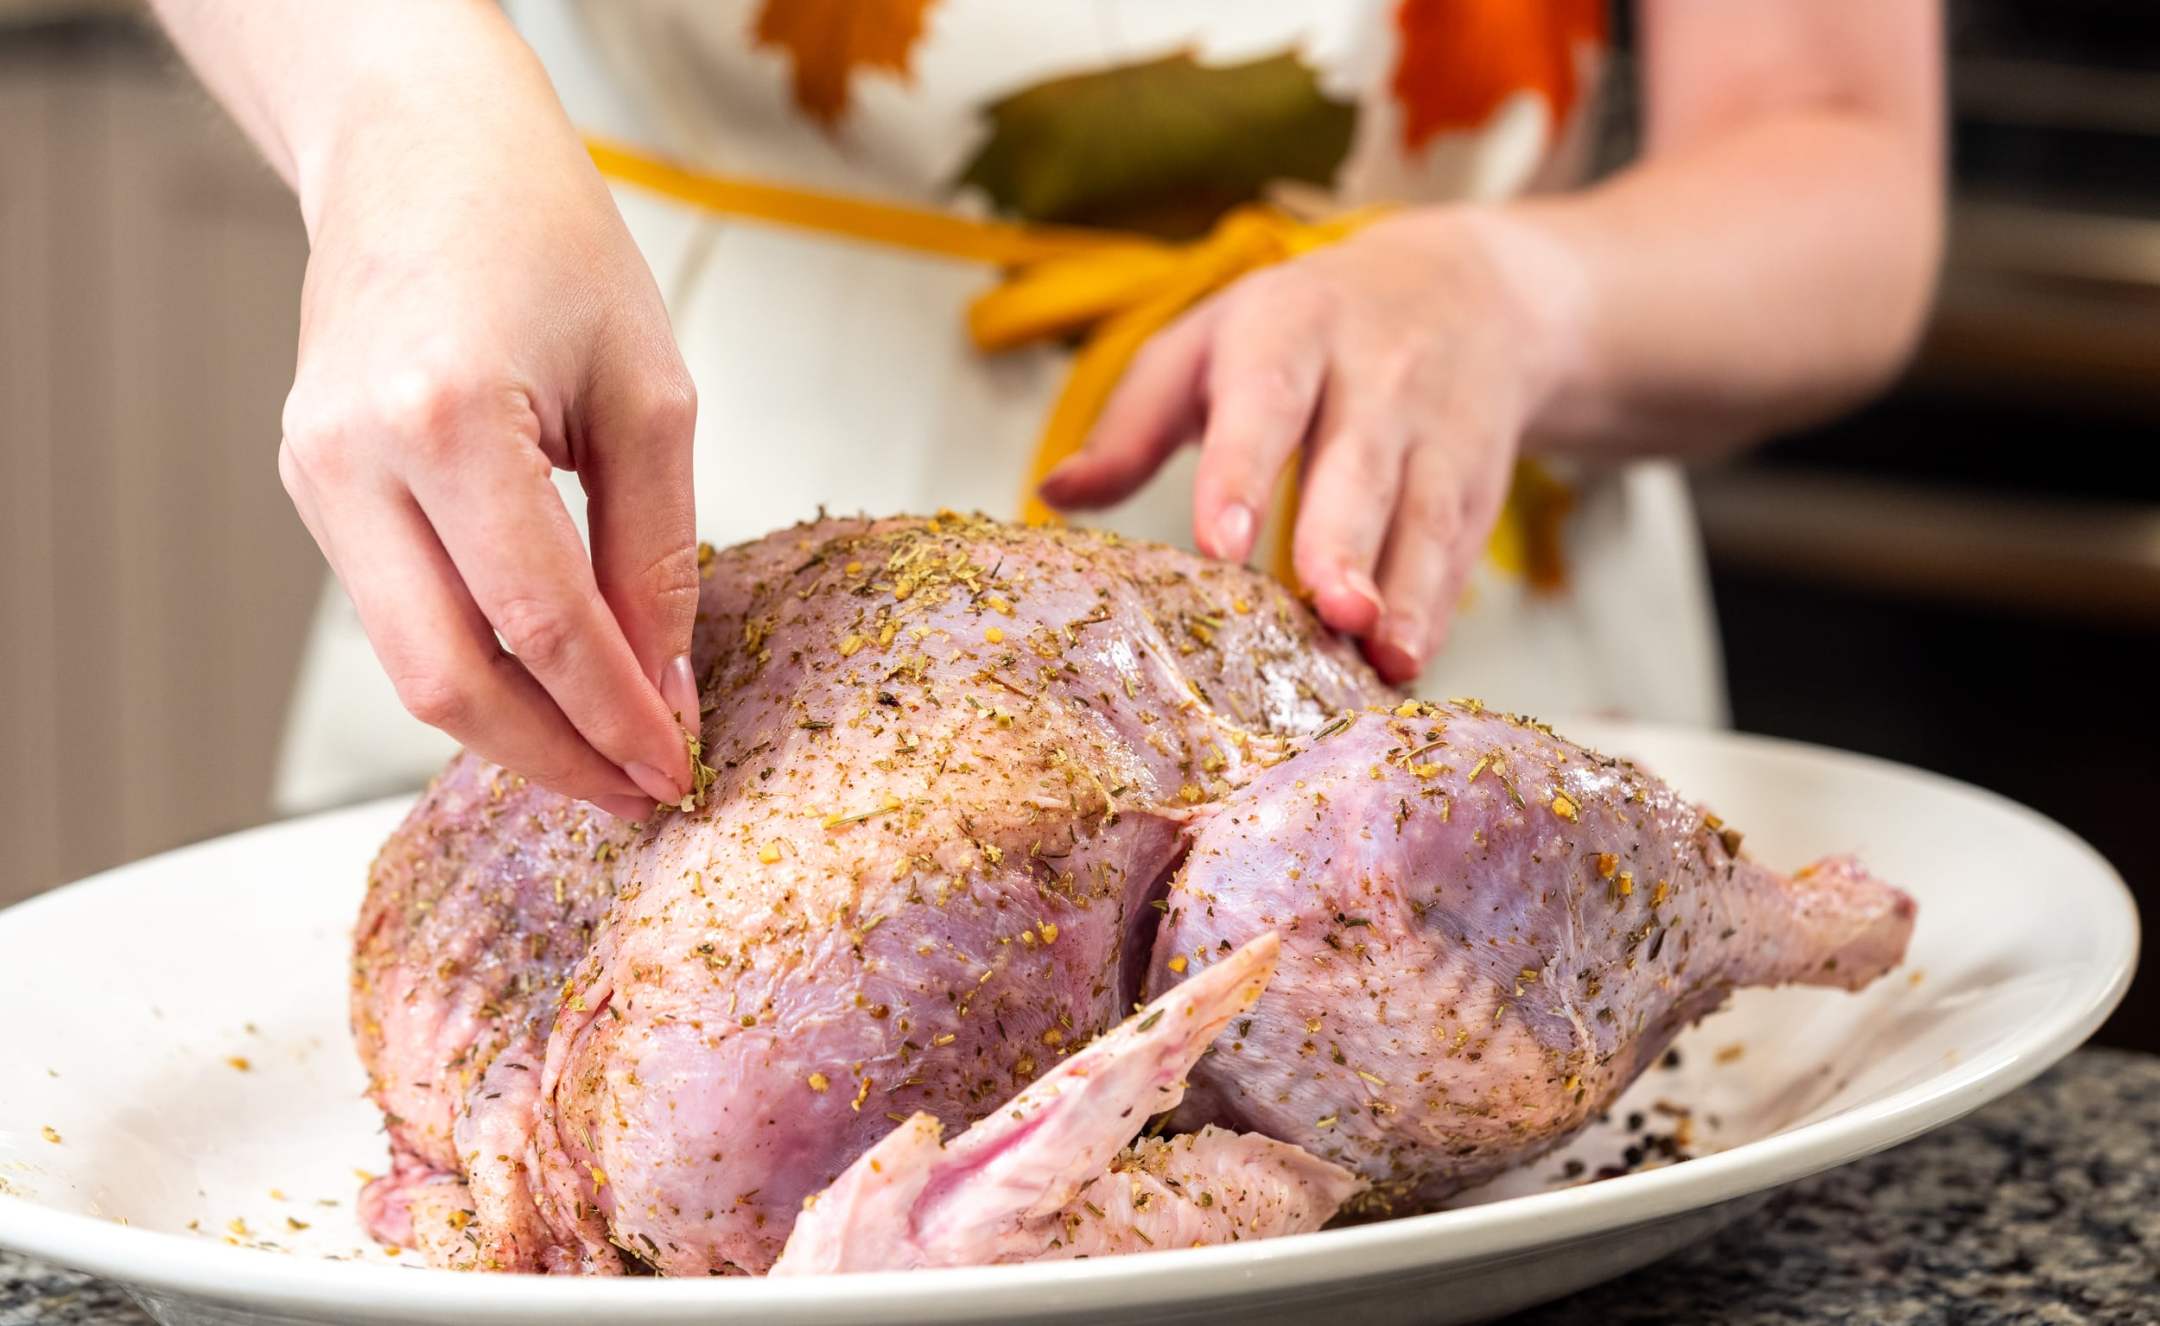
- Flavor Variations: Get creative with your brine by experimenting with different herbs, spices, citrus zest, or even sweeteners like honey or maple syrup to customize the flavor profile of your dish.
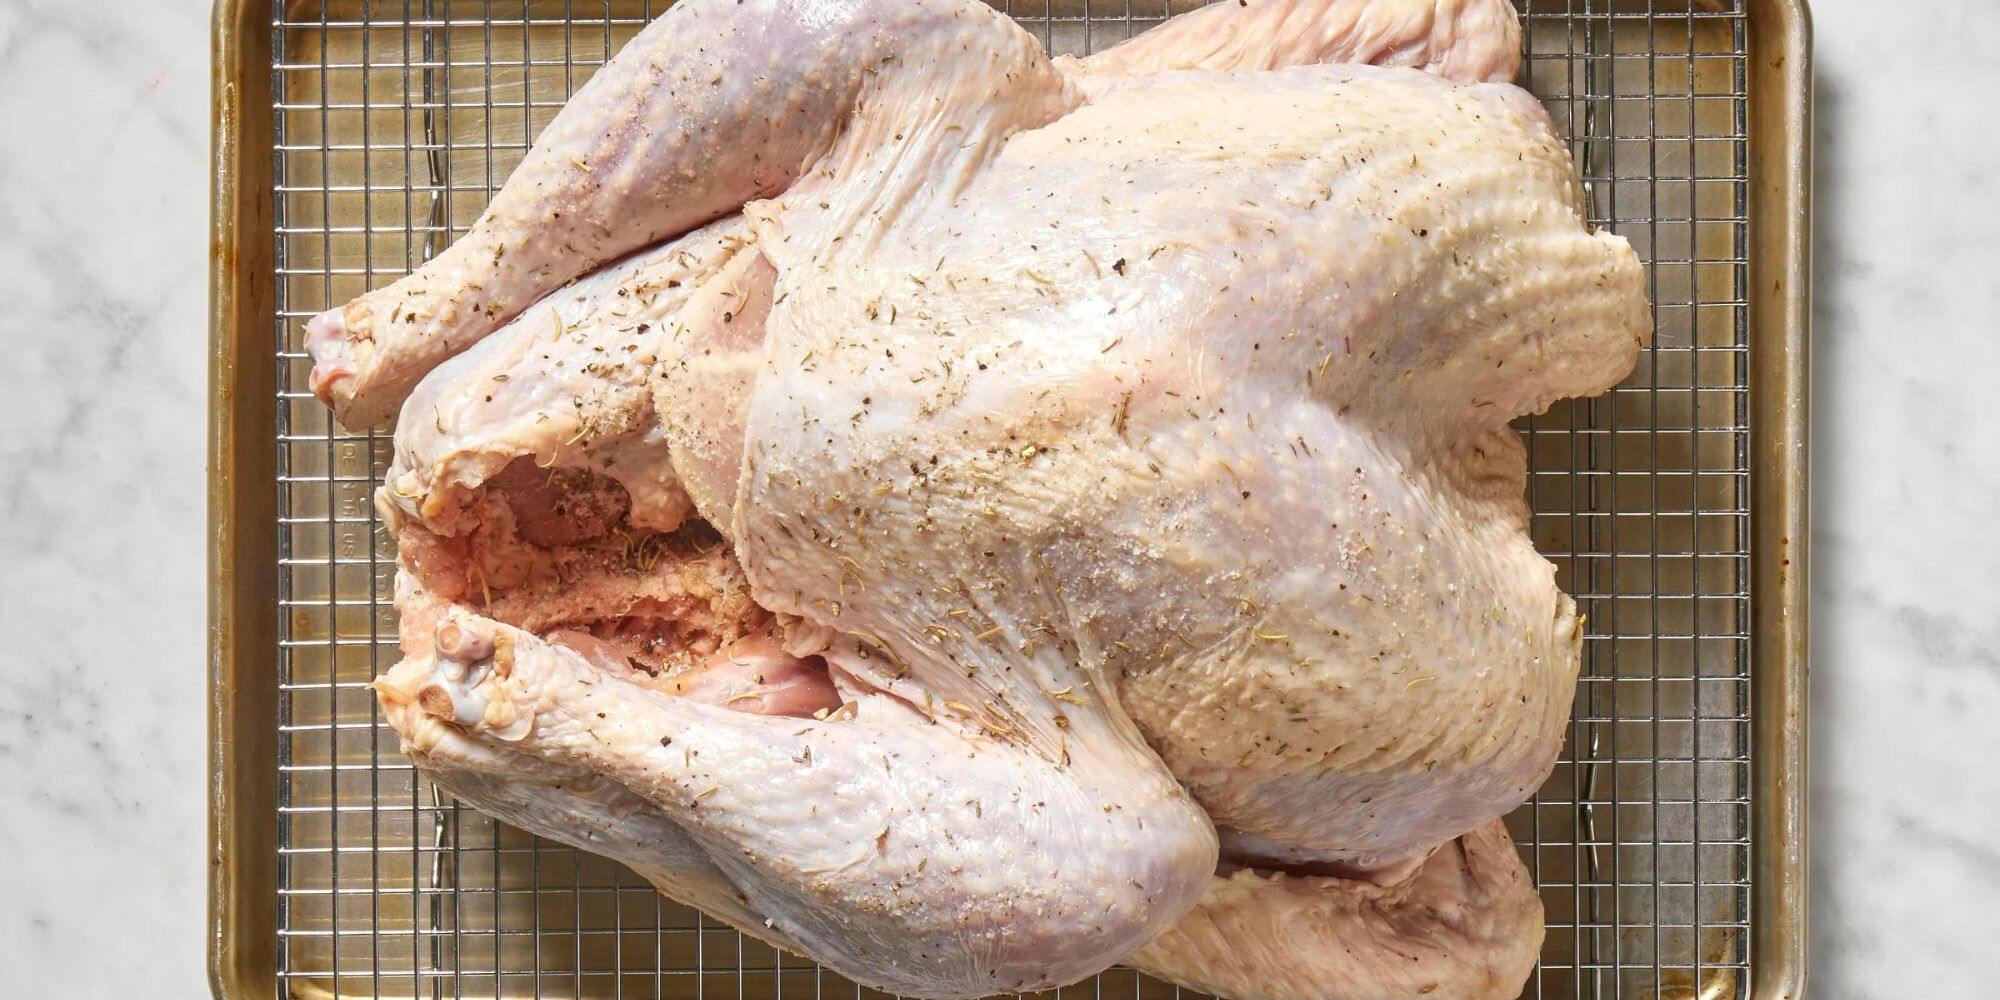
- Pat Dry Before Cooking: After brining, be sure to pat the food dry with paper towels before cooking. This will help ensure a crispy exterior and even cooking.
Unlock the Full Potential of Your Food with Brining and a Food Saver
Brining with a Food Saver is a game-changer when it comes to elevating the flavor and juiciness of your favorite dishes. By following these simple steps and tips, you can unlock the full potential of your food and impress your family and friends with delicious, restaurant-quality meals right in your own kitchen.
Was this page helpful?
Read Next: How To Brine London Broil
