Brining Boneless Ribs for Smoking: A Flavorful Journey
Welcome to the world of smoking and grilling! If you’re looking to elevate your boneless ribs to a whole new level of flavor and tenderness, brining is the secret ingredient you’ve been searching for. Brining involves soaking the meat in a saltwater solution, along with other flavorful additions, to enhance its juiciness and taste. In this guide, we’ll walk you through the process of brining boneless ribs for smoking, so you can impress your friends and family with mouthwatering, succulent ribs.
Why Brine Boneless Ribs?
Before we dive into the brining process, let’s understand why it’s worth the effort. Brining serves several purposes when it comes to preparing boneless ribs for smoking:
- Enhanced Moisture: The salt in the brine helps the meat retain moisture during the smoking process, resulting in juicier ribs.
- Flavor Infusion: Brining allows the flavors from the brine ingredients to penetrate the meat, imparting a delicious taste throughout.
- Tenderness: The salt in the brine also helps break down muscle fibers, leading to a more tender and enjoyable eating experience.
Ingredients for the Brine
Now that you understand the benefits of brining, let’s gather the ingredients you’ll need to create a flavorful brine for your boneless ribs:
- Water
- Salt
- Sugar
- Garlic
- Black peppercorns
- Bay leaves
- Herbs and spices of your choice
Feel free to customize the brine to your taste preferences, experimenting with different herbs and spices to create a unique flavor profile for your ribs.
The Brining Process
Now, let’s walk through the steps of brining boneless ribs for smoking:
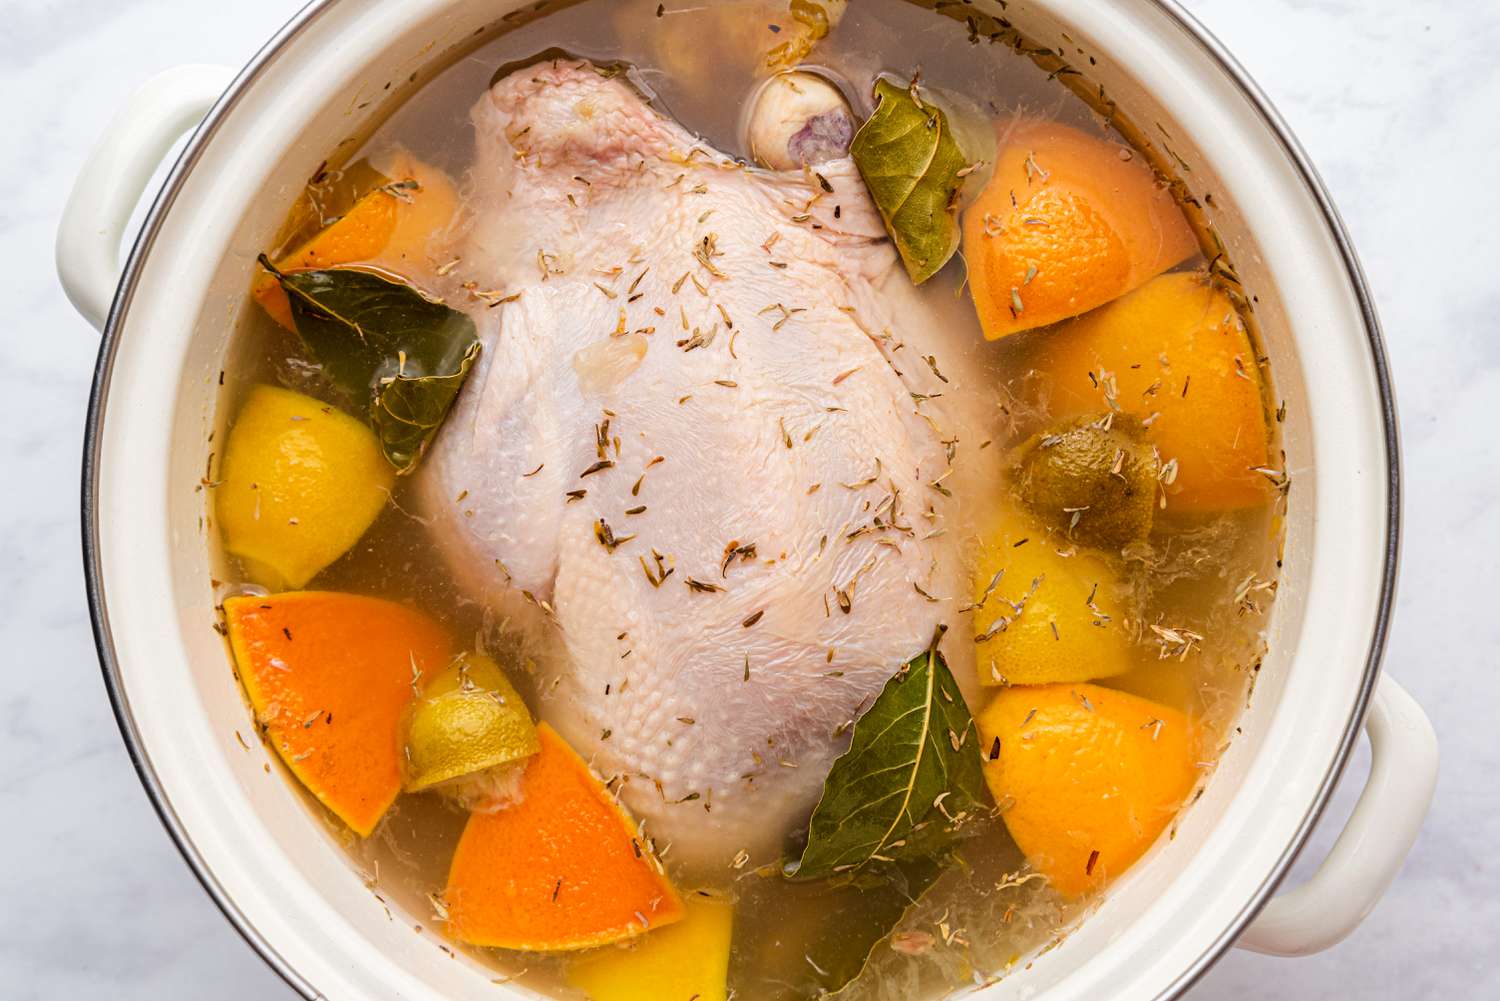
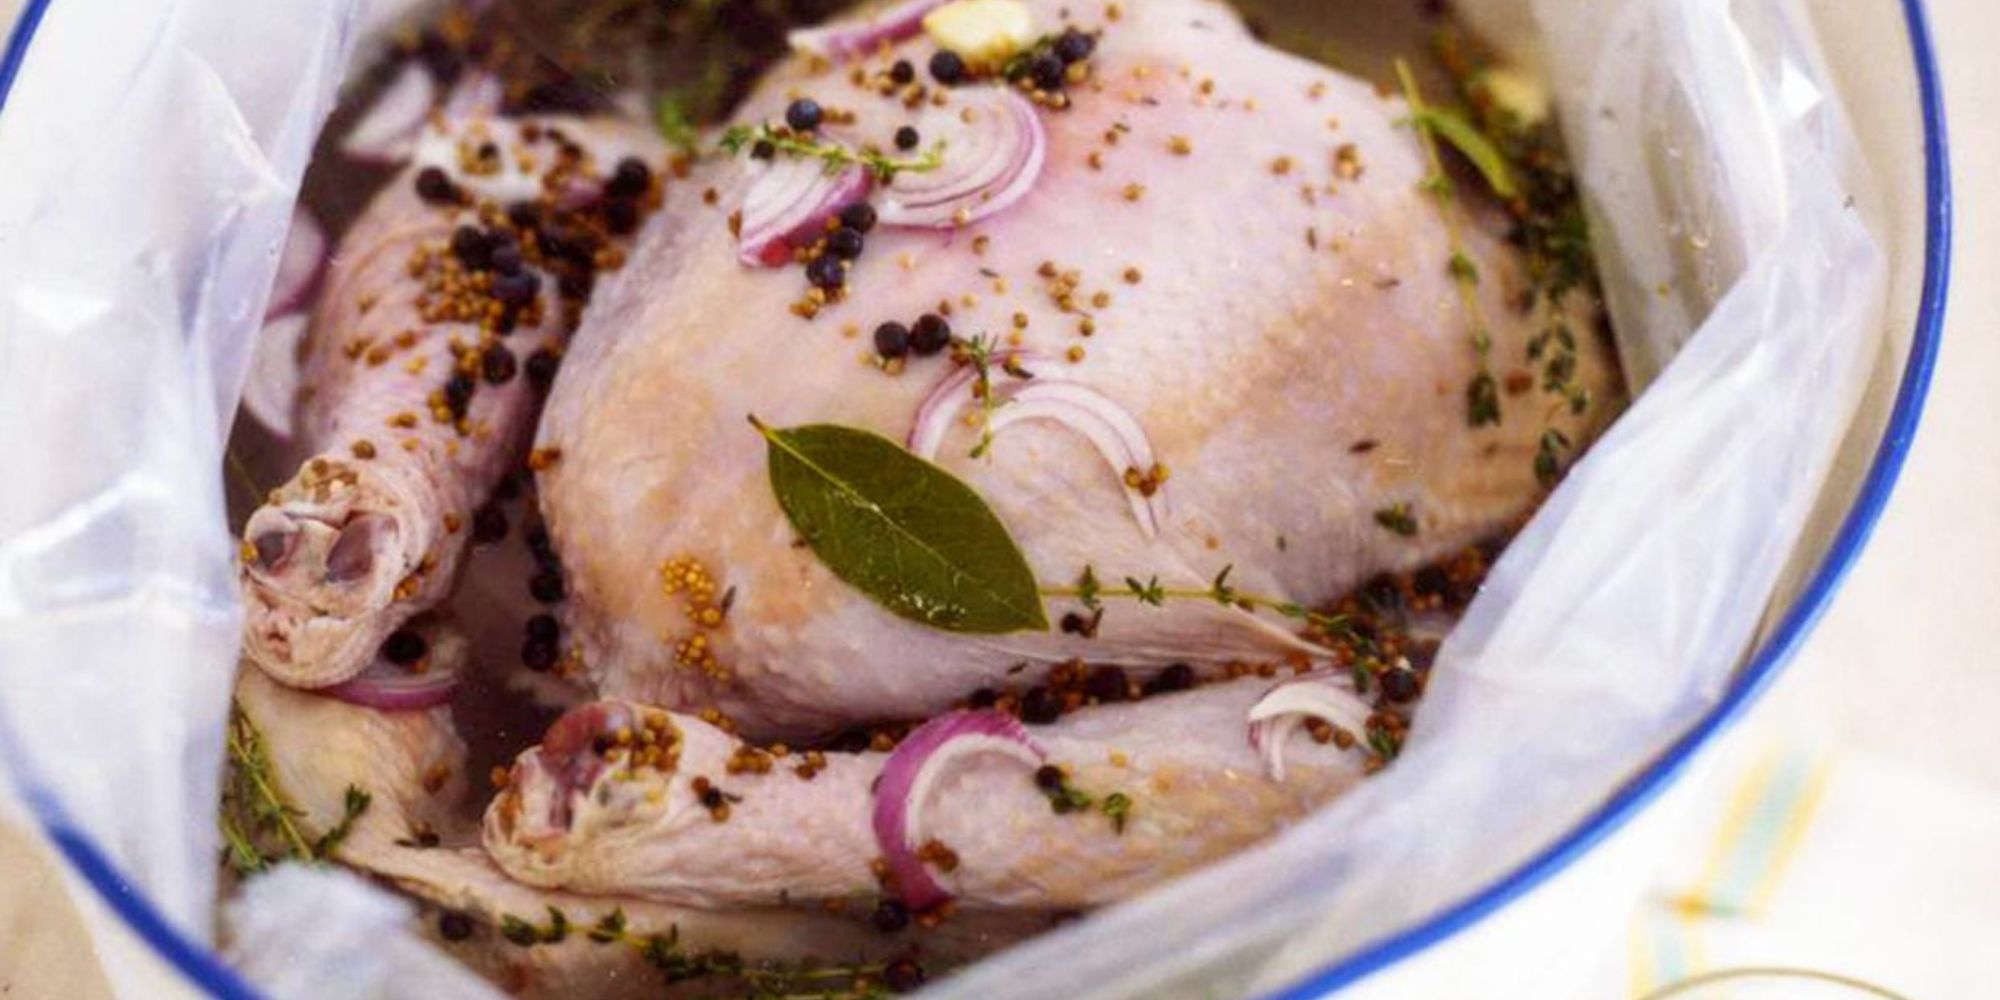
- Prepare the Brine: In a large container, combine water, salt, sugar, garlic, peppercorns, bay leaves, and any additional herbs and spices. Stir the mixture until the salt and sugar are fully dissolved.
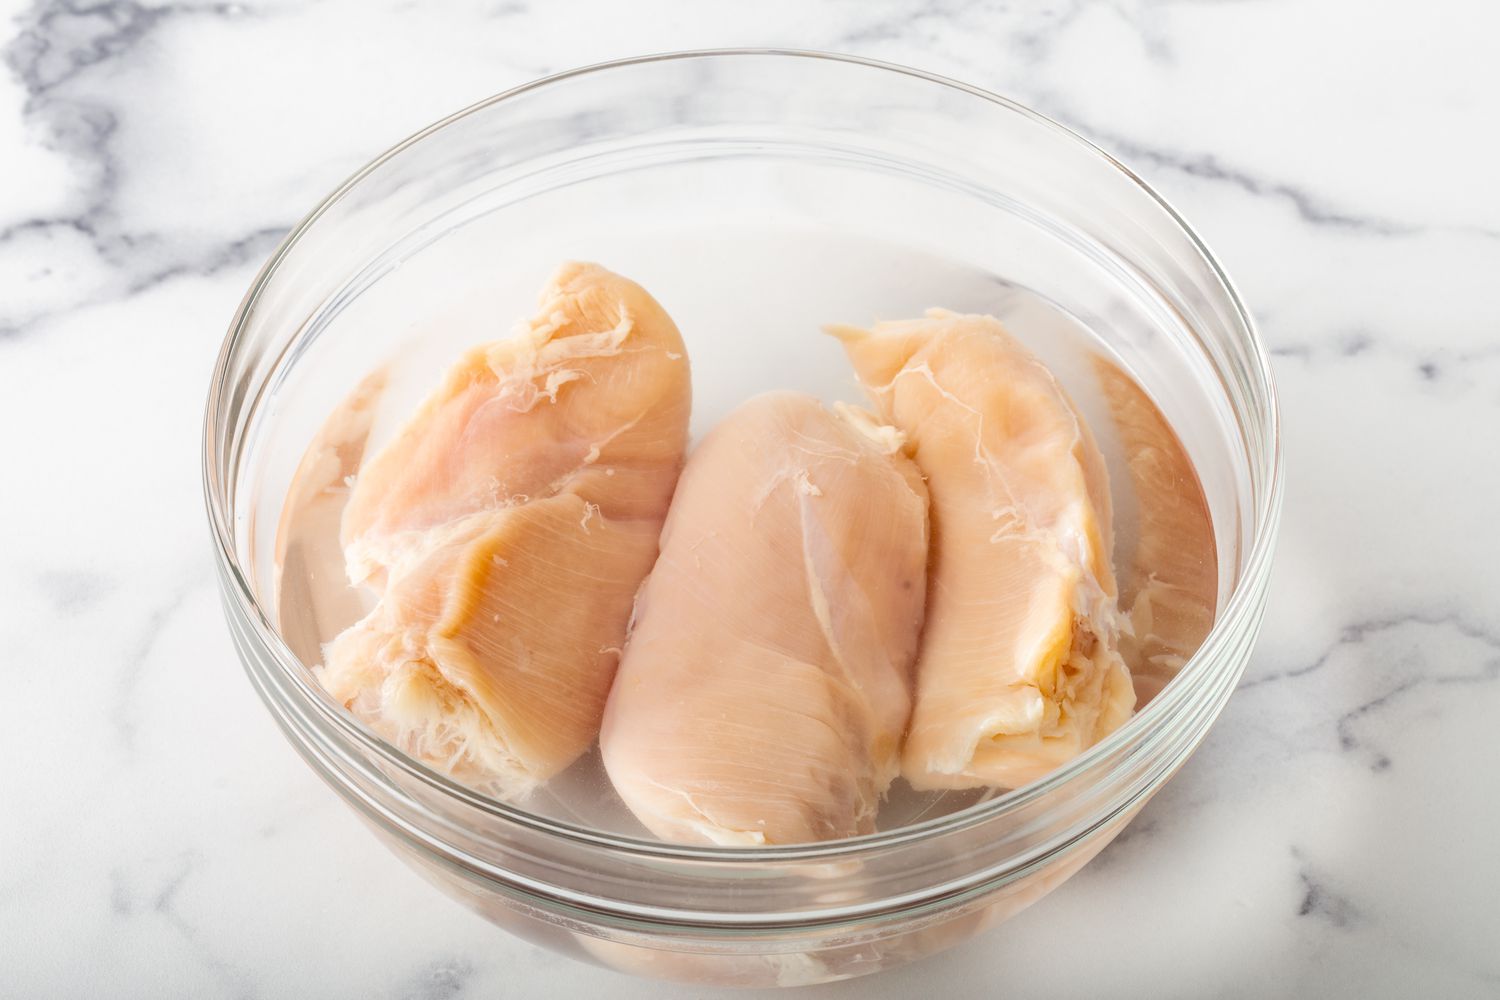
- Submerge the Ribs: Place the boneless ribs in the brine, ensuring that they are fully submerged. If needed, place a heavy plate on top of the ribs to keep them under the brine.
- Refrigerate: Cover the container and refrigerate the ribs in the brine for at least 4-6 hours, or ideally overnight for maximum flavor infusion.
- Rinse and Pat Dry: After brining, remove the ribs from the brine and rinse them under cold water. Pat them dry with paper towels before proceeding to the smoking process.
Smoking the Brined Ribs
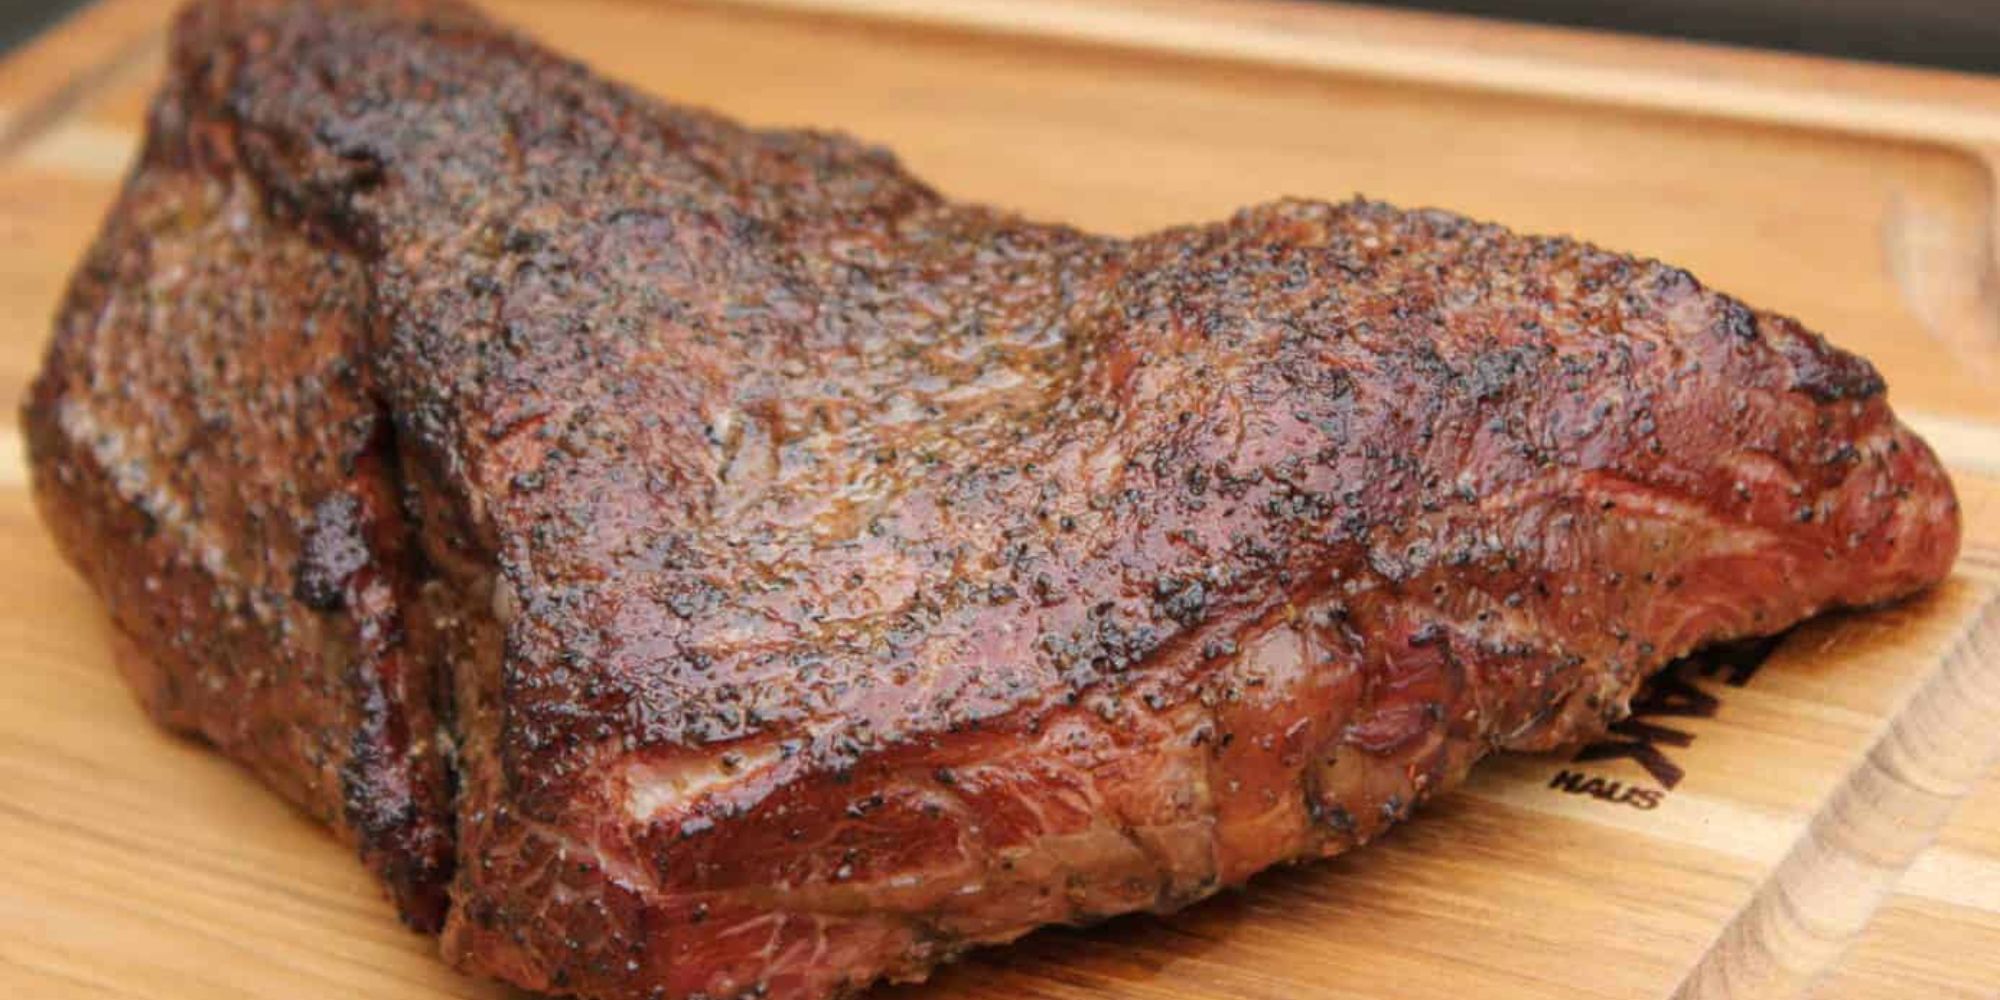
With your boneless ribs brined to perfection, it’s time to fire up the smoker and start the cooking process. Whether you prefer a traditional wood smoker or a modern pellet smoker, the key is to maintain a consistent temperature and add your favorite wood chips for that smoky flavor.
Once the smoker is ready, place the brined ribs on the grates and let them smoke low and slow until they reach the desired level of tenderness. This process may take several hours, but the results will be well worth the wait.
Final Thoughts
Brining boneless ribs for smoking is a game-changer when it comes to achieving juicy, flavorful results. With the right brine and a bit of patience, you can take your rib game to the next level and become the ultimate pitmaster in your social circle. So, gather your brining ingredients, fire up the smoker, and get ready to savor the mouthwatering goodness of perfectly brined and smoked boneless ribs!
